Forenza L4-2.0L (2004)

Rear Cross-Member: Service and Repair
Crossmember Removal and Installation
Removal
1. Raise and suitably support the vehicle.
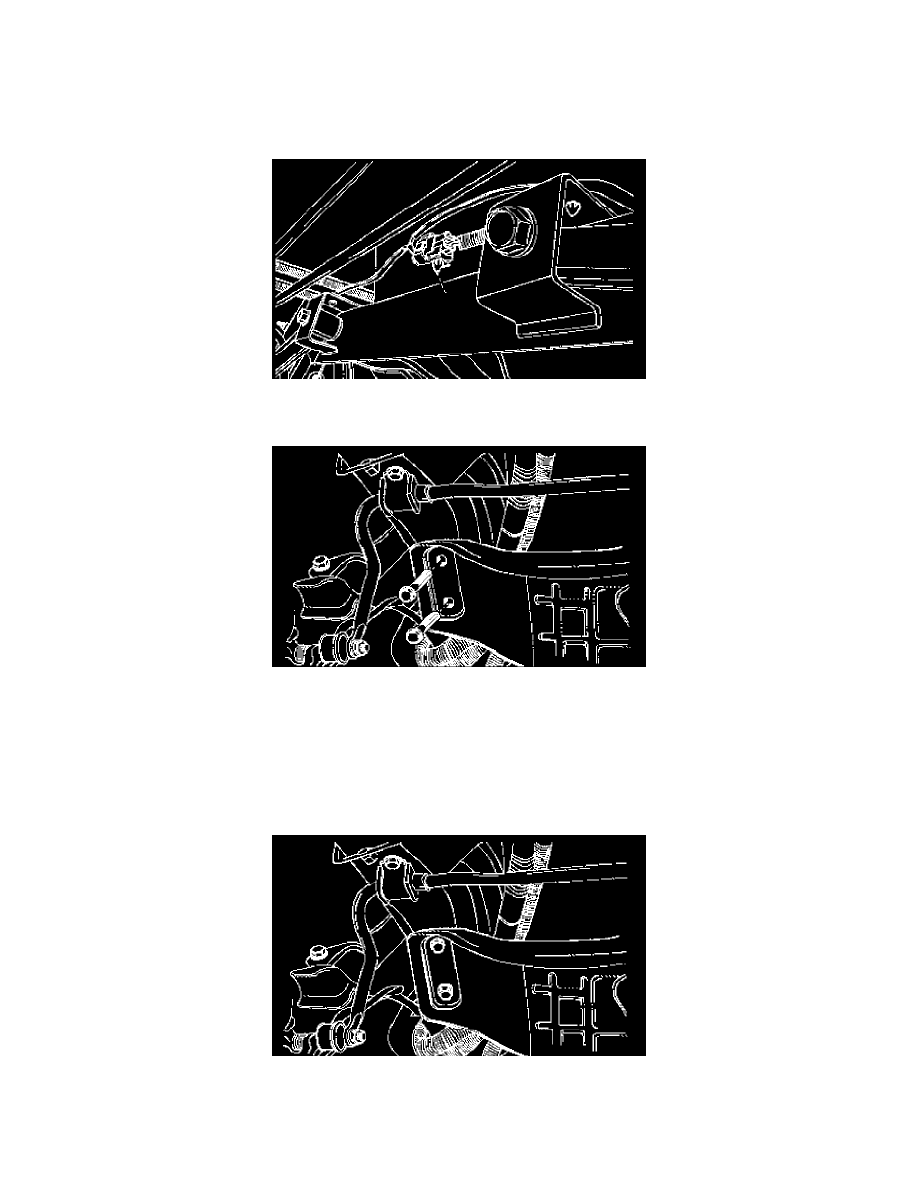
2. Remove the front parallel link bolt from the crossmember.
3. Remove the rear parallel link bolt from the crossmember.
4. Remove the rear wheel speed sensor wiring from the crossmember.
5. Remove the crossmember-to-body bolts.
6. Remove the crossmember.
Installation
1. Install the crossmember.
2. Install the crossmember-to-body bolts.
^
Tighten the crossmember-to-body bolts to 112 Nm (83 ft. lbs.).
3. Route and install the rear wheel speed sensor wiring.
4. Install the rear parallel link bolt onto the crossmember.
5. Install the front parallel link bolt onto the crossmember.
6. Lower the vehicle.
