
Verona L6-2.5L (2005)
Receiver Dryer: Service and Repair
Receiver-Dryer Removal and Installation
Receiver-Dryer Removal
1. Disconnect the negative battery cable.
2. Discharge and recover the refrigerant. Refer to Discharging, Adding Oil, Evacuating, and Charging Procedures for A/C System.
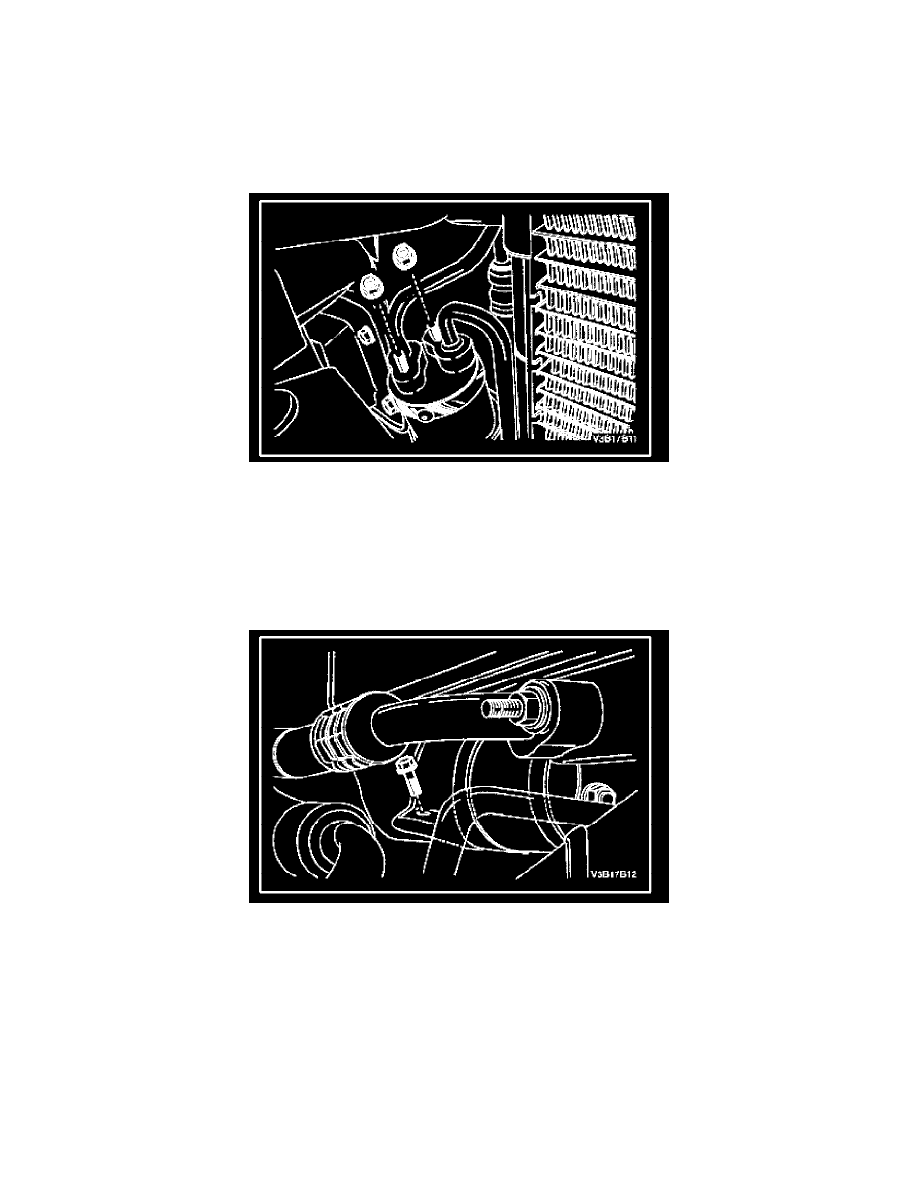
3. Remove the high-pressure pipe-to-receiver-dryer connecting block nut and remove the pipe from the receiver-dryer.
4. Remove the receiver-dryer-to-condenser pipe nut.
5. Loosen the bolt that secures the receiver-dryer band clamp.
CAUTION: Hold the receiver-dryer-to-condenser pipe to support it so that the pipe is not damaged while being removed from the receiver-dryer.
6. Remove the receiver-dryer by sliding it up and out of the band clamp.
7. Cap all open connections to prevent contamination.
8. Drain the oil from the receiver-dryer into a graduated container. Record the amount of oil drained.
9. Discard the used oil.
Receiver-Dryer Installation
NOTE: Do not uncap the new receiver-dryer until just prior to installation.
1. Add the new oil to the new receiver-dryer. Use the exact amount of oil that you drained from the old receiver-dryer.
2. Install new O-rings onto the two pipes that connect to the receiver-dryer.
3. Install the receiver-dryer into the band clamp. Support the receiver-dryer-to-condenser pipe while pushing the receiver-dryer upward until the pipe
is fully installed.