
Verona L6-2.5L (2005)
Control Module HVAC: Service and Repair
A/C Module Removal and Installation
A/C Module Removal
1. Disconnect the negative battery cable.
2. Remove the instrument panel carrier assembly. Refer to Instrument Panel Removal.
3. Drain the cooling system. Refer to Draining and Refilling the Cooling System.
4. Recover the refrigerant. Refer to Discharging, Adding Oil, Evacuating, and Charging Procedures for A/C System
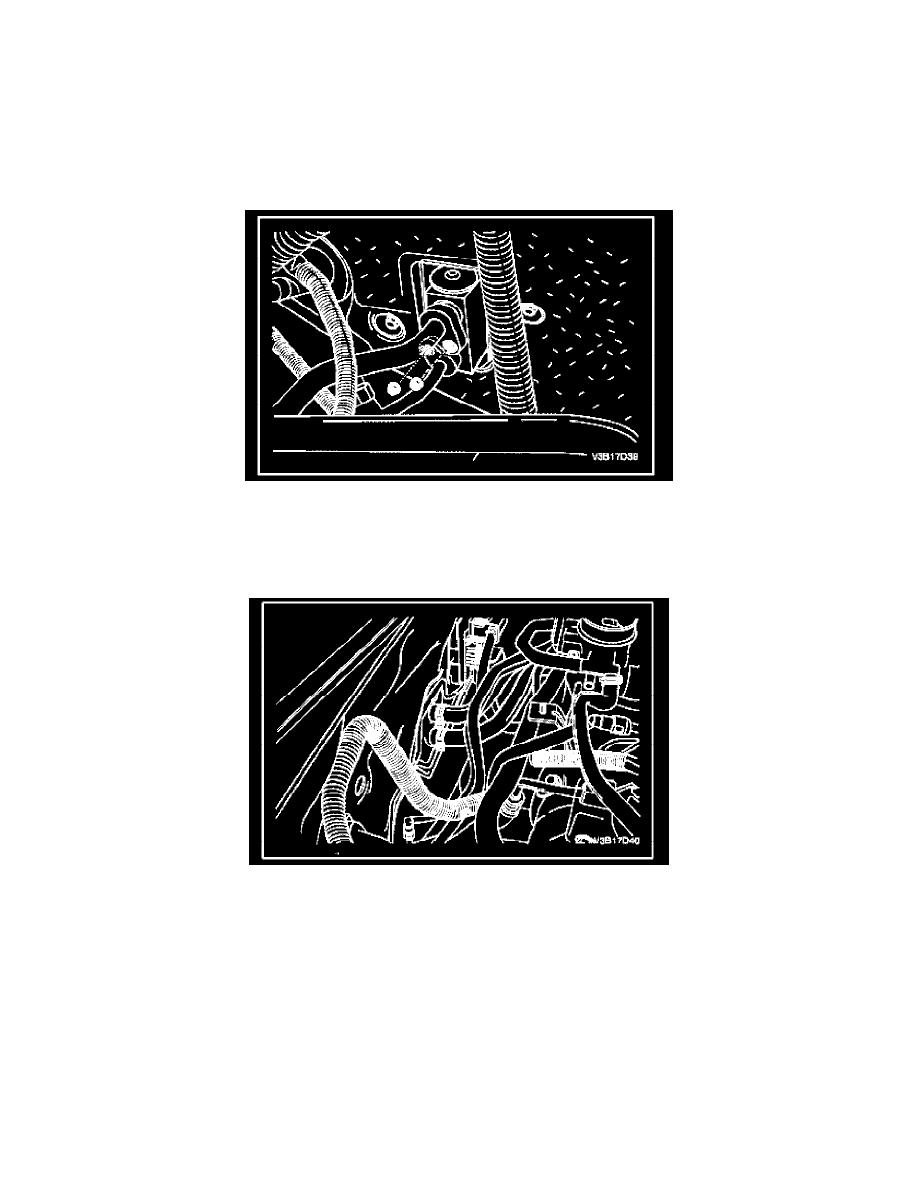
5. Remove the retaining nuts that secure the suction hose and the liquid evaporator pipe blocks at the fire wall.
6. Loosen the clamp bolts from the suction hose and the liquid evaporator pipe to allow movement of the hose and the pipe.
7. Remove the evaporator drain hose.
8. Compress the heater hose clamps at the fire wall and slide the clamps toward the engine.
9. Remove the two heater hoses from the core lines at the fire wall.
10. Remove the screws that secure the A/C module to the fire wall on either side of the heater hoses.
11. Remove the A/C module screw, that is located above the fuel filter, from the engine compartment side of the fire wall.