
Verona L6-2.5L (2005)
3. Align and install the A/C module screws above the fuel filter and at the evaporator flange.
Tighten:
Tighten the A/C module screws to 8 N.m (71 lb.in).
4. Install the A/C module screws adjacent to the heater hoses.
Tighten:
Tighten the A/C module screws to 8 N.m (71 lb.in).
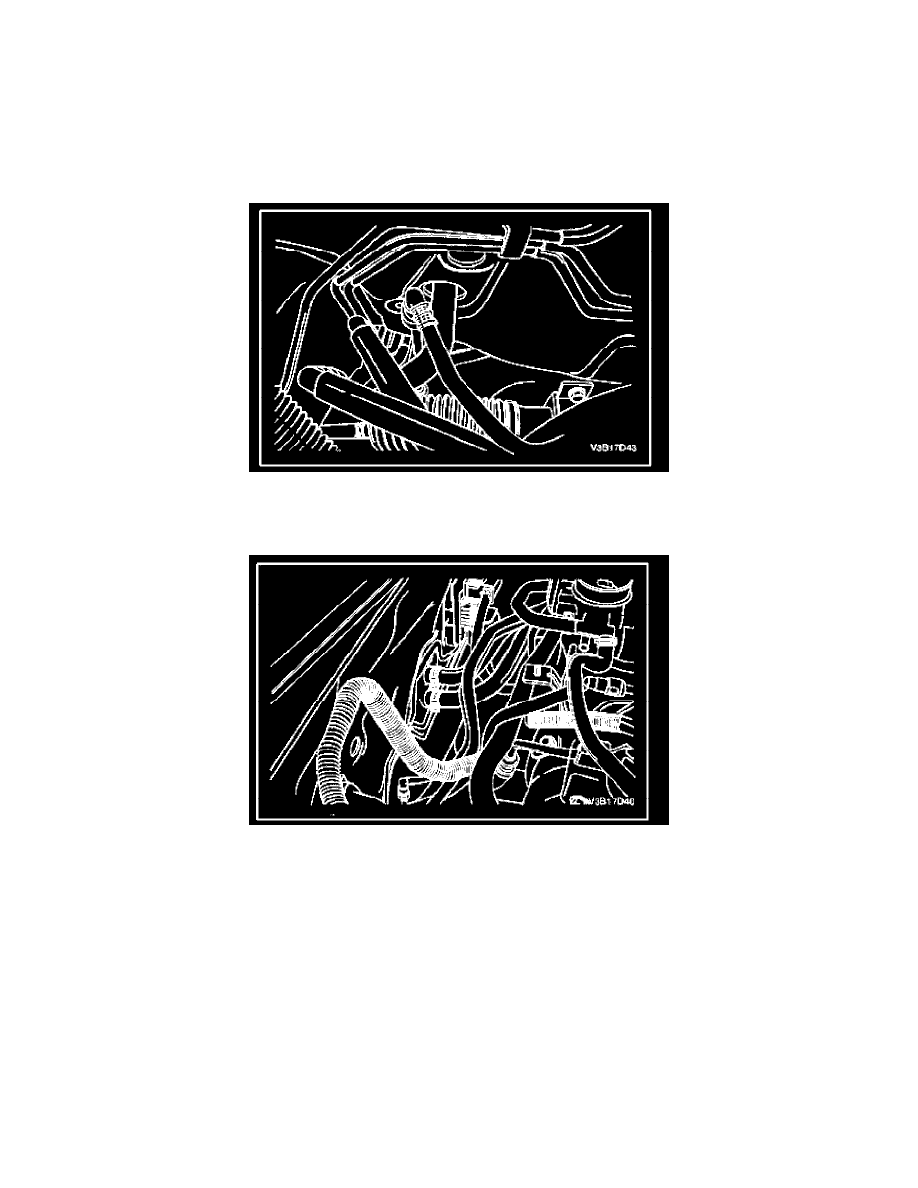
5. Install the evaporator drain hose.
6. Install the two heater hoses.
7. Slide the heater hose clamps into position.
8. Install the instrument panel carrier assembly. Refer to Instrument Panel Installation.
9. Install new O-rings on the suction hose and the liquid evaporator pipe at the fire wall and put the pipes back in place.
10. Install the retaining nuts that secure the suction hose and the liquid evaporator pipe blocks at the fire wall.
Tighten:
Tighten the suction hose and the liquid evaporator pipe retaining nuts to 10 N.m (89 lb.in).
11. Fill the cooling system. Refer to Draining and Refilling the Cooling System.
12. Recharge the A/C system. Refer to Discharging, Adding Oil, Evacuating, and Charging Procedures for A/C System.