
XL-7 4WD V6-2.7L (2003)
Timing Chain: Service and Repair
LH (No.1) Bank 2nd Timing Chain and Chain Tensioner
Removal
1. Disconnect negative cable at battery.
2. Drain engine oil.
3. Drain coolant.
4. Remove timing chain cover.
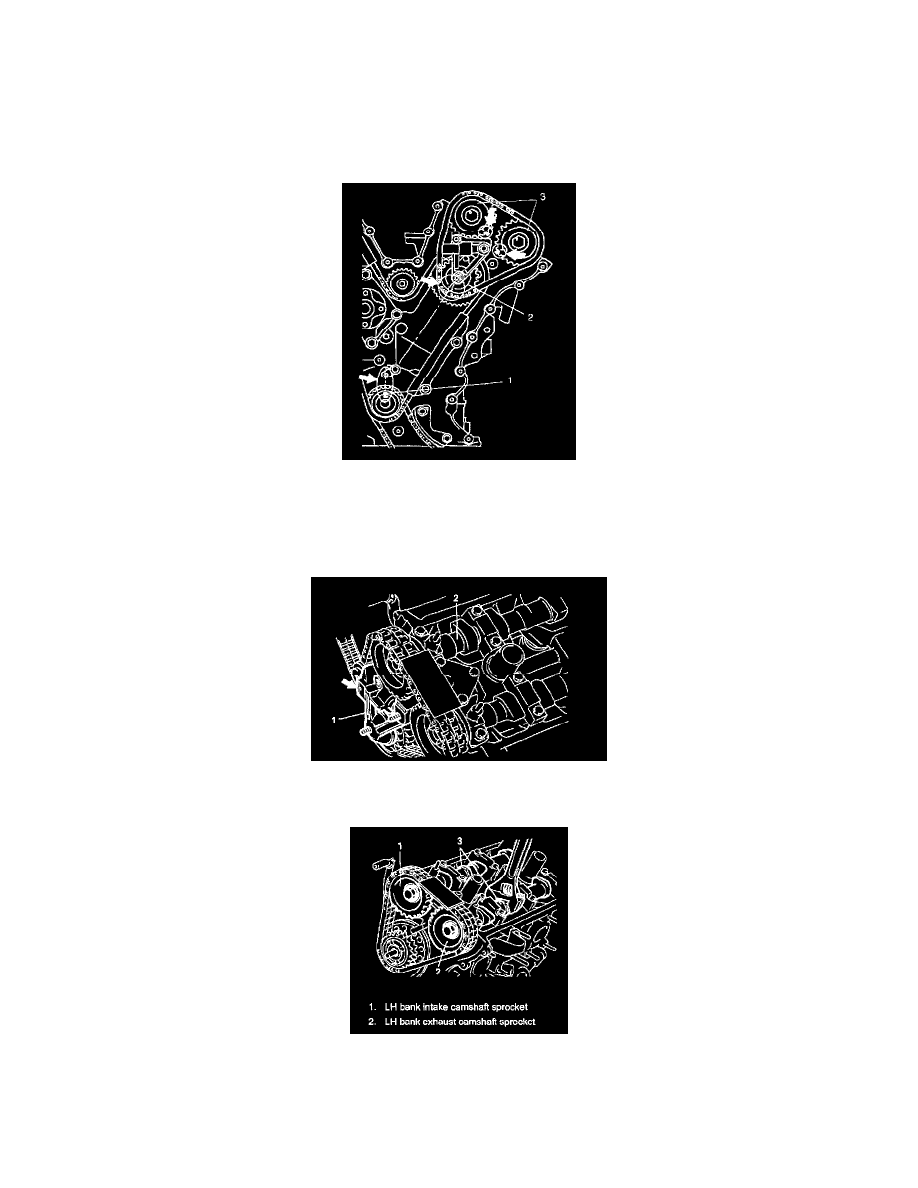
5. Turn crankshaft to meet the following condition.
^
Key (1) on crankshaft positions as shown.
^
Arrow mark on idler sprocket No.2 (2) points the center of crankshaft.
^
The marks on sprockets (3) match with marks on cylinder head.
6. Note that this step must be followed for reinstallation of timing chain.
7. Remove timing chain tensioner adjuster No.3 (1).
To remove it, slacken LH bank 2nd timing chain by turning intake camshaft (2) counterclockwise a little while pushing back pad.
8. Remove LH bank intake and exhaust camshaft sprocket bolts.
To remove it, fit a spanner to hexagonal part (3) at the center of camshaft to hold it stationary.