
Paseo Coupe L4-1497cc 1.5L DOHC MFI (1997)
Evaporator Case: Service and Repair
Removal and Installation
COOLING UNIT REMOVAL
1. DISCHARGE REFRIGERANT FROM REFRIGERATION SYSTEM
INSTALLATION HINT: Evacuate air from refrigeration system.
See: Service and Repair/Discharging & Evacuating System
Charge system with refrigerant and inspect for leakage of refrigerant.
See: Service and Repair/Charging the System
Specified amount:
600 ± 50 g (21.16 ± 1.76 oz.)
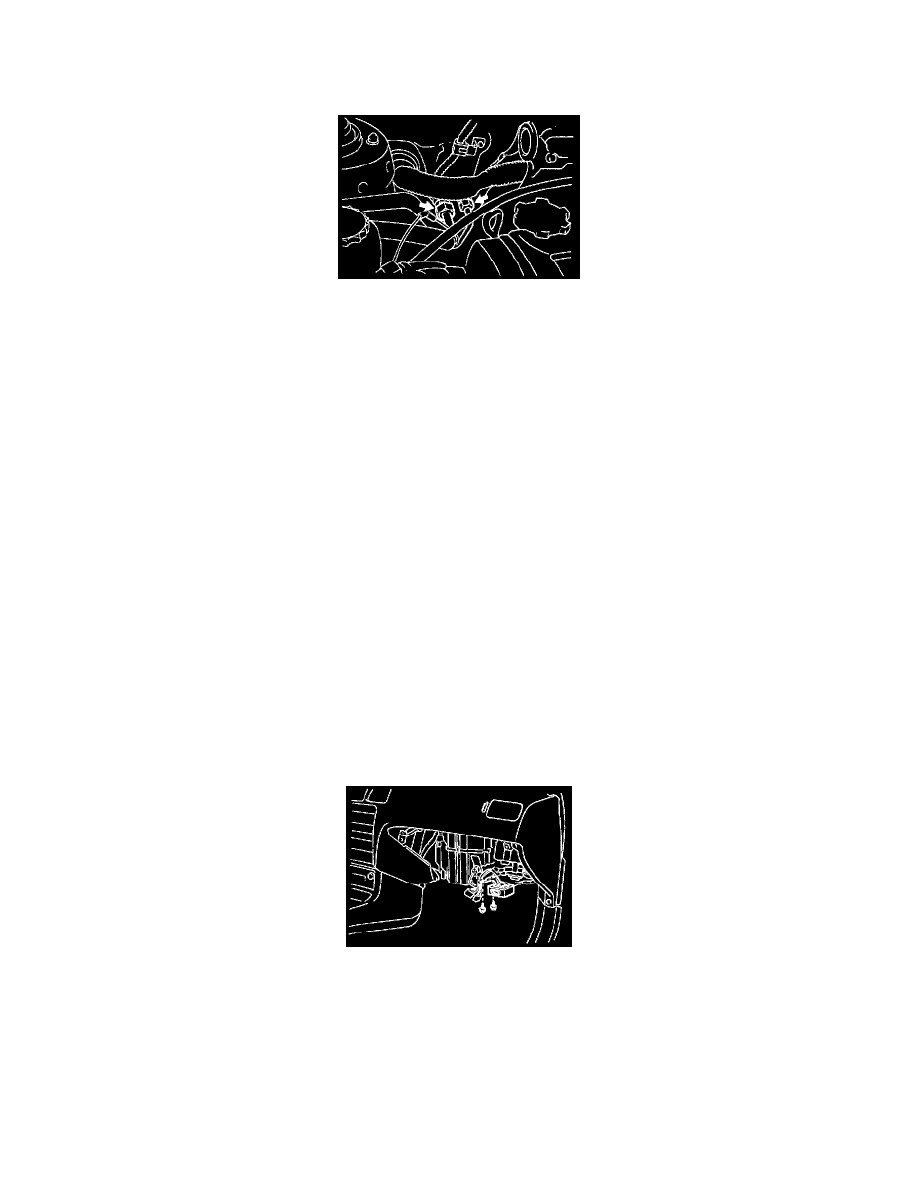
2. DISCONNECT LIQUID AND SUCTION TUBES
Loosen the 2 nuts and disconnect the both tubes.
Torque:
Liquid tube: 14 N.m (140 kgf.cm, 10 ft.lbf)
Suction tube: 32 N.m (330 kgf.cm, 24 ft.lbf)
REMOVAL NOTE: Cap the open fittings Immediately to keep moisture or dirt out of the system.
INSTALLATION HINT: Lubricate 2 new O-rings with compressor oil and install the tubes.
3. REMOVE GLOVE COMPARTMENT PARTS
4. REMOVE A/C AMPLIFIER
a. Disconnect the connector.
b. Remove the 2 screws and amplifier.
5. REMOVE COOLING UNIT
a. Disconnect the connector.