
Previa Van LE 4WD L4-2438cc 2.4L DOHC SC MFI (1997)
(b) Remove the screw, then remove the blower motor (together with the rubber mount) and the blower (together with the bearing).
HINT. You can first remove the blower motor and the blower.
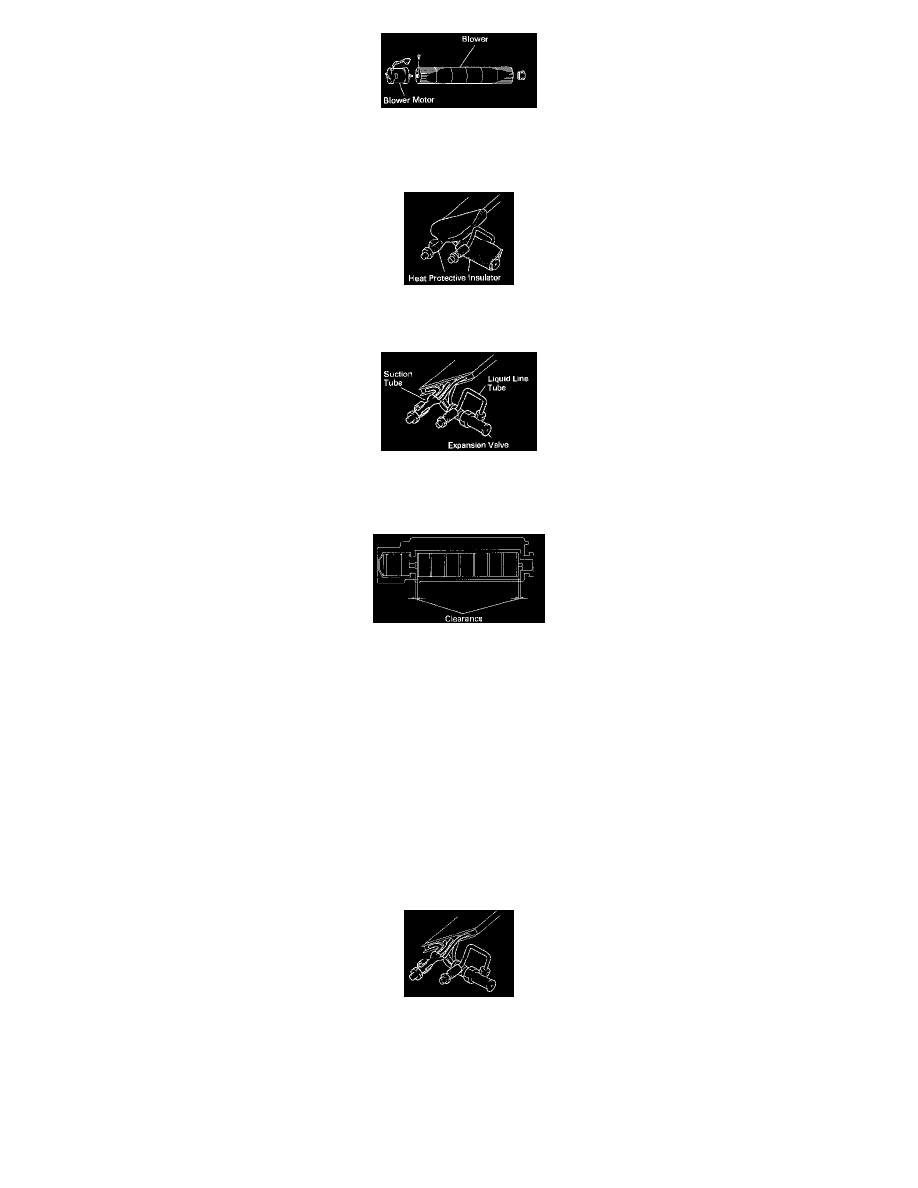
8. DISASSEMBLE EVAPORATOR ASSY
(a) Remove the heat protective insulators from the expansion valve and the suction tube.
(b) Remove the liquid line tube from the expansion valve.
(c) Remove the clamp. then separate the heat-sensing tube from the suction tube.
(d) Remove the expansion valve from the inlet of the evaporator.
ASSEMBLY OF COOLING UNIT
1. ASSEMBLE BLOWER MOTOR ASSEMBLY
(a) Temporarily secure the blower to the blower motor.
(b) Put the blower motor unit on the blower lower case.
(c) Visually adjust the blower position so that the clearance between the blower and the blower case on the right side is equal to that on the left
side.
(d) Tighten the screw and check that the blower rotates smoothly.
(e) Assemble the blower upper case to the lower case.
2. ASSEMBLE EVAPORATOR ASSEMBLY
(a) Connect the liquid line tube to the expansion valve, then torque the nut.
Torque: 140 ± 10 kg-cm (10 ± 0.7 ft-lb. 14 ± 1.0 N.m)
HINT: Connect the line as shown in the figure.
(b) Connect the expansion valve to the inlet fitting of the evaporator.
Torque: 230 ± 20 kg-cm (17 ± 1.4 ft-lb, 23 ± 2.0 N.m)
(c) Connect the heat-sensing tube to the suction tube.
(d) Attach heat insulators around the expansion valve and the suction tube.
3. INSTALL EVAPORATOR TO UPPER CASE
4. INSTALL REAR A/C SWITCH TO LOWER CASE
5. INSTALL RIGHT AND LEFT BLOWER MOTOR ASSEMBLIES TO UPPER CASE
6. INSTALL LOWER CASE TO UPPER CASE