Exhaust Temperature Sensor Replacement - Position 2
Removal Procedure
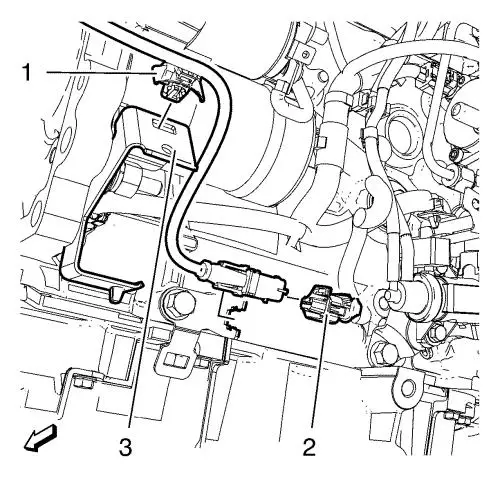
| 4. |
Disconnect the exhaust
temperature sensor-position 2 wiring harness plug (2) and hang
aside. |
| 5. |
Unclip the exhaust temperature
sensor-position 2 clip (1) from the wiring harness bracket
(3). |
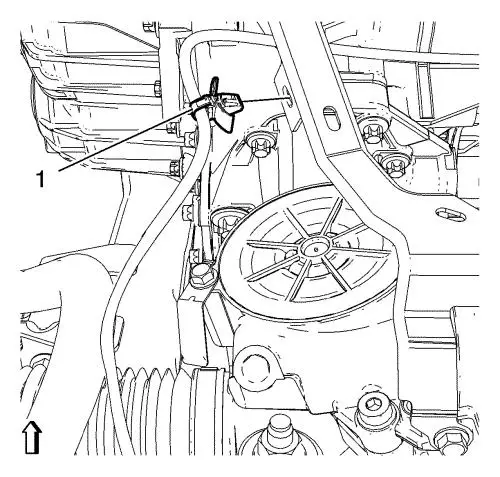
| 6. |
Unclip the wiring harness (1)
from the bracket. |
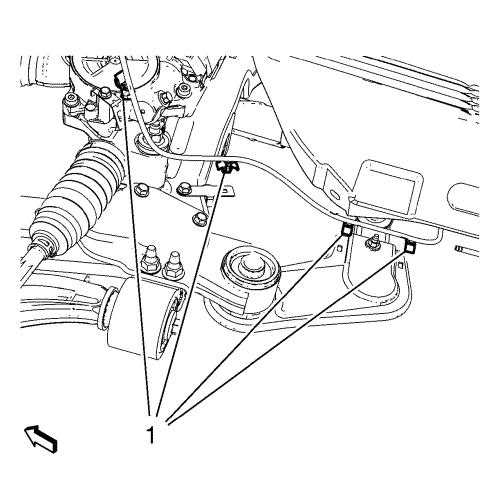
| 7. |
Unclip the 4 wiring harness
clips (1) from the brackets. |
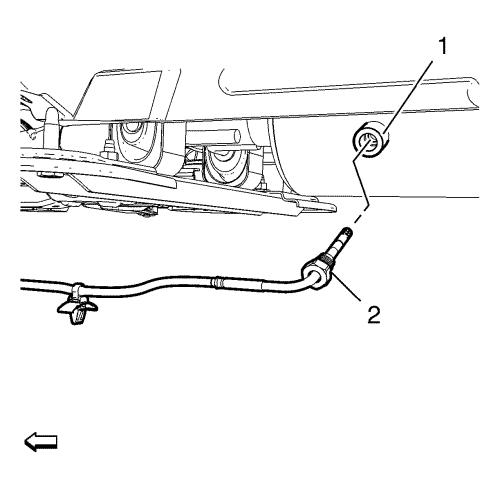
| 8. |
Remove the exhaust temperature
sensor-position 2 (2) from the particulate filter (1). |
Installation Procedure
| 1. |
Install the exhaust
temperature sensor-position 2 (2) to the particulate filter (1) and
tighten to 45 N·m (33 lb ft) . |
| 2. |
Reposition the wiring harness
and clip the 4 wiring harness clips (1) into the brackets.
|
| 3. |
Clip the wiring harness (1)
into the bracket. |
| 4. |
Connect the exhaust
temperature sensor-position 2 wiring harness plugs (2).
|
| 5. |
Clip the exhaust temperature
sensor-position 2 clip (1) into the wiring harness bracket
(3). |
|
