|
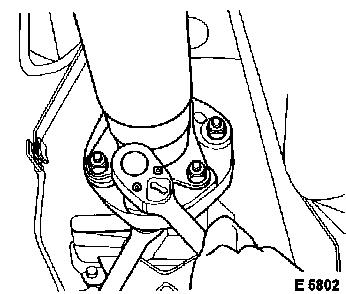
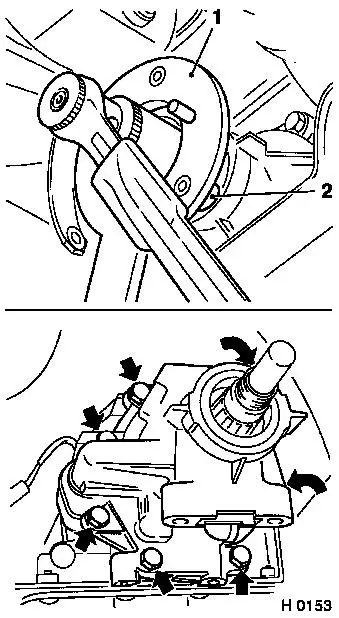
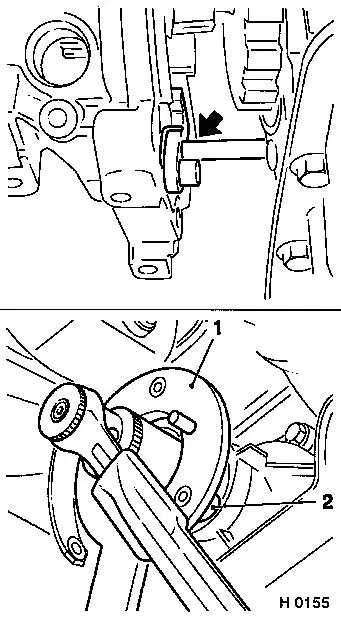
Unscrew output flange (socket A/F 30, extra long), counterhold
with KM-623 (1).
Remove output flange (2) from output shaft. If tight, use
Remover KM-628-A.
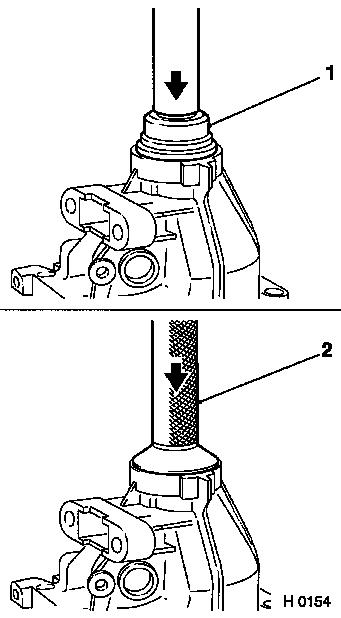
Caution
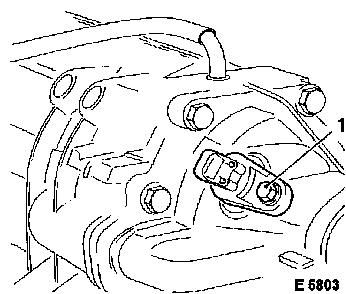
Check O-ring of output flange for wear and damage, replace if
necessary.
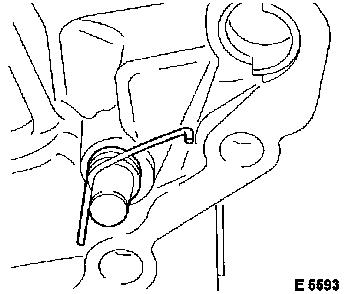
 Remove Remove
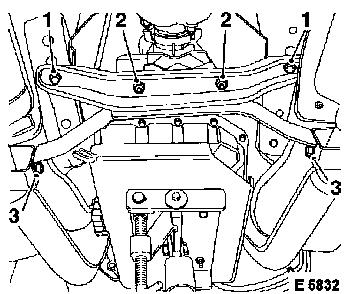
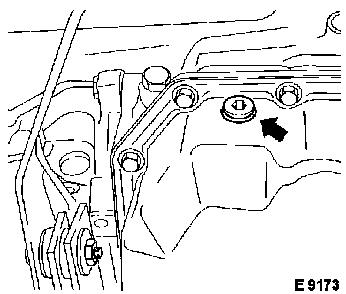
Remove transmission nose piece (arrows, 7 fastening bolts in
total). Remove transmission nose piece and seal.
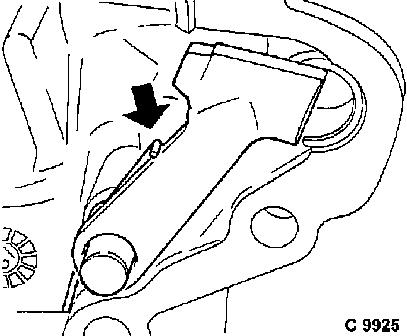
Caution
Fluid escapes, collect escaping fluid. Do not reuse old
fluid.
|