
Golf Mk5
|
 Note
Note
|
|
Note
|
|
|
|
|
|
|

|
Note
|
|
|

|
|
|
Note
|
|
|
|
|
|
|
|
| Component | Nm | |
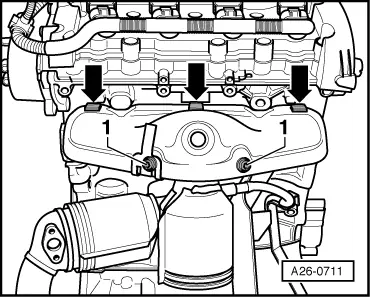
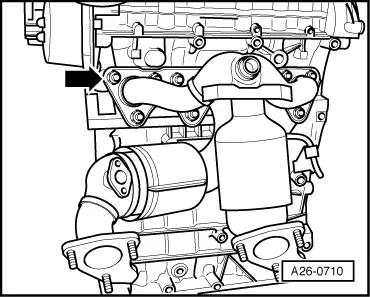
| Exhaust manifold to cylinder head | 25 → Note | |
| Heat shield to exhaust manifold | 10 | |
| Lambda probe | 55 → Note | |
| Exhaust system mounting to sub-frame | 25 | |
| Front exhaust pipe to exhaust manifold | 25 → Note | |
| EGR connecting pipe to exhaust gas recirculation valve | 10 | |
| EGR connecting pipe to exhaust manifold | 15 | |
|