| –
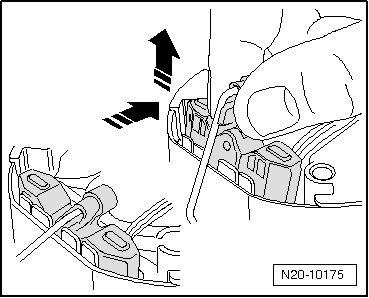
| Release connectors -arrows- and disconnect electrical wiring -1, 2 and 3-. Then bend back locking devices of connectors. |
| –
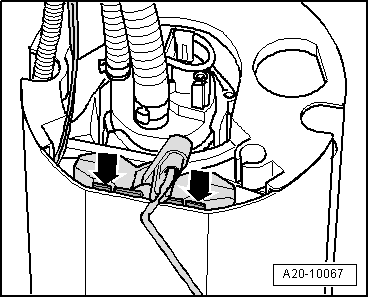
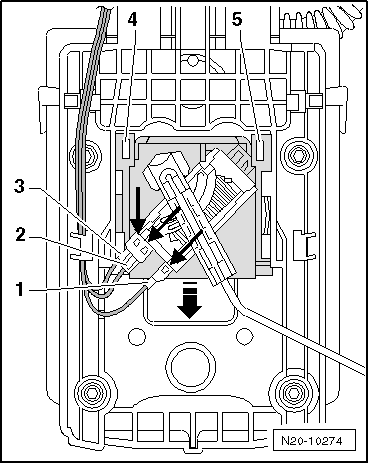
| Lift securing tabs -4- and -5- using a screwdriver and pull fuel gauge sender -G- off downwards -arrow-. |
| –
| Insert fuel gauge sender -G- into guides on fuel delivery unit and press upwards until it engages. |
| –
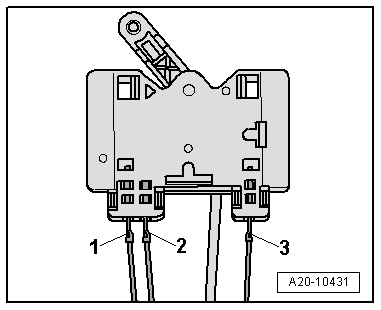
| Connect connectors -1…3-. Observe colour co-ordination. |
| –
| Check connectors are secured properly by pulling. |
|
|
|
 Note
Note