Up!
|
|

|

| Carry out following work: |
| – | Remove rear lid trim → General body repairs, interior; Rep. gr.70. |
| – | Disconnect connectors from all installed electrical components -arrows-. |
| – | Guide wires -3 and 4- with rubber grommet -2- out of rear lid. |
 Note
Note| The connectors -1- for wires -3 and 4- are located on left C-pillar. |

| – | Loosen bolts -2- of left and right hinges -4- but do not undo completely yet. |
| Further dismantling requires the assistance of a second mechanic. |
| – | Remove gas struts -3- → Chapter. |
| – | Now, remove bolts -2- completely and then remove rear lid -1-. |
|

| Carry out following work: |
| – | Install rear lid -1- with the aid of a 2nd mechanic. |
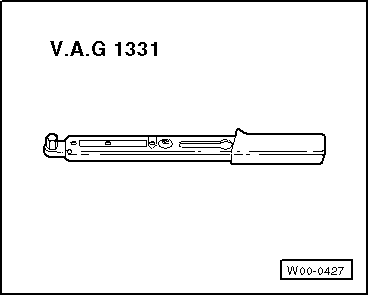
| Specified torque for bolts -3-: 12 Nm. |
| – | Install gas struts -3- → Chapter. |
| – | Guide wires into rear lid and attach rubber grommet. |
| – | Connect connectors of all installed electrical components. |
| Further installation is performed in the reverse order of removal. |
| – | Adjust rear lid → Chapter. |
