volkswagen Workshop Repair Guides

Volkswagen Workshop Service and Repair Manuals

Removing and installing condenser > < Removing and installing high-pressure sender
Removing and installing expansion valve
Special tools and workshop equipment required
   
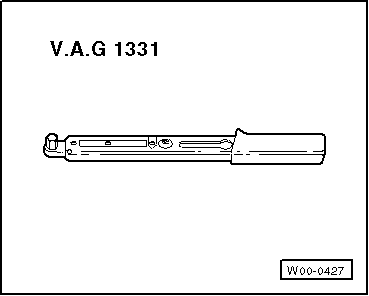
t  Torque wrench -V.A.G 1331/- (5…50 Nm)
  W00-0427
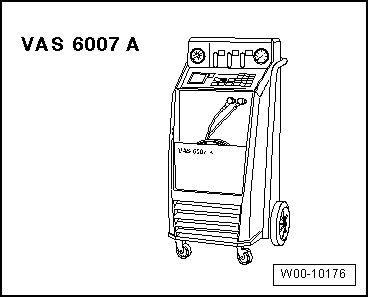
t  Air conditioner service station -VAS 6007A- or later model.
  Note
t  The refrigerant must be extracted beforehand, e.g. with air conditioner service station -VAS 6007A-.
t  The previously used air conditioner service stations can still be used ⇒ Volkswagen Workshop Equipment catalogue.
t  To prevent the intrusion of moisture, all components of the refrigerant circuit which have been opened must be sealed with suitable plugs.
Removing
  W00-10176
1 - Gasket between evaporator housing and plenum chamber bulkhead
2 - O-ring
3 - Expansion valve
q   Aperture must be sealed against splashed water.
Function
t  The expansion valve atomises incoming refrigerant and regulates the flow so that, depending on the heat transport, the vapour does not become a gas until it reaches the outlet of the evaporator.
4 - O-ring
5 - High-pressure refrigerant line
6 - Low-pressure refrigerant line
7 - Socket head combi-bolt
q   5 Nm
8 - Bolts
q   12 Nm
q   Qty. 2
9 - O-ring
10 - O-ring

First carry out the following work:
–  First evacuate refrigerant circuit using e.g. air conditioner service station -VAS 6007A-. Then - and only then - open refrigerant circuit.
  Note
Releasing refrigerant into the environment is a punishable offence.
  WARNING
Danger from refrigerant escaping under pressure!
Freezing of skin and other body parts.
l  Evacuate the refrigerant and then open the refrigerant circuit immediately.
l  If more than 10 minutes have elapsed since evacuation and the coolant circuit has not been opened, evacuate the refrigerant again. Pressure builds up in the coolant circuit as a result of secondary evaporation.
–  Remove bolts -8-.
–  Pull out refrigerant lines -5- and -6-.
–  Remove bolts -7-.
–  Remove expansion valve -3-.
Installing
t  Renew O-rings -2-, -4-, -9- and -10-.
The remaining steps for installation are carried out in reverse order.
   

Removing and installing condenser > < Removing and installing high-pressure sender