
Up!
| Repairing suspension strut |
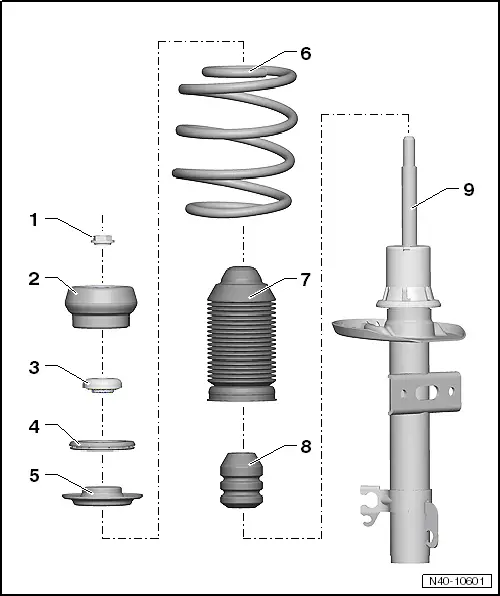
| 1 - | Nut |
| q | 60 Nm |
| q | Self-locking |
| q | Always renew after removing. |
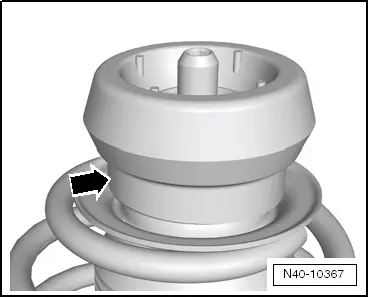
| 2 - | Suspension strut mounting |
| q | Note correct installation position → Anchor |
| 3 - | Deep groove ball thrust bearing |
| 4 - | Spacer |
| q | Allocation → Electronic parts catalogue „ETKA“ |
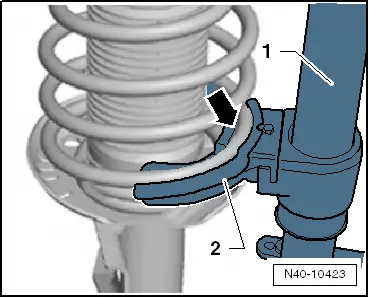
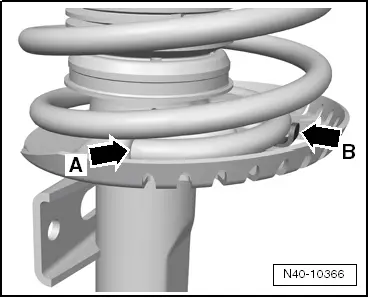
| 5 - | Spring plate |
| 6 - | Spring |
| q | Removing and installing → Chapter. |
| q | Observe colour coding |
| q | Allocation → Electronic parts catalogue „ETKA“ |
| The springs can be allocated by means of the PR number. The PR number is indicated on the vehicle data sticker. |
| q | Surface of coil must not be damaged. |
| 7 - | Protective sleeve |
| 8 - | Bump stop |
| 9 - | Shock absorber |
| q | Can be renewed separately |
| q | Allocation → Electronic parts catalogue „ETKA“ |
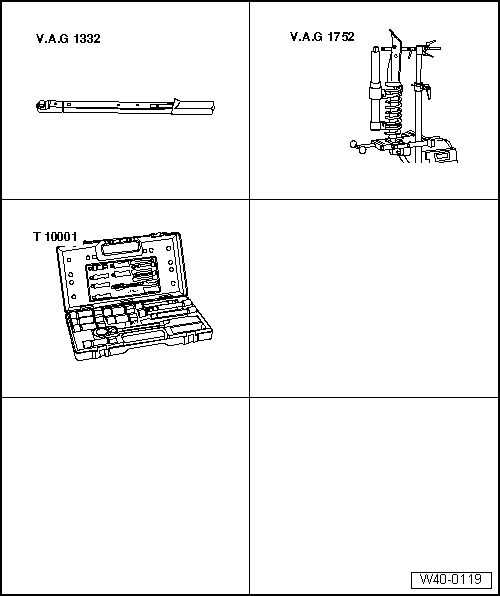
| Special tools and workshop equipment required |
| t | Torque wrench -V.A.G 1332- |
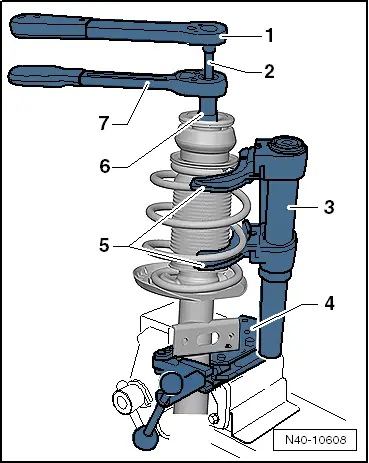
| t | Suspension strut clamp -V.A.G 1752- |
| t | Spring tensioner -V.A.G 1752/1- |
| t | Spring retainer -V.A.G 1752/7- |
| t | Shock absorber set -T10001- |
|
|
|
 WARNING
|
|
|
|
|
|
|
|
| Specified torque |
| Component | Specified torque | ||
Hexagon nut to piston rod
| 60 Nm |