volkswagen Workshop Repair Guides

Volkswagen Workshop Service and Repair Manuals

Control units > < Removing and installing fuse carrier on relay carrier
Removing and installing dash panel relay carrier
The dash panel relay carrier is built into the driver side footwell, underneath the dash panel.
Special tools and workshop equipment required
   
t  Torque wrench -V.A.G 1410-
  W00-0554
t  
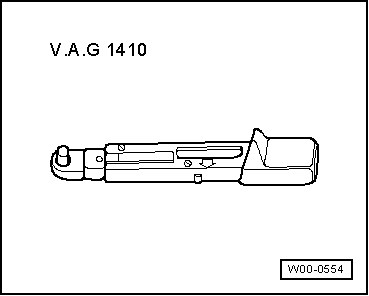
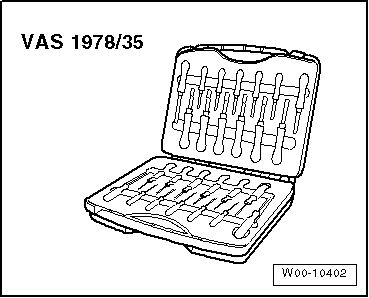
Release tool set -VAS 1978/35-
  Caution
To disconnect and reconnect the battery, the procedure described in the workshop manual should be strictly adhered to → Chapter.
  Note
t  
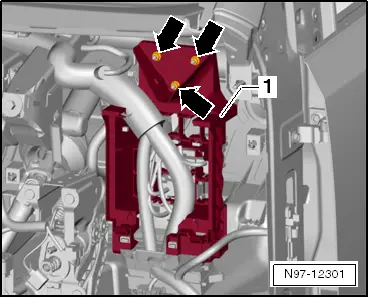
The illustrations show removal and installation of the relay carrier in an LHD vehicle.
t  Removal and installation of the relay carrier in an RHD vehicle are analogous.
Removing:
–  Switch off ignition and all electrical loads, and pull out ignition key.
–  Disconnect battery → Chapter.
–  Remove trim in footwell → General body repairs, interior; Rep. gr.68.
–  Remove A-pillar trim at bottom on the driver side → General body repairs, interior; Rep. gr.70.
–  Remove fuse holder from relay carrier → Chapter.
–  Remove onboard supply control unit -J519- → Chapter.
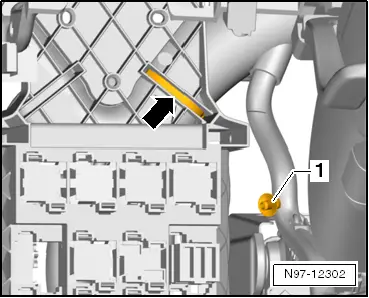
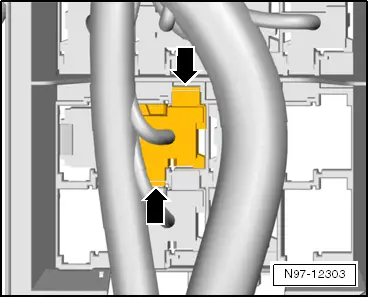
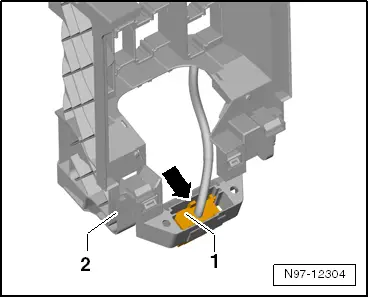
  Note
For reasons of clarity, the relay carrier is shown from the rear in the following illustrations.
  W00-10402
–  Remove the 3 nuts (width across flats 10 mm) -arrows- and pull relay carrier -1- off threaded pins, taking connected wiring lengths into consideration.
  N97-12301
–  Cut the cable tie -arrow- and unclip cable fuse -1- from relay carrier.
–  Make a note of the assignment of the relays in the holder.
  N97-12302
–  Release all the connectors on rear of relay carrier -arrows- and pull them towards the rear out of the relay carrier together with the plugged-in relays.
  N97-12303
–  Release diagnostic connector -1- in -direction of arrow- and pull it out of relay carrier -2-.
–  Remove relay carrier -2- from vehicle.
Installing:
Install in the reverse order of removal. When doing this, note the following:
  Note
Attach all cable ties cut during removal and all cable fuses in their original positions
–  Tighten nuts securing relay carrier to body to specified torque of 4.5 Nm.
  N97-12304

Control units > < Removing and installing fuse carrier on relay carrier