
760 L6-2383cc 2.4L DSL Turbo D24T (1983)
The compressor will also be very noisy.
NOTE! If a compressor noise is not evident the readings may be caused by a slipping clutch or drive belt.
Replacement of the reed valve plate assembly with compressor removed from vehicle (refer to Service Manual TP 30461/1 for removal).
Remove:
-
Service valves and bolts retaining compressor top.
-
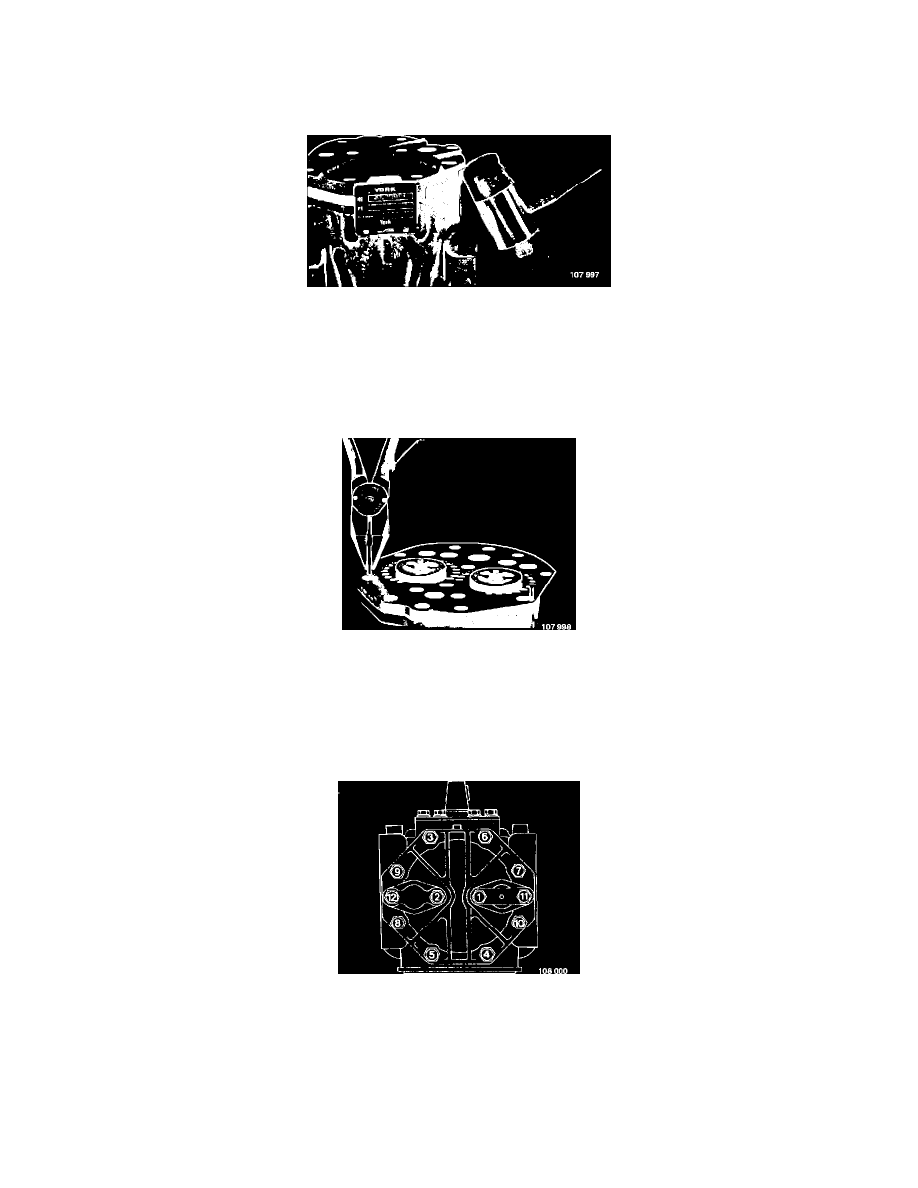
Gently tap on the top plate, as illustrated.
-
Remove compressor top.
Remove:
-
Guide pin.
-
Valve plate (if necessary, tap the sides lightly with a plastic mallet) .
-
Carefully scrape off pieces of gaskets (if any) from the crankcase and cover.
NOTE! Cleanliness is imperative to ensure a proper repair.
Fit valve body and top cover:
-
Apply compressor oil on to the compressor crankcase, valve plate and top cover sealing surfaces.
-
Fit the crankcase guide pins.
-
Place a new gasket on the crankcase and make sure when fitting the valve plate that the nuts point upwards.