
760 L6-2383cc 2.4L DSL Turbo D24T (1983)
Blow through the valve to check for leakage. If the leakage is slight place the seat and steel ball on a flat surface and tap the ball with a plastic
mallet. Recheck.
If the leakage is large the valve seat is probably too oval and therefore should be replaced. Make sure when fitting the valve that the steel ball is
positioned correctly.
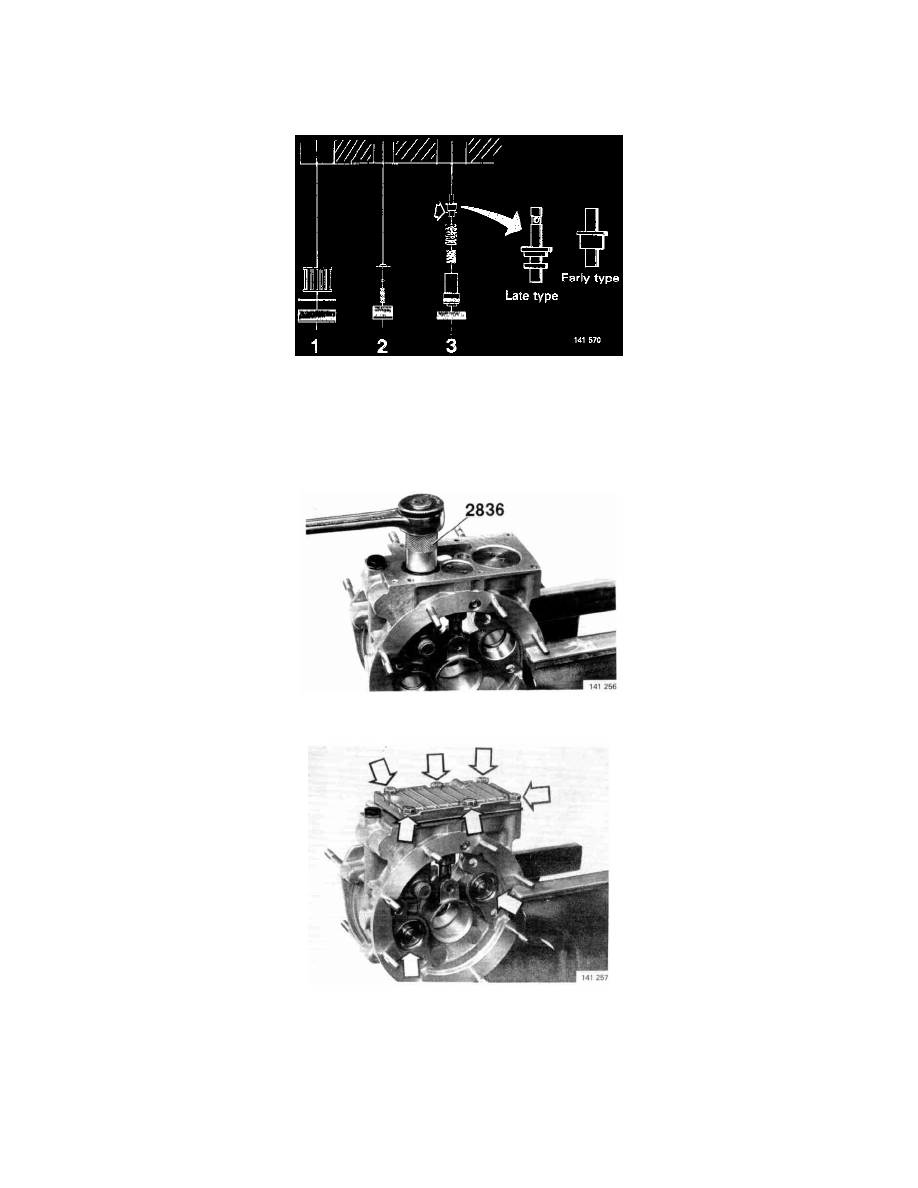
26. Install:
1. Oil filter, gasket and plug.
2. Seat, ball, spring and plug for check valve. Make sure ball is positioned correctly.
3. Relief valve parts. Always use new type if piston is replaced. Install shims, if applicable.
NOTE: If new clutch linings of asbestos-free type have been installed, no shims should be fitted to the relief valve.
27. Torque plugs using plug wrench P/N 2836 and torque to 22 Nm (16 ft lb).
28. Install oil pan, strainer and gasket. Make sure magnet in oil pan is cleaned. Torque bolts to 10 Nm (7 ft lb).
29. Position clutch pistons in cylinders.
NOTE: As a running modification during the Spring of 1985, 4 mm longer clutch pistons with a Teflon ring on the outside of the O-ring for
improved sealing, have been installed. Pistons with 0-rings should be replaced by new type pistons with Teflon ring, P/N 1 377 041-7.