
S70 L5-2.4L VIN 61 B5244S (2000)
Tighten both the mounting screws. Connect the engine cooling fan (FC) connectors. Press the hose down from the expansion tank into the holder on
the fan shroud.
Secure the wiring with tie straps as before. Press the manifold absolute pressure (MAP) sensor onto the holder at the front cover plate. Press the
canister purge (CP) valve into the holder on the fan shroud.
Turn down the air cleaner (ACL) intake manifold. Align the air cleaner (ACL) intake manifold with the sleeve connector above the air conditioning
aggregate.
Install
-
the brake vacuum hose
-
the trigger wheel. Tighten to 17 Nm
-
the camshaft position (CMP) sensor housing and a new cover. Tighten to 17 Nm
-
the torque rod bracket. Tighten to 50 Nm
-
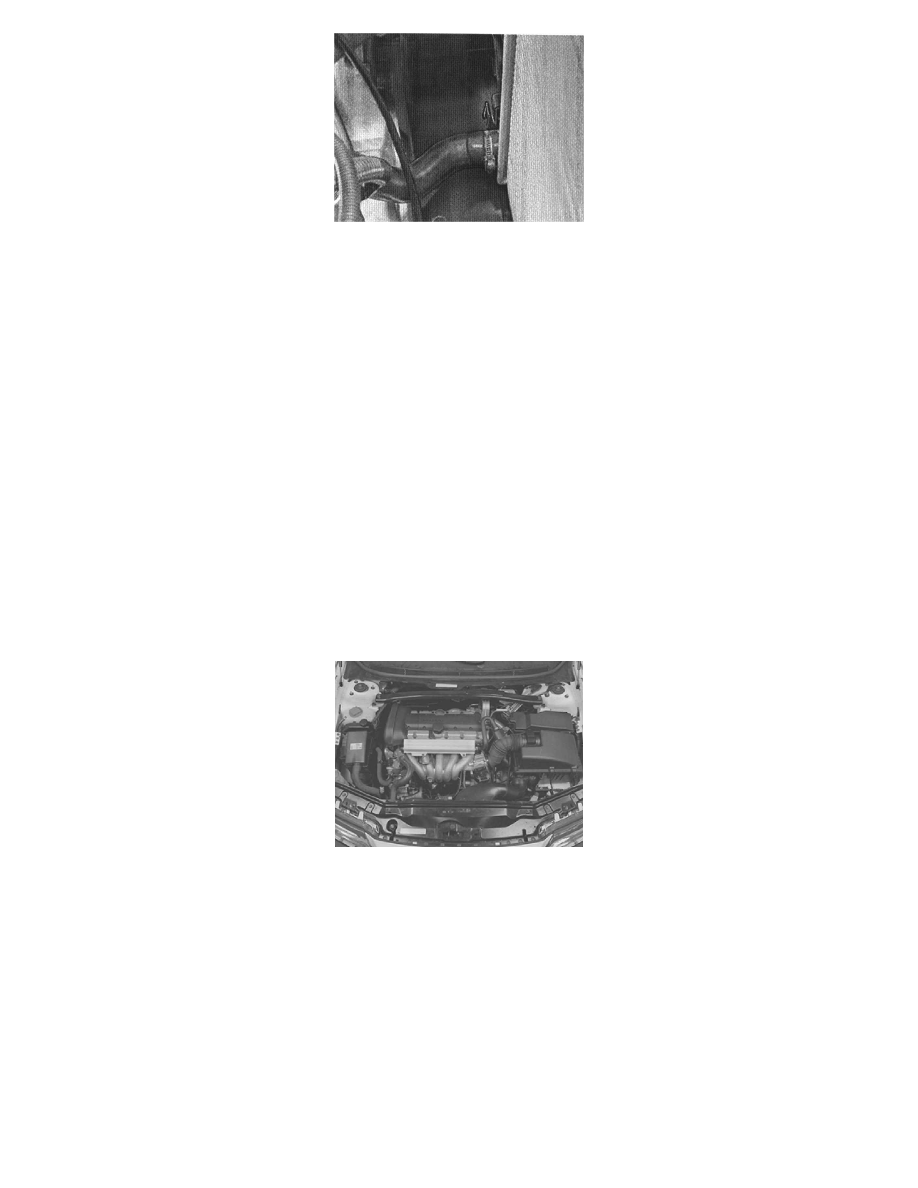
the inlet hose between the air cleaner (ACL) and throttle body (TB)
-
the crankcase ventilation hose on the inlet hose
-
the plastic nuts for the cover in fender liner
-
the wheel.
-
the engine stabilizer brace. Tighten the screws at the suspension turrets. Tighten to 50 Nm. Tighten the engine bracket screw. Tighten to 80 Nm
-
the cable to the battery negative terminal. See: Powertrain Management/Computers and Control Systems/Service Precautions/Note When
Disconnecting/Connecting the Battery Lead.
Checking the engine
Test drive the car to check the function of the engine.
Rear camshaft seal
The following components must be removed when replacing the rear camshaft seal:
-
the inlet hose between the air cleaner (ACL) and throttle body (TB)
-
the crankcase ventilation hose from the inlet hose
-
place the air cleaner (ACL) cover to one side
-
the cover over the ignition coils
-
the upper torque rod bracket
-
the camshaft position sensor (CMP) housing and trigger wheel.
Replacing the rear camshaft seal