
S70 L5-2.4L VIN 61 B5244S (2000)
Check:
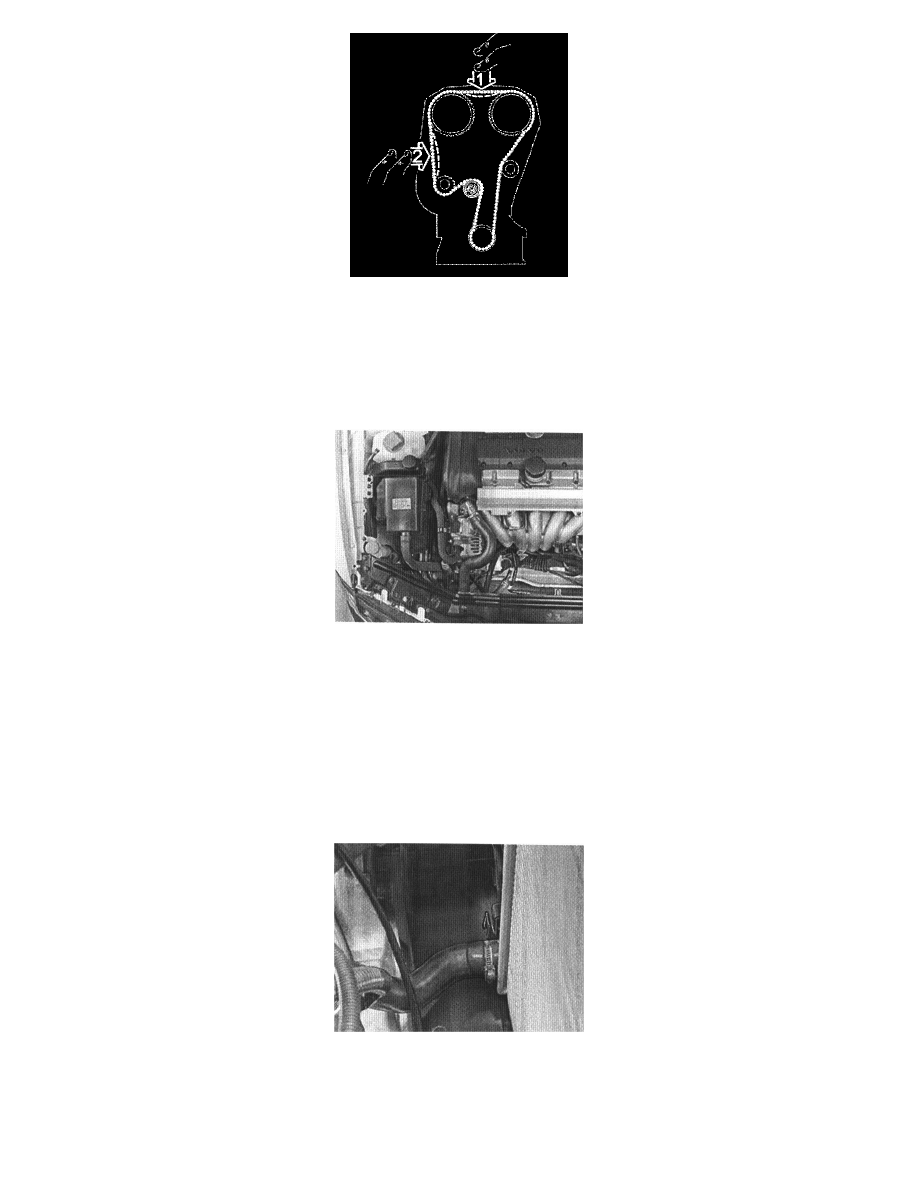
Press the toothed belt to check that the indicator on the tensioner moves easily.
Install the upper timing belt cover.
Turn the crankshaft 2 rotations and check that the markings on the crankshaft and camshaft pulleys correspond.
Check that the indicator on the belt tensioner is within the marked position.
Reinstall
Install:
-
the front timing belt cover. Tighten to 12 Nm
-
the cover over the ignition coils
-
the upper timing belt cover
-
the auxiliaries belt
-
the expansion tank
-
the servo reservoir. Check that the hoses are correctly positioned
-
the starter motor. Tighten the screws at the transmission to 40 Nm. Tighten the screw for the support bracket. Tighten to 25 Nm.
Remove the radiator protector.
Carefully lower the fan shroud. Align it with the holes at the sides of the radiator.
Tighten both the mounting screws. Connect the engine cooling fan (FC) connectors. Press the hose down from the expansion tank into the holder on
the fan shroud.
Secure the wiring with tie straps as before. Press the manifold absolute pressure (MAP) sensor onto the holder at the front cover plate. Press the
canister purge (CP) valve into the holder on the fan shroud.
Turn down the air cleaner (ACL) intake manifold. Align the air cleaner (ACL) intake manifold with the sleeve connector above the air conditioning
aggregate.