
3.2TL TYPE S V6-3.2L SOHC (2002)
5. With a helper on the outside, pull the piano wire (A) back and forth in a sawing motion. Hold the piano wire as close to the windshield as possible
to prevent damage to the body and dashboard. Carefully cut through the rubber dam and adhesive around the entire windshield.
6. Carefully remove the windshield.
7. With a knife, scrape the old adhesive smooth to a thickness of about 2 mm (0.08 in.) on the bonding surface around the entire windshield opening
flange:
-
Do not scrape down to the painted surface of the body; damaged paint will interfere with proper bonding.
-
Remove the rubber dam and fasteners from the body.
-
Mask off surrounding surfaces before painting.
8. Clean the body bonding surface with a sponge dampened in alcohol. After cleaning, keep oil, grease and water from getting on the clean surface.
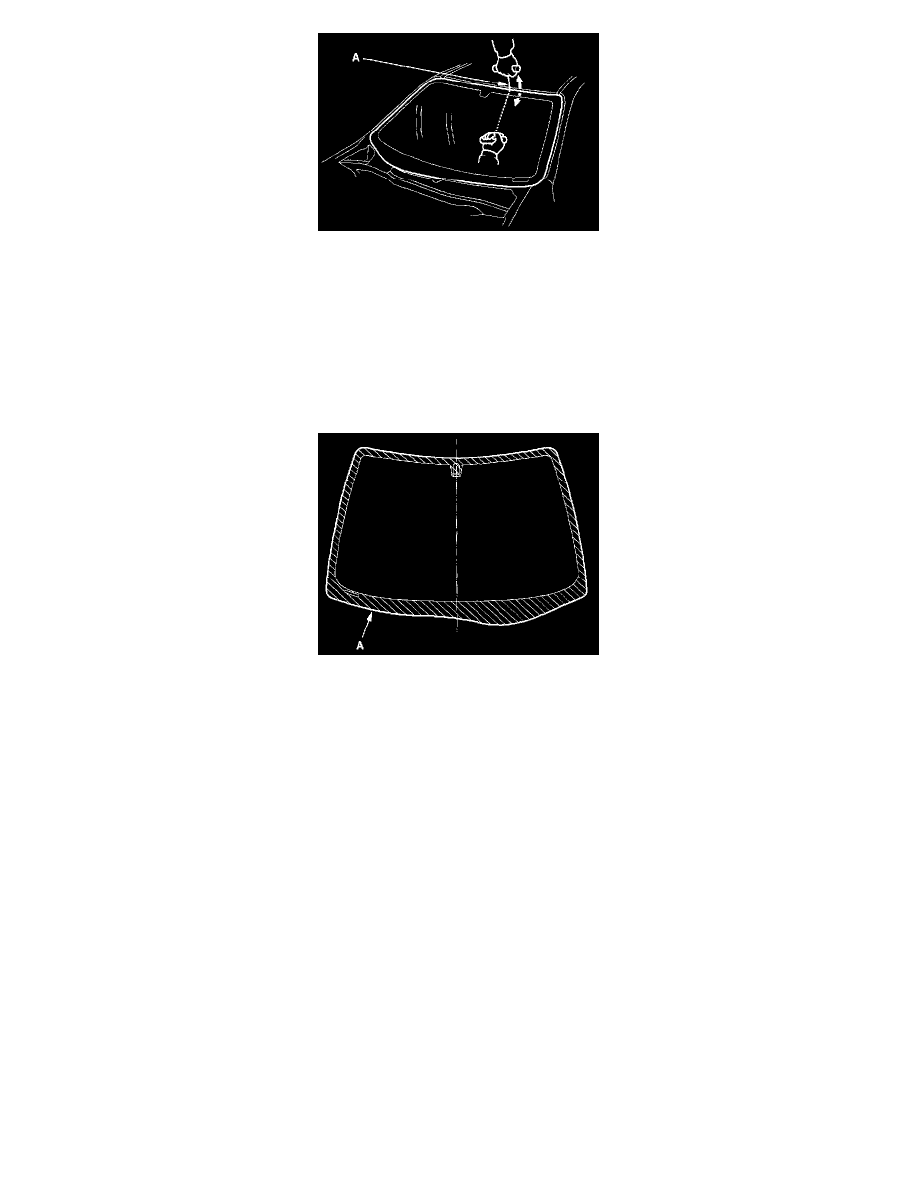
9. If the old windshield is to be reinstalled, use a putty knife to scrape off all of the old adhesive, the fasteners, the rubber dam and the dashboard seal
from the windshield. Clean the shaded portion of the windshield (A) with alcohol where new adhesive is to be applied. Make sure the bonding
surface is kept free of water, oil, and grease.