
CL L4-2156cc 2.2L SOHC F22B1 MFI (1997)
53. Tighten the flange bolts to the specified torque.
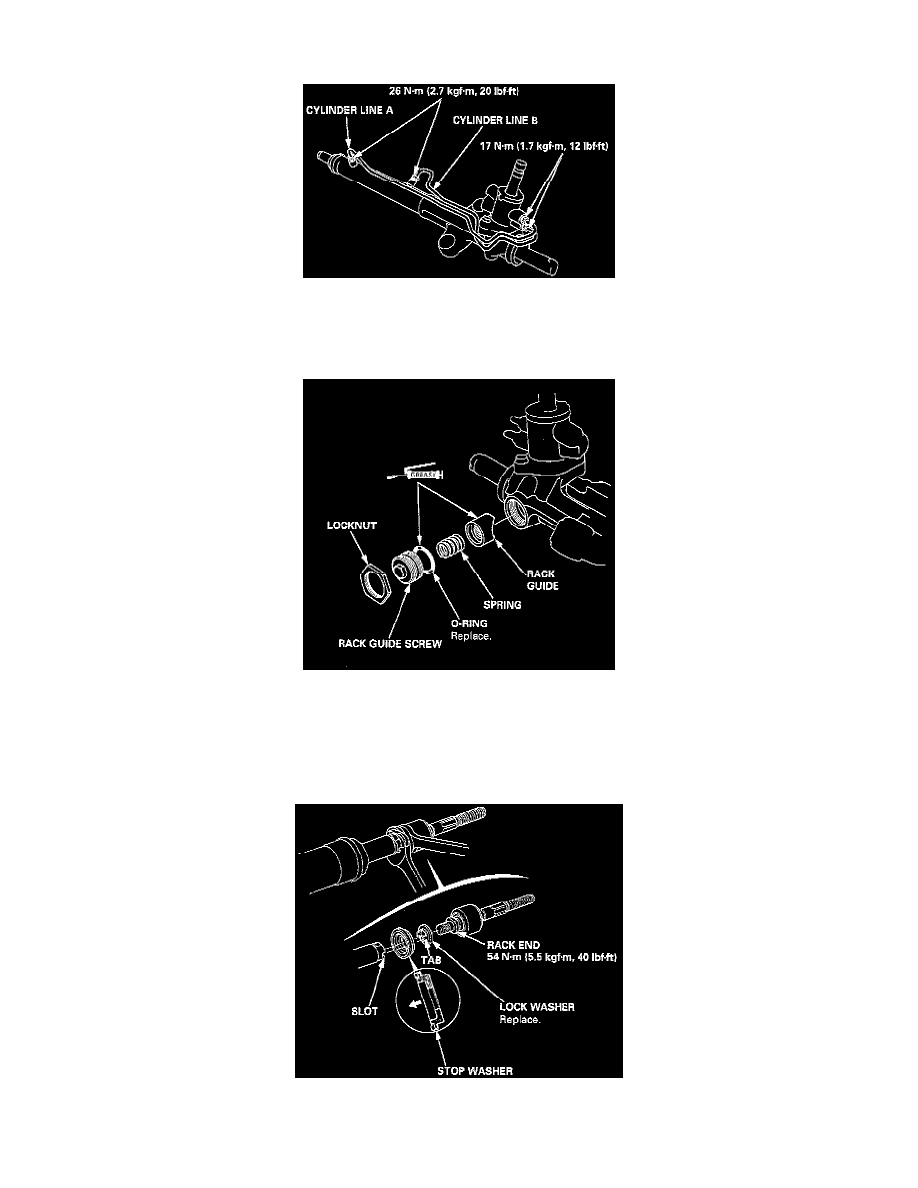
54. Install the cylinder lines A and B.
NOTE: Clean the joints of the cylinder lines A and B thoroughly. The joints must be free of foreign material. Install the cylinder lines A and B by
fighting the flare nuts by hand first, then tighten the flare nuts to the specified torque.
55. Grease the sliding surface of the rack guide, and install it onto the gearbox housing.
56. Apply a thin coat of grease to the new O-ring, and install it on the rack guide screw.
57. Install the spring, rack guide screw and locknut on the gearbox housing.
58. Adjust the rack guide screw (see page 17-15).
NOTE: After adjusting, check that the rack moves smoothly by sliding the rack right and left.
59. Install the stop washer with the chamfered side facing out.
60. Screw each rack end into the rack while holding the new lock washer so its tabs are in the slots in the end of the rack.
61. Tighten the rack end securely.