CL L4-2156cc 2.2L SOHC F22B1 MFI (1997)

NOTE: Remove the ball joint using the special tool.
CAUTION: Avoid damaging the ball joint boot.
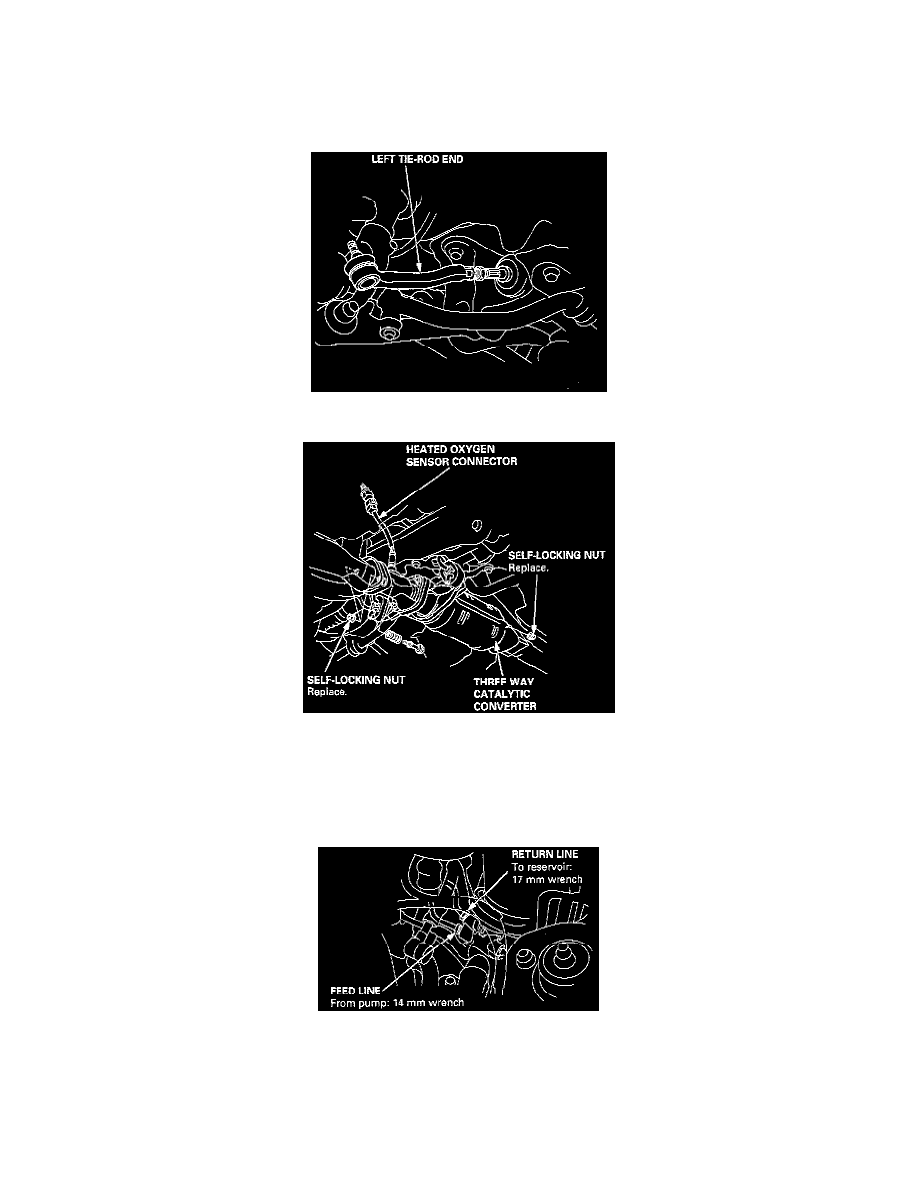
9. Separate the tie-rod ball joint and knuckle using the special tool.
10. Remove the led tie-rod end, then slide the rack all the way to the right.
11. Disconnect the heated oxygen sensor (H02S) connector.
12. Separate the three way catalytic converter by removing the self-locking nuts.
NOTE: Always replace the gaskets with new ones.
13. Disconnect the shift linkage. Refer to Transmission and Drivetrain.
14. Disconnect the two lines from the valve body unit on the steering gearbox.
CAUTION: After disconnecting the lines, plug or seal the lines with a piece of tape or equivalent to prevent foreign materials from entering the
valve body unit. Place the lines disconnected in the previous step at the rear side of the gearbox so that they do not hinder in the gearbox removal.
Do not loosen the cylinder lines A and B between the valve body unit and cylinder.
