
CL L4-2156cc 2.2L SOHC F22B1 MFI (1997)
Pressure Plate: Service and Repair
REMOVAL
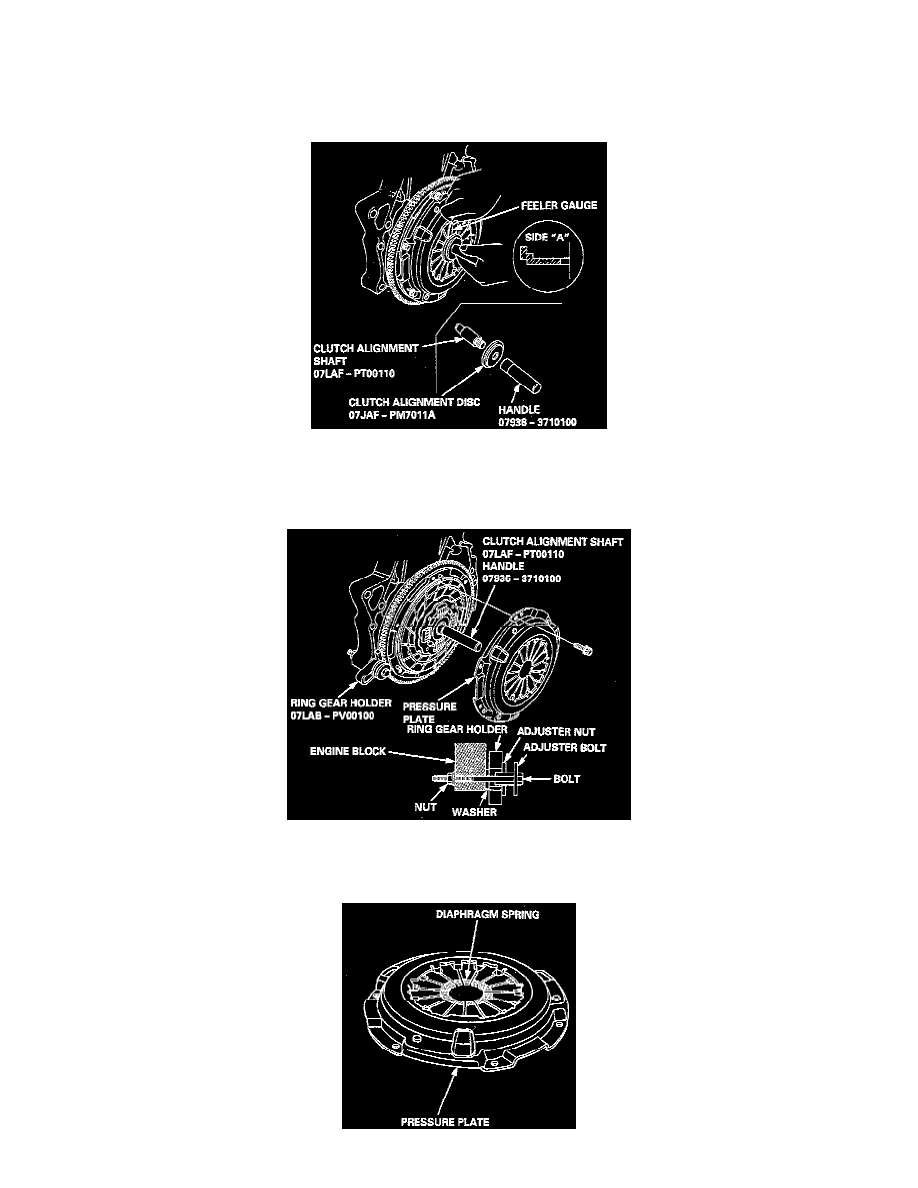
1. Assemble the special tools as shown.
NOTE: Assemble the Clutch Alignment Disc with side "A" facing the diaphragm spring as shown.
2. Check the diaphragm spring fingers for height using the special tools and a feeler gauge.
-
Standard (New): 0.6 mm (0.02 inch) max.
-
Service Limit: 0.8 mm (0.03 inch)
-
If the height is more than the service limit, replace the pressure plate.
3. Install the special tools as shown.
4. To prevent warping, unscrew the pressure plate mounting bolts in a crisscross pattern in several steps. then remove the Pressure plate
5. Inspect the pressure plate surface for wear, cracks, and burning.