
CL TYPE S V6-3.2L SOHC (2001)
6.
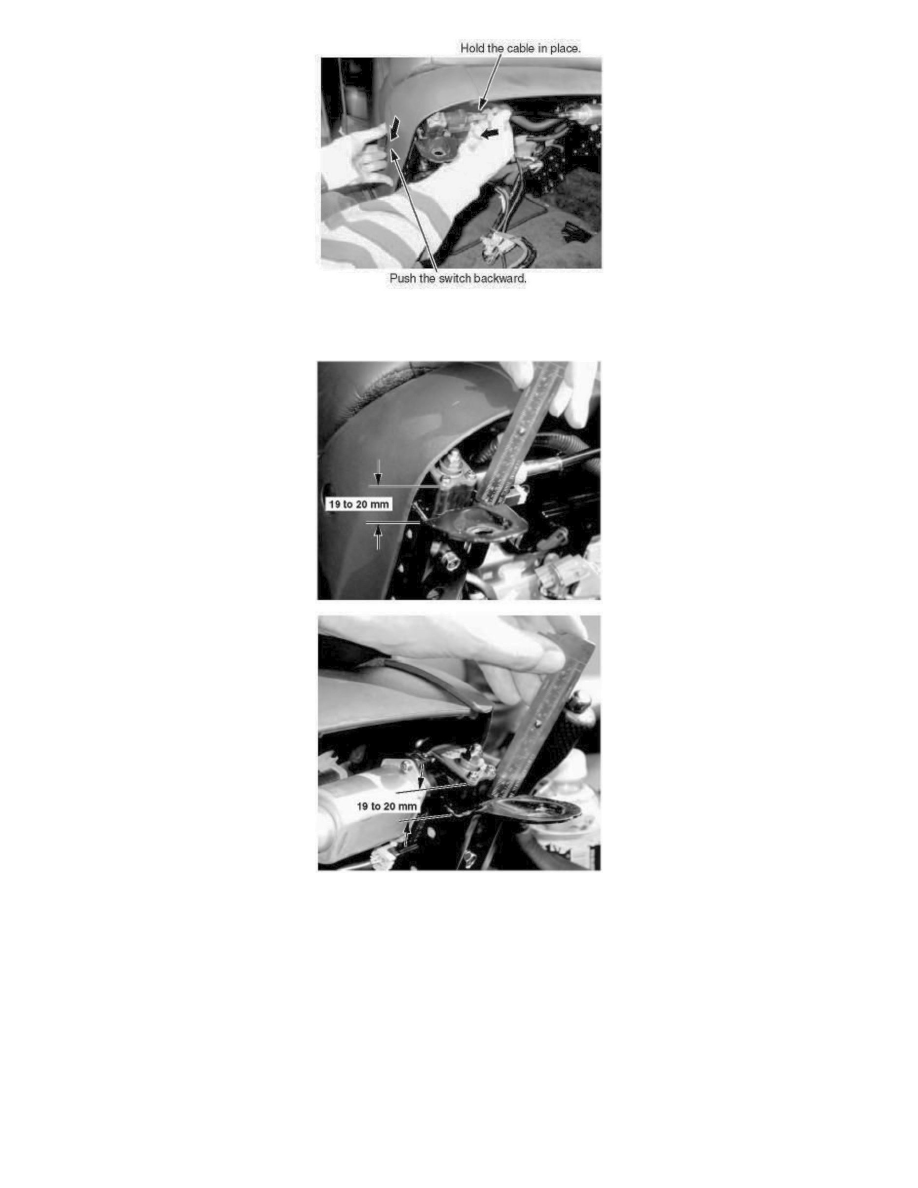
Insert and hold the cable into the outer rail connector. If the cable does not engage completely, quickly push the slide switch backward so the cable
drops into the seat transmission.
7.
Measure the distance between the front of the lower rail and the front of the seat transmission. It should be 19 to 20 mm.
^
If the distance is not 19 to 20 mm, remove the cable from the slave side and repeat steps 5 and 6.
^
If the distance is 19 to 20 mm, go to step 8.
8.
Remove the synchronizer cable from the slave side of the seat. Push the slideswitch to move the seat all the way backward. The inner and outer
rails should now be in the same position.
9.
Reinstall the seat, and torque the mounting bolts to 34 N.m (25 lb-Ft.).
10.
Push the slideswitch to move the seat forward and backward to check for normal operation.