
MDX V6-3.7L (2007)
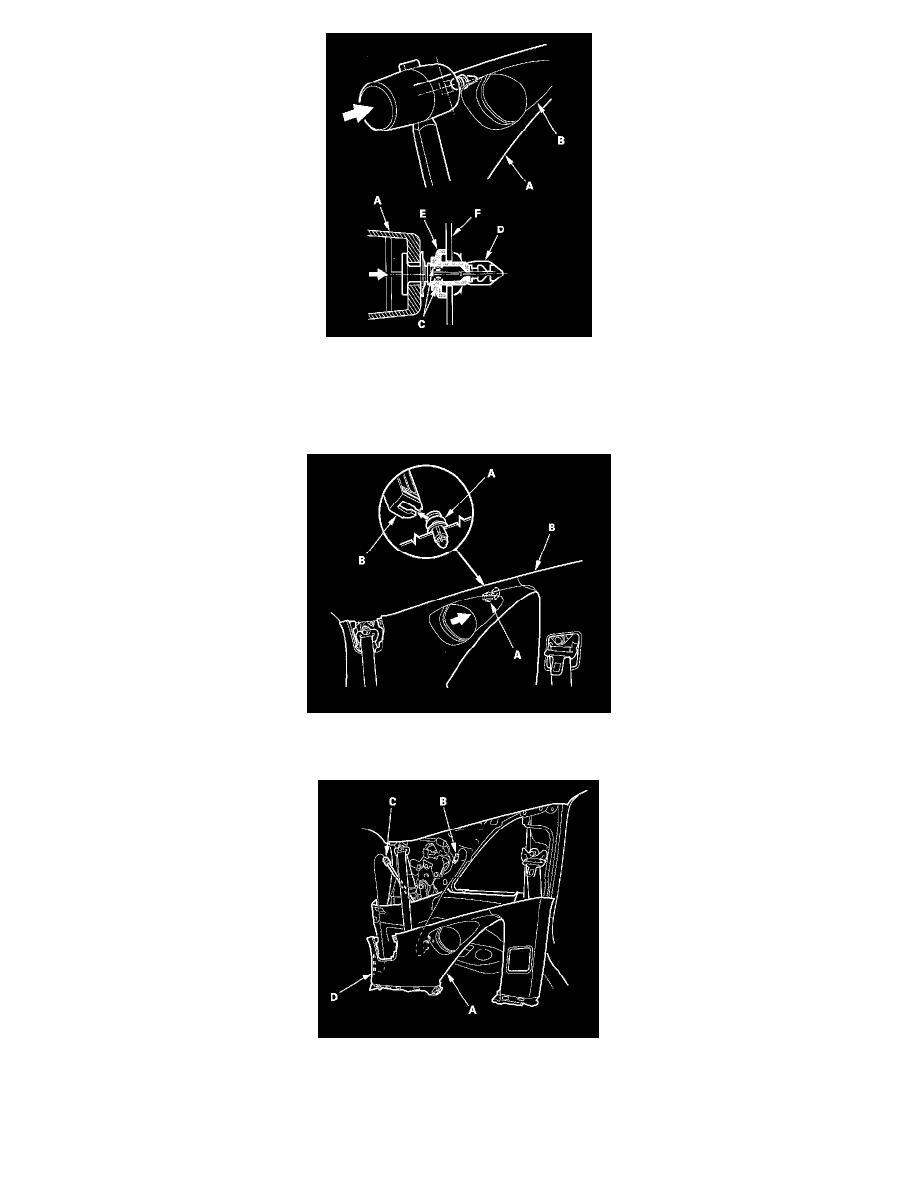
7. While pulling the lower portion of the quarter pillar trim (A) away from the body, hit the surface of the quarter pillar trim (A) with a rubber mallet.
The clip is located in the rear of the hollow (B) in the trim. Hitting the trim surface breaks the projections (C) on the pin (D) and pushes it into the
grommet (E) and against the body (F).
NOTE: The clip must be replaced with a new one when the quarter pillar trim is reinstalled.
8. Slide the upper clip portion (A) of the quarter pillar trim (B) up at a 45 ° angle to remove the trim from the clip. The clip can be removed once the
trim is clear.
9. Remove the quarter pillar trim (A). If equipped with the premium sound system, disconnect the D-pillar speaker connector (B). If equipped with
power tailgate, pull the power tailgate rod (C) out of the slit (D) in the quarter pillar trim.