
MDX V6-3.7L (2007)
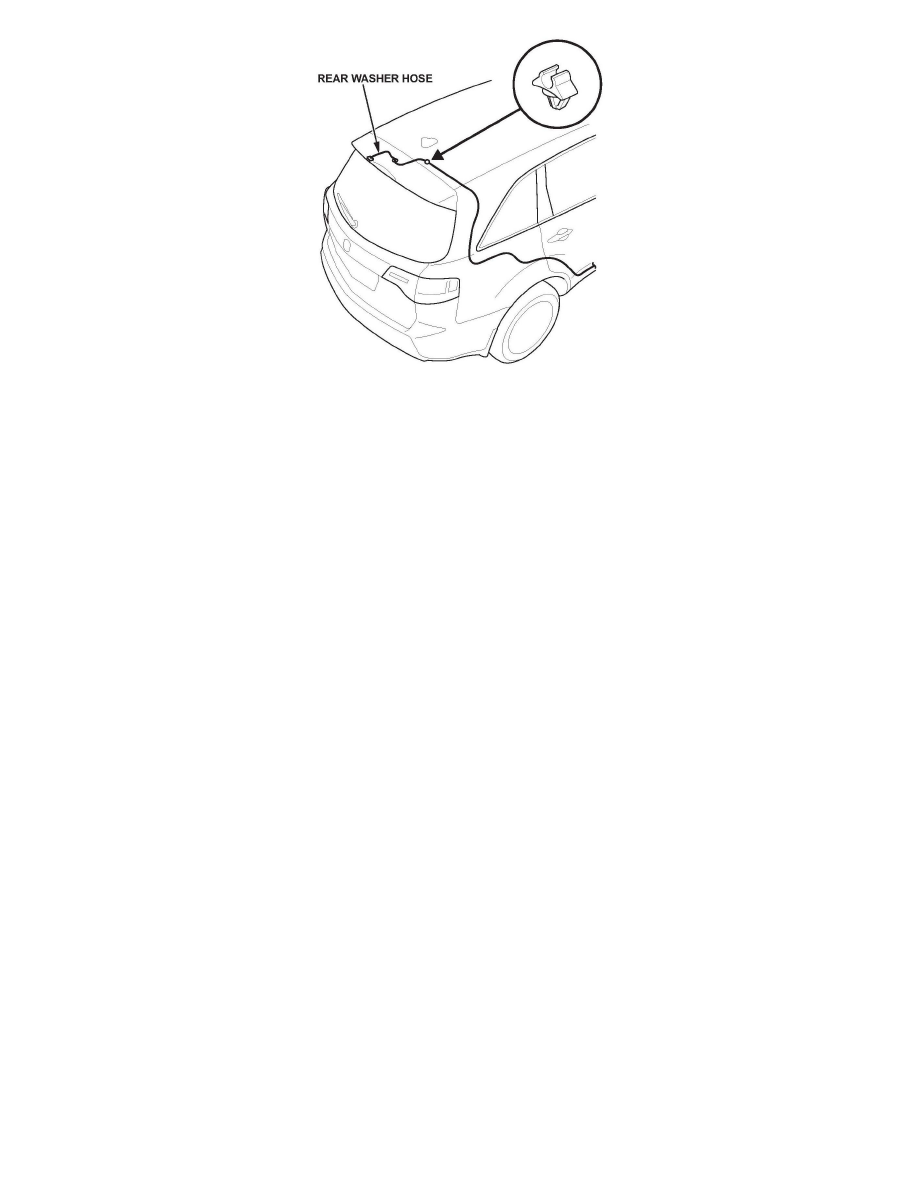
25. Detach the rear washer hose clips, then remove the floor wire harness and the rear washer hose.
Floor Wire Harness Installation
NOTE:
^ Refer to the floor wire harness chart/illustration as needed.
^ Do not bend or twist the new wire harness excessively, and make sure it is not pinched or too loose in any areas.
^ Make sure all connectors on the new wire harness are secure.
^ Replace any damaged interior trim clips.
1. Bring the new floor wire harness and rear wiper hose into the passenger compartment. Place the various wire harness leads and connectors in their
approximate locations.
2. Attach the rear washer hose to the clips on and near the tailgate.
3. Reinstall the six ground bolts in their correct locations on the floor wire harness.
4. Reinstall the rear bracket to the rear HVAC unit.
5. Reinstall the second row seat heater duct, and make sure the mounting clips are secure.
6. Connect the floor wire harness clips and the connectors to the front HVAC unit.
7. Reinstall the third row seat rear heater duct.
8. At the rear of the vehicle, carefully bend the headliner down, then connect the rear washer hose, the XM antenna connector, and the AM/FM antenna
amplifier connector. Reattach the headliner rear clip.
9. Reinstall the cargo area light.
10. Reinstall the SH-AWD control unit:
^ Torque the mounting bolt and the mounting nut to 12 Nm (8.7 lb-ft).
^ Connect the control unit connectors.
11. Reinstall the XM receiver:
^ Torque the mounting bolts to 12 N.m (8.7 lb-ft)