MDX V6-3.7L (2007)

Shift Cable: Adjustments
Shift Cable Adjustment
1. Remove passenger's center console trim.
2. Remove the beverage holder inner case.
3. Shift the transmission into the R position.
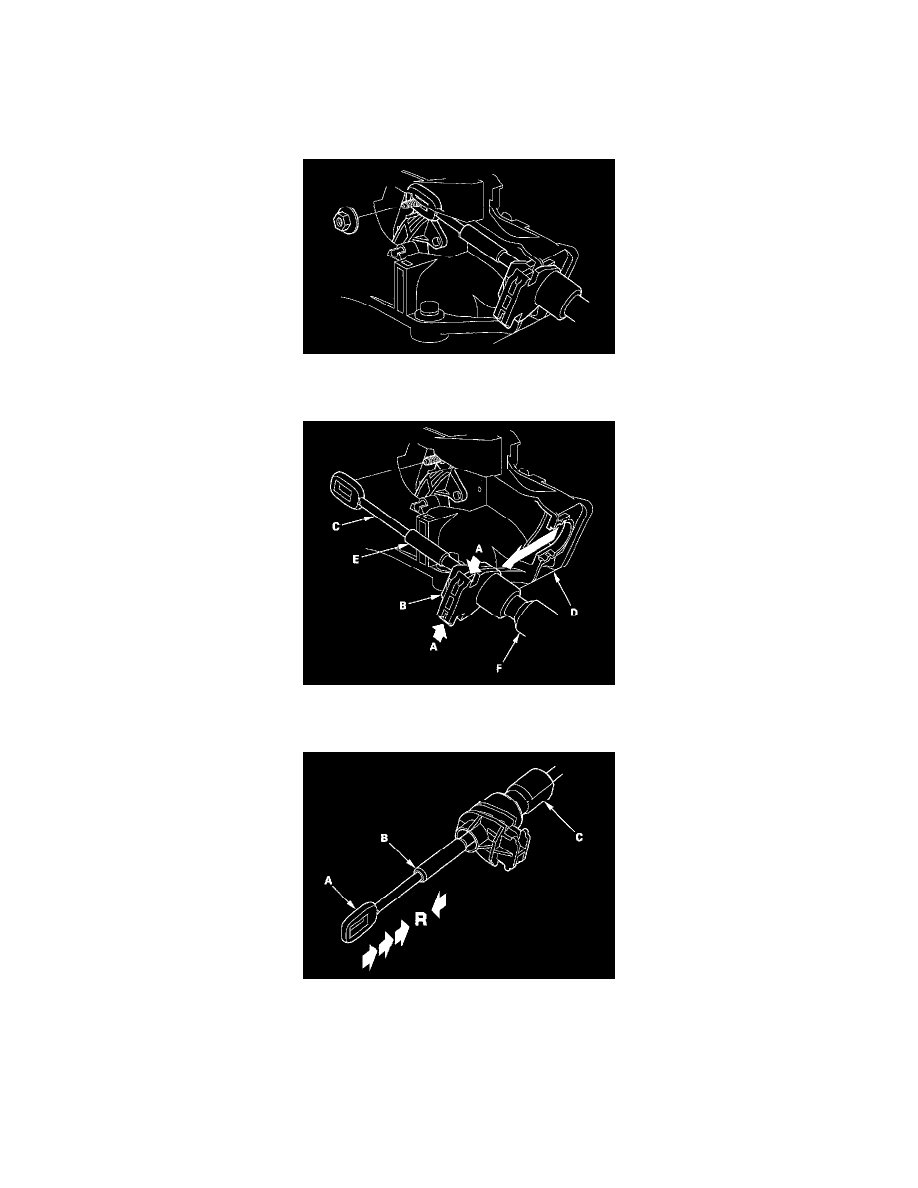
4. Remove the nut securing the shift cable end.
5. Press the holder lock release (A) and pull out the socket holder (B) to remove the shift cable (C) from the shift lever bracket base (D). Do not
remove the shift cable by pulling the shift cable guide (E) and damper (F).
6. Push the shift cable (A) until it stops, then release it. Pull the shift cable back one step so that the shift position is in R. Do not hold the shift cable
guide (B) and damper (C) to adjust the shift cable.
7. Turn the ignition switch ON (II) and verify that the R position indicator comes on.
8. Turn the ignition switch OFF.
9. Place the shift lever in the R position, then insert tapered tip 6.0 mm (0.24 in.) pin (A) through the positioning hole (B) on the shift lever bracket
base, through the positioning hole (C) on the shift lever, and into the positioning small hole (D) on the shift lever bracket base. The shift lever is
secured in the R position.
