
NSX V6-3.0L DOHC (1991)
Window Seal: All Technical Service Bulletins
Window Sash Rubber - Torn
January 7, 1991
YEAR
MODEL
1991
NSX
VIN APPLICATION
BULLETIN NO.
Up to JH4NA1... MT000722
91-002
Torn Window Sash Rubber
SYMPTOM
Torn sash rubber at the front and/or rear of the side windows.
PROBABLE CAUSE
The sash holder assembly is adjusted too close to the window. In the closed position, the window stretches the sash rubber, causing it to tear.
CORRECTIVE ACTION
Replace the torn sash holder assemblies with the new units listed under PARTS INFORMATION. Adjust them to prevent future tearing.
1.
Disassemble the door, following the first ten steps of the door disassembly procedure on page 20-6 of the Service Manual.
NOTE:
Watch carefully when removing the eight screws in step 2 on page 20-6. Some or all may have washers behind them.
2.
To replace the front sash holder assembly, remove the two mounting bolts and locknut. Count the number of tums it takes to remove the adjusting
bolt from the sash. Remove the front sash from the door by pulling it straight up.
3.
Install the new assembly. Keep the same alignment by screwing in the adjusting bolt the number of turns counted in step 2. Tighten the two
mounting bolts and locknut.
4.
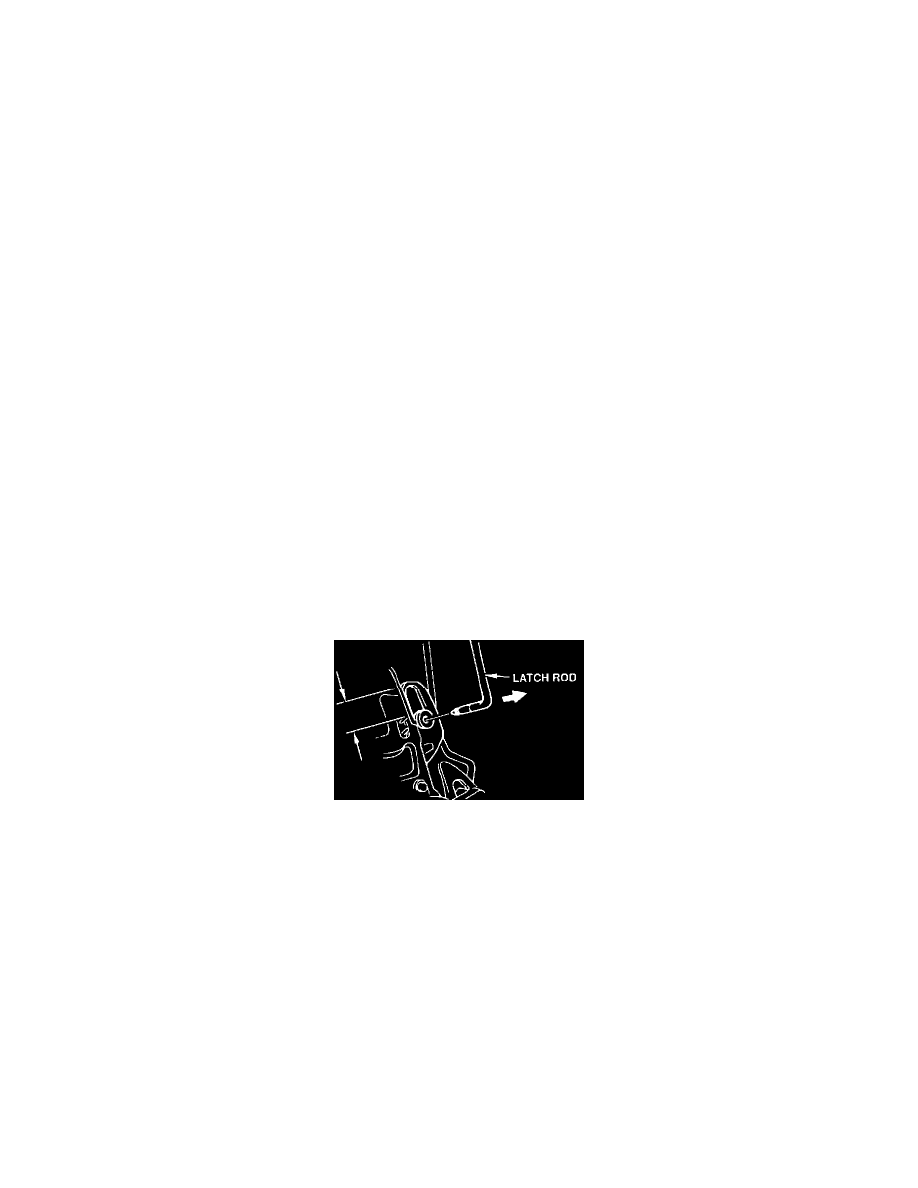
To replace the rear sash holder assembly, remove the mounting bolt and locknut. Count the number of turns required to remove the adjusting bolt.
Lift the assembly, then remove the latch rod.
NOTE:
Examine the position of the plastic latch rod clip in the door latch before removing the rod.
5.
Install the new assembly. Position the plastic latch rod clip in the same location. Keep the same alignment by screwing in the adjusting bolt the
number of turns counted in step 4. Tighten the mounting bolt and locknut.
6.
Close the door, then raise the window fully. Measure how far the weatherstrip overlaps the top of the window. If it is more than 2 mm, adjust the
glass height to reduce it to 2 mm. Move the stopper plates as shown on Service Manual page 20-15.