
RDX L4-2.3L Turbo (2008)
14. Remove the upper bearing halves from the connecting rods, and set them aside with their respective caps.
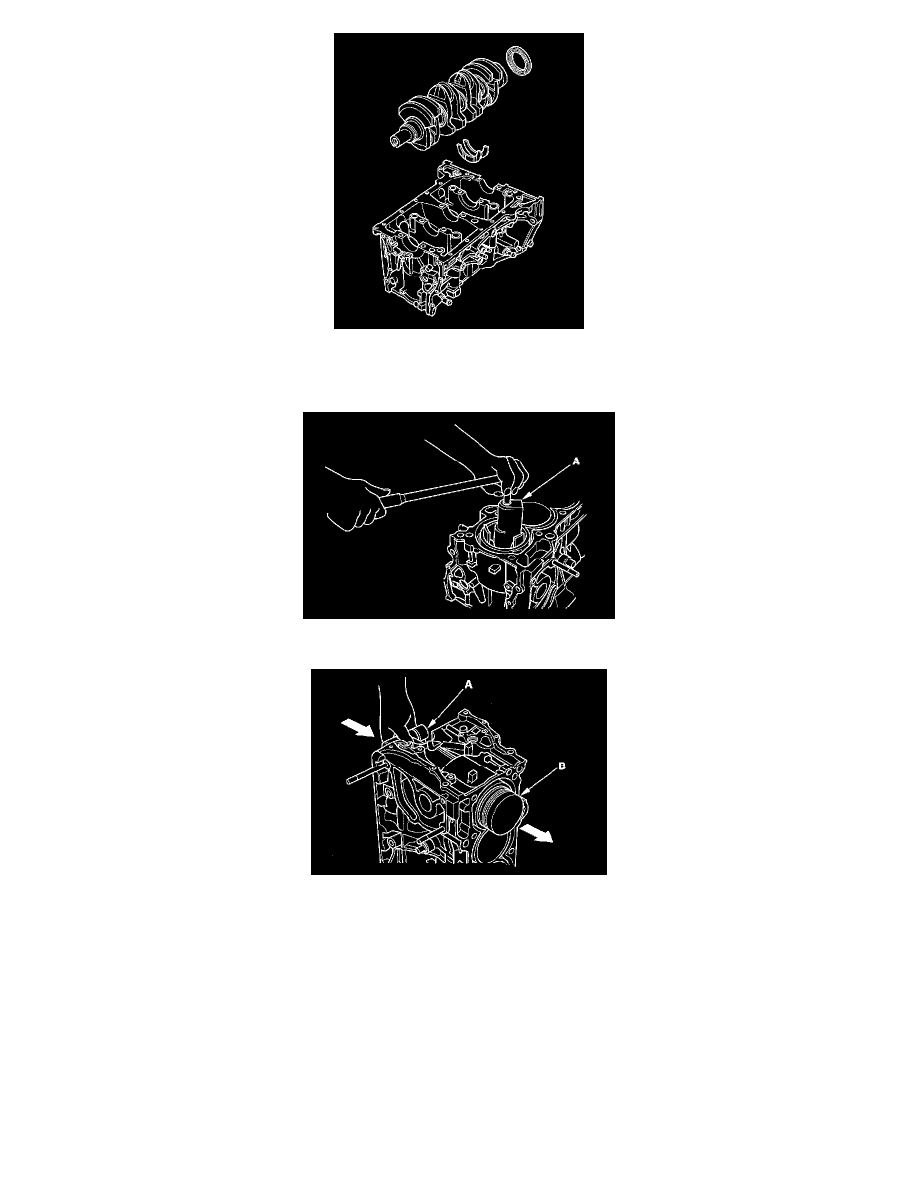
15. If you can feel a ridge of metal or hard carbon around the top of each cylinder, remove it with a ridge reamer (A). Follow the reamer
manufacturer's instructions. If the ridge is not removed, it may damage the pistons as they are pushed out.
16. Use the wooden handle of a hammer (A) to drive out the piston/connecting rod assembly (B).
17. Reinstall the lower block and bearings on the engine in the proper order.
18. Reinstall the connecting rod bearings and caps after removing each piston/connecting rod assembly.
19. Mark each piston/connecting rod assembly with its cylinder number to make sure they are reused in the original order.
NOTE: The existing number on the connecting rod does not indicate its position in the engine, it indicates the rod bore size.