
RDX L4-2.3L Turbo (2008)
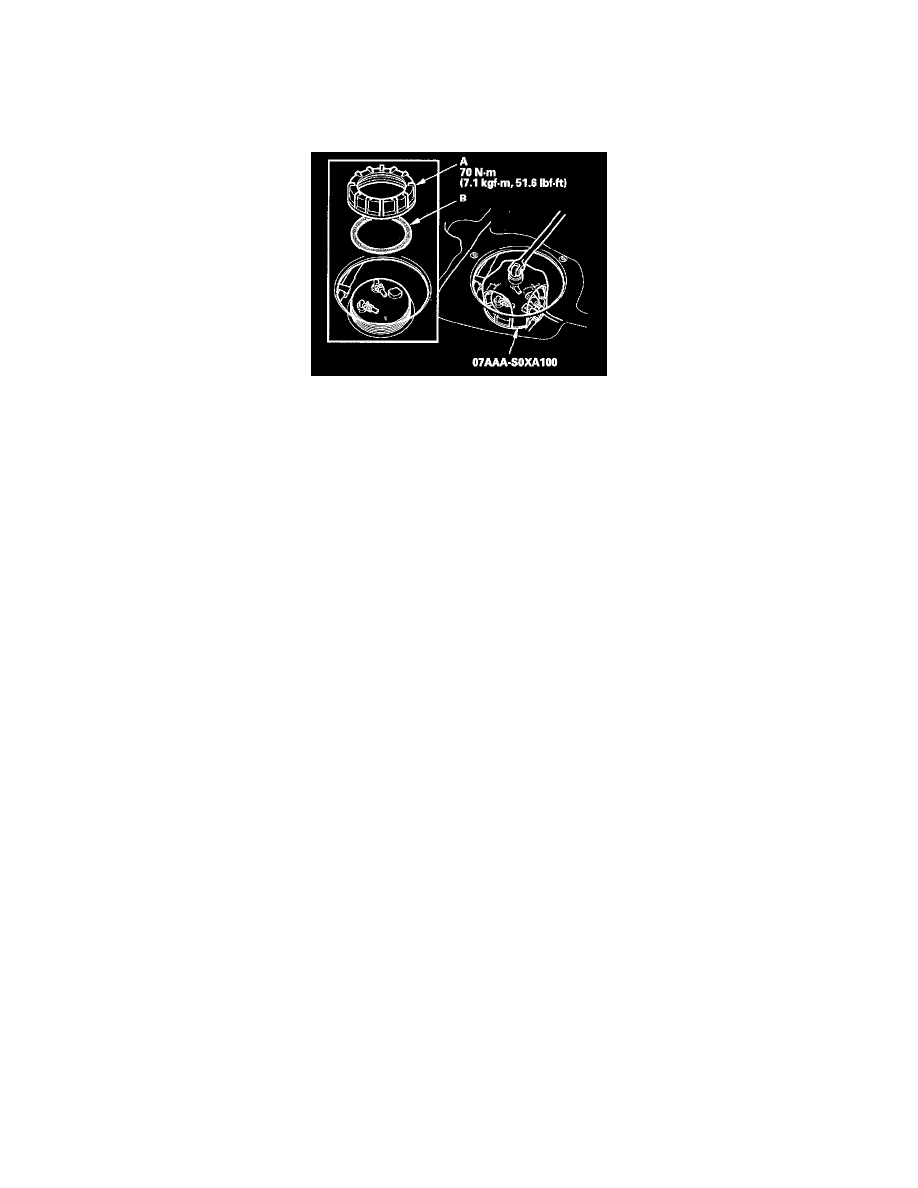
4. Using the tool, tighten a new locknut (A) with a new locknut plate (B) to the specified torque.
NOTE:
-
After tightening, make sure the marks are still aligned.
-
After installation, check the base gasket visually or by hand to be sure it is not pinched.
5. Connect the fuel tank unit 4P connector.
6. Reconnect the negative cable to the battery, and turn the ignition switch ON (II) (but do not operate the starter motor). The fuel pump will run for
about 2 seconds, and fuel pressure will rise. Repeat two or three times, and check that there is no leakage in the fuel supply system.
7. Install the parts in the reverse order of removal.