
RDX AWD L4-2.3L Turbo (2010)
Oil Pan: Service and Repair
Engine Oil Pan Removal
Engine Oil Pan Removal
Special Tools Required
-
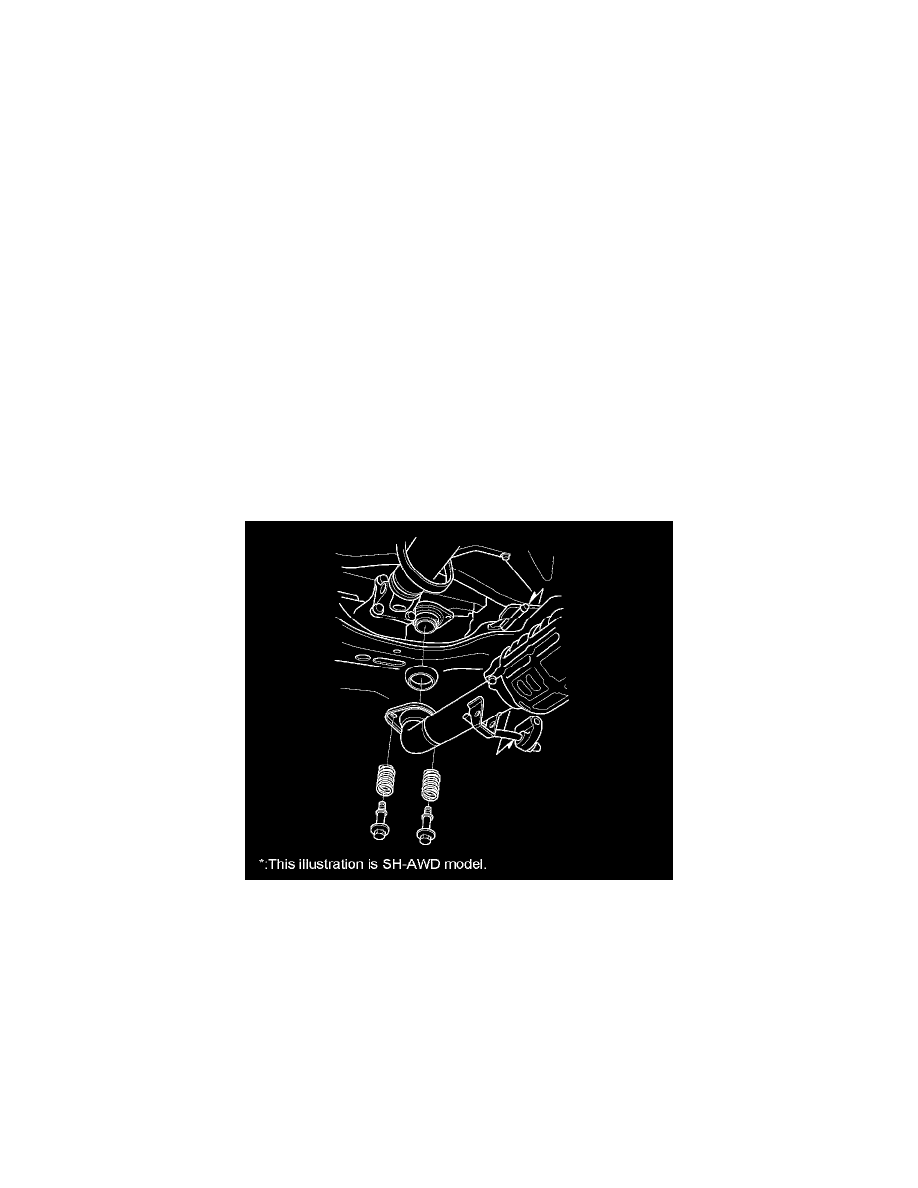
Subframe Adapter VSB02C000016
*Available through the Acura Tool and Equipment Program 888-424-6857
1. If the engine already is out of the vehicle, go to step 14.
2. Raise the vehicle on the lift to full height.
3. Drain the engine oil See: Engine Oil/Service and Repair.
4. Remove the front wheels.
5. Remove the splash shield See: Body and Frame/Splash Guard/Service and Repair/Front Splash Shield Replacement.
6. Remove the bolt securing the P/S fluid line bracket and unclamp the P/S fluid line clamps on the front subframe See: Service and Repair/Engine
Removal.
7. Remove the bolts securing the steering gearbox mounting brackets See: Service and Repair/Engine Removal.
8. Remove the two bolts at the under-floor three way catalytic converter (TWC) front joint See: Exhaust System/Catalytic Converter/Service and
Repair/Under-Floor TWC Removal/Installation.
9. Remove the lower torque rod See: Service and Repair/Engine Removal.
10. Attach the subframe adapter (A) to the subframe and hang the belt of the subframe adapter over the front of the subframe, then secure the belt with
its stop.