
RDX AWD L4-2.3L Turbo (2010)
Engine Control Module: Service and Repair
PCM Replacement
Special Tools Required
-
Honda diagnostic system (HDS) tablet tester
-
Honda interface module (HIM) and an iN workstation with the latest HDS software version
-
HDS pocket tester
-
GNA600 and an iN workstation with the latest HDS software version
Any one of the above updating tools can be used.
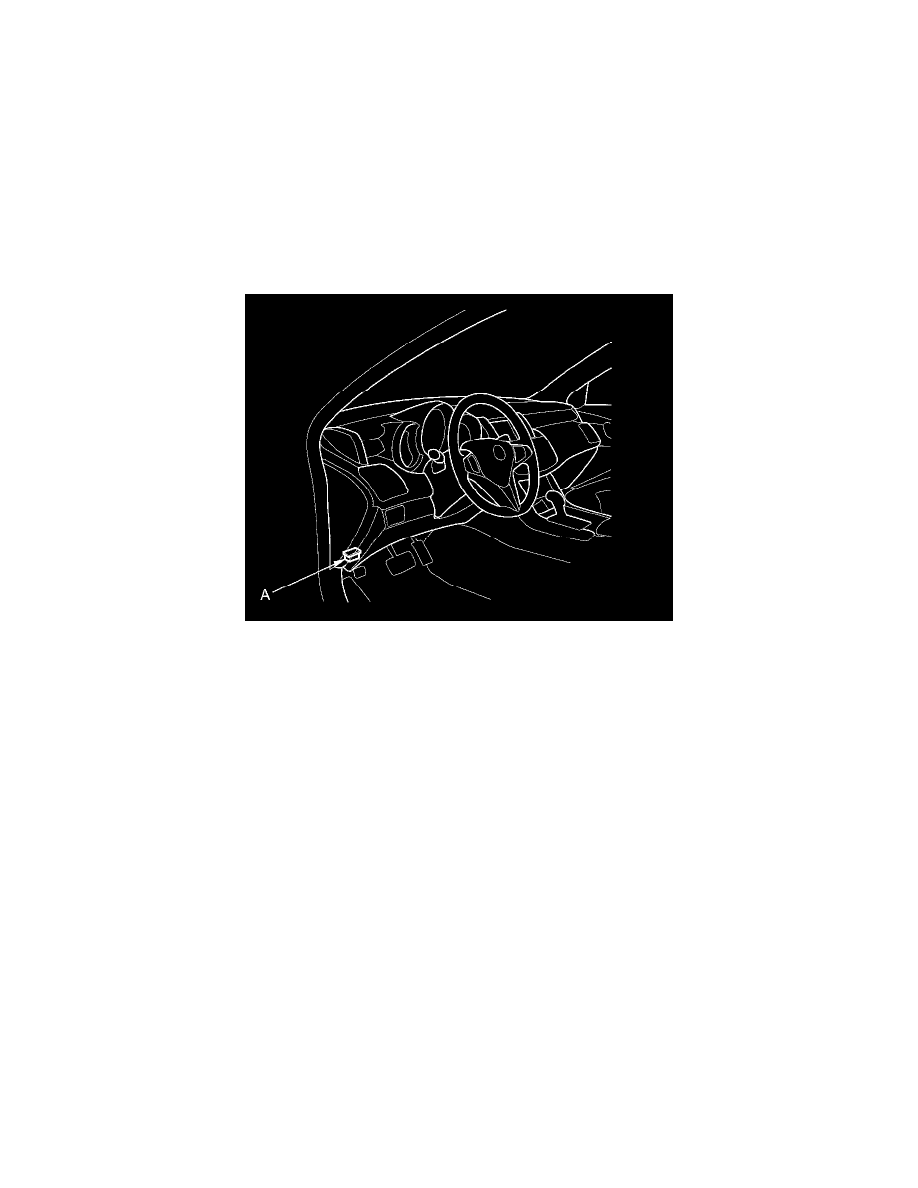
1. Connect the HDS to the data link connector (DLC) (A) located under the driver's side of the dashboard.
2. Turn the ignition switch to ON (II).
3. Make sure the HDS communicates with the PCM and other vehicles system. If it doesn't, go to the DLC circuit troubleshooting See: Computers
and Control Systems/Testing and Inspection/Component Tests and General Diagnostics/DLC Circuit Troubleshooting. If you are returning from
DLC circuit troubleshooting, skip steps 4 through 7, 16 through 18, and 21 through 22, and do parts procedures after replacing the PCM (USA,
Canada models);
-
Replace the engine oil See: Engine, Cooling and Exhaust/Engine/Engine Lubrication/Engine Oil/Service and Repair and the engine oil filter
See: Engine, Cooling and Exhaust/Engine/Engine Lubrication/Oil Filter/Service and Repair.
-
Replace the ATF See: Transmission and Drivetrain/Automatic Transmission/Transaxle/Service and Repair/Removal and Replacement/ATF
Replacement.
-
Clean the throttle body See: Fuel Delivery and Air Induction/Throttle Body/Service and Repair/Procedures.
4. USA, Canada models: Select the PGM-FI system with the HDS.
5. USA, Canada models: Select the INSPECTION MENU with the HDS.
6. USA, Canada models: Select the ETCS TEST, then select the TP POSITION CHECK, and follow the screen prompts.
NOTE: If the TP POSITION CHECK indicates FAILED, continue with this procedure.
7. USA, Canada models: Select the REPLACE PCM MENU, then Select READ DATA, and follow the screen prompts.
NOTE:
-
Doing this step copies (READS) the engine oil life data from the original PCM so you can later download (WRITES) it into the new PCM.
-
If READ DATA indicates FAILED, continue with this procedure.
8. Turn the ignition switch to LOCK (0).