
RL V6-3.7L (2009)
Front Door Panel: Service and Repair
Front Door Panel Removal/Installation
Front Door Panel Removal/Installation
Special Tools Required
-
KTC trim tool set SOJATP2014*
-
Trim pad remover, Snap-on A 177A or equivalent, commercially available
*Available through the Acura Tool and Equipment Program.
NOTE: Use the appropriate tool from the KTC trim tool set to avoid damage when prying components.
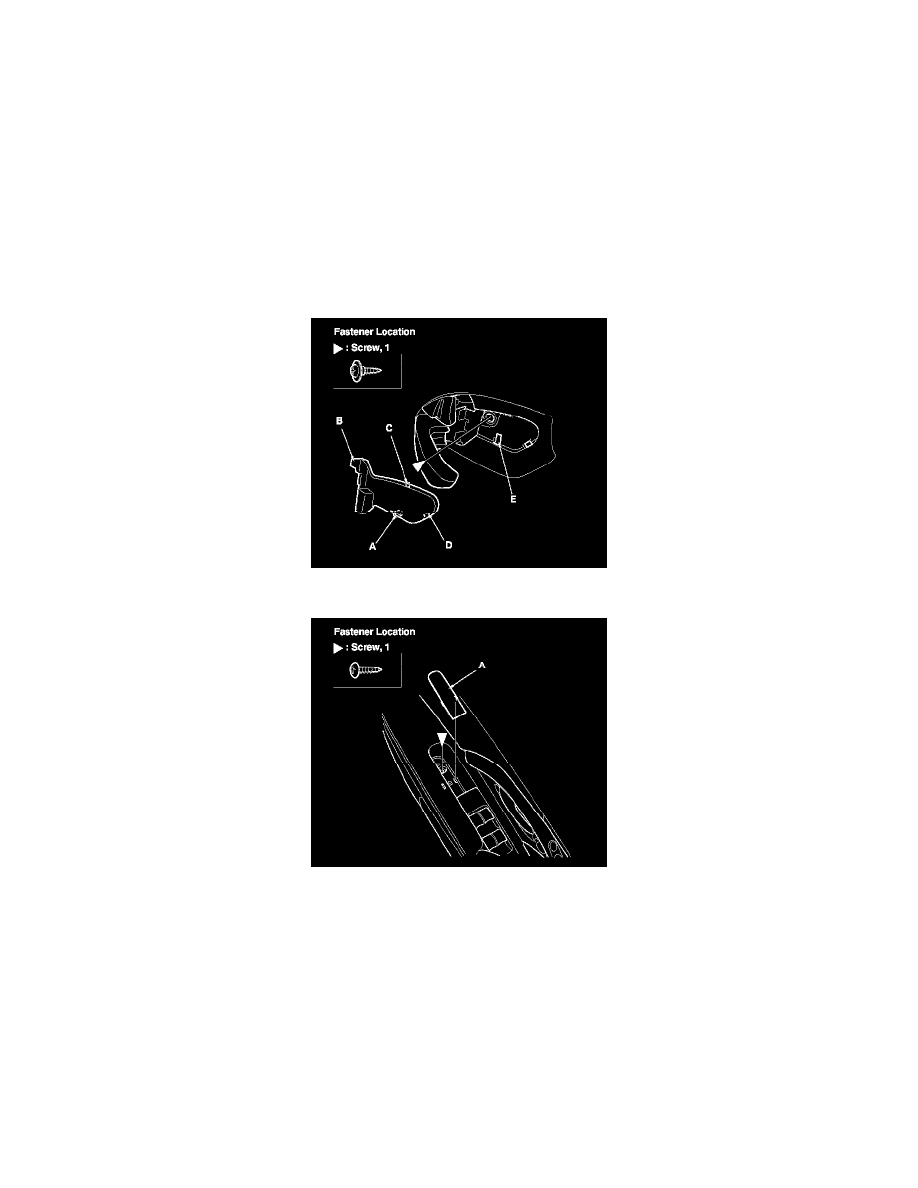
1. Using a trim tool, push on the bottom hook (A) and pivot the cover (B) on the upper hooks (C), then detach the front hook (D), and then remove
the cover and the screw securing the inner handle (E).
2. Using a trim tool, push up the rubber mat (A), then remove the screw.
3. Using a trim tool, pull the top edge of the pocket light cover (A) out to release the hooks (B), and release the hooks (C, D), then remove the cover,
and then remove the screw.