RL V6-3.7L (2009)

Trunk / Liftgate Hinge: Service and Repair
Trunk Lid Hinge Arm Replacement
NOTE:
-
Have an assistant help you when removing and installing the trunk lid hinge arms.
-
Take care not to scratch the body and the trunk lid.
-
Put on gloves to protect your hands.
1. Remove these items:
-
Trunk side trim panel See: Trunk / Liftgate Interior Trim Panel/Service and Repair/Interior Trim Removal/Installation - Trunk Area
-
Trunk lid trim panel See: Trunk / Liftgate Interior Trim Panel/Service and Repair/Interior Trim Removal/Installation - Trunk Lid
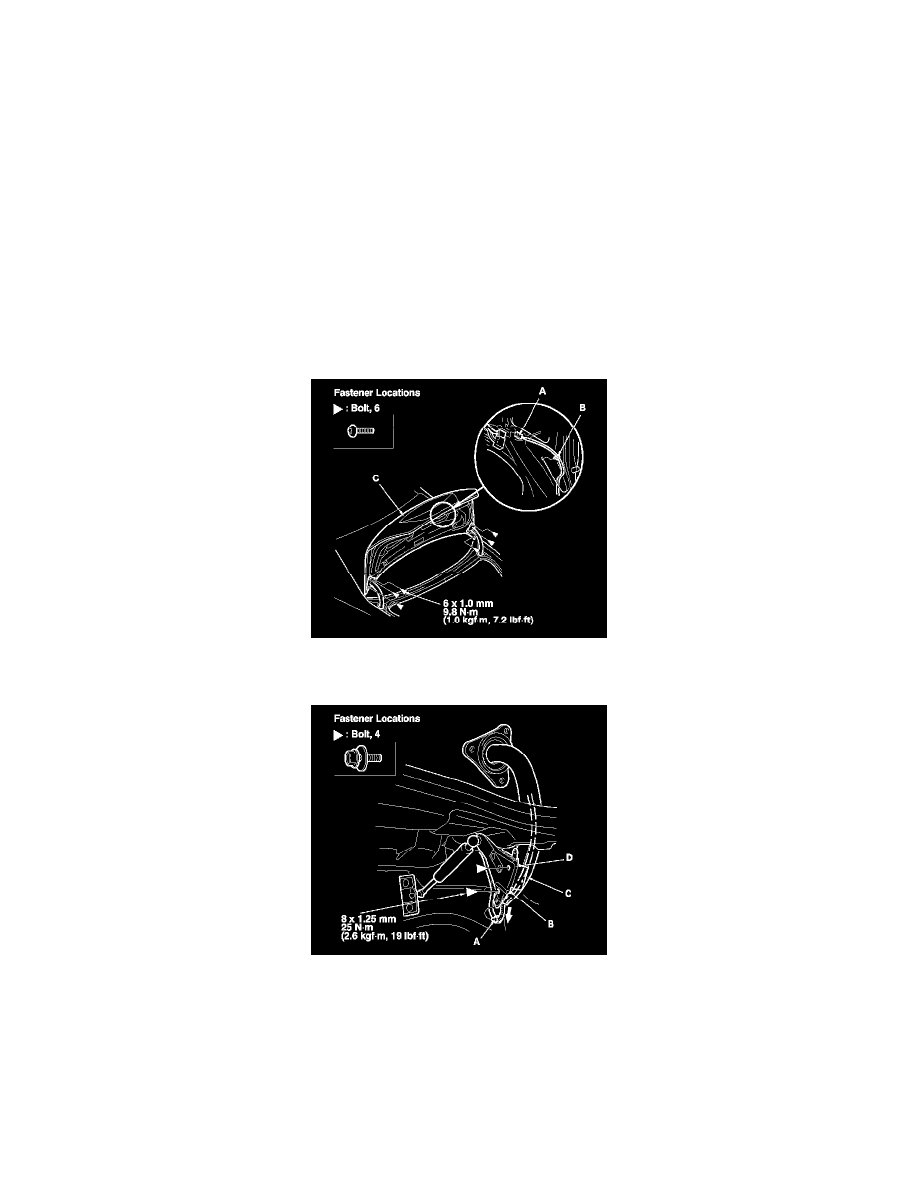
2. Disconnect the trunk lid harness connector (A), then detach the clip (B). Using a TORX T30 bit, remove the bolts, then remove the trunk lid (C),
and pull the trunk lid harness out through the trunk lid.
3. Detach the harness clip (A) from the right trunk hinge arm. From both sides, remove the bolts, and release the hook (B), then remove the trunk
hinge arm (C) from the trunk lid hinge (D).
4. Release the double-sided adhesive tapes (A), and using a trim tool, detach the pins (B) of the trunk lid shield (C), then remove the trunk lid shield
and the grommet (D).
