
RL V6-3.7L (2009)
-
Kick panel See: Interior Moulding / Trim/Scuff Plate/Service and Repair/Interior Trim Removal/Installation - Front Door Sill Area
-
Driver's dashboard undercover See: Interior Moulding / Trim/Dashboard / Instrument Panel/Service and Repair/Driver's Dashboard
Undercover Removal/Installation
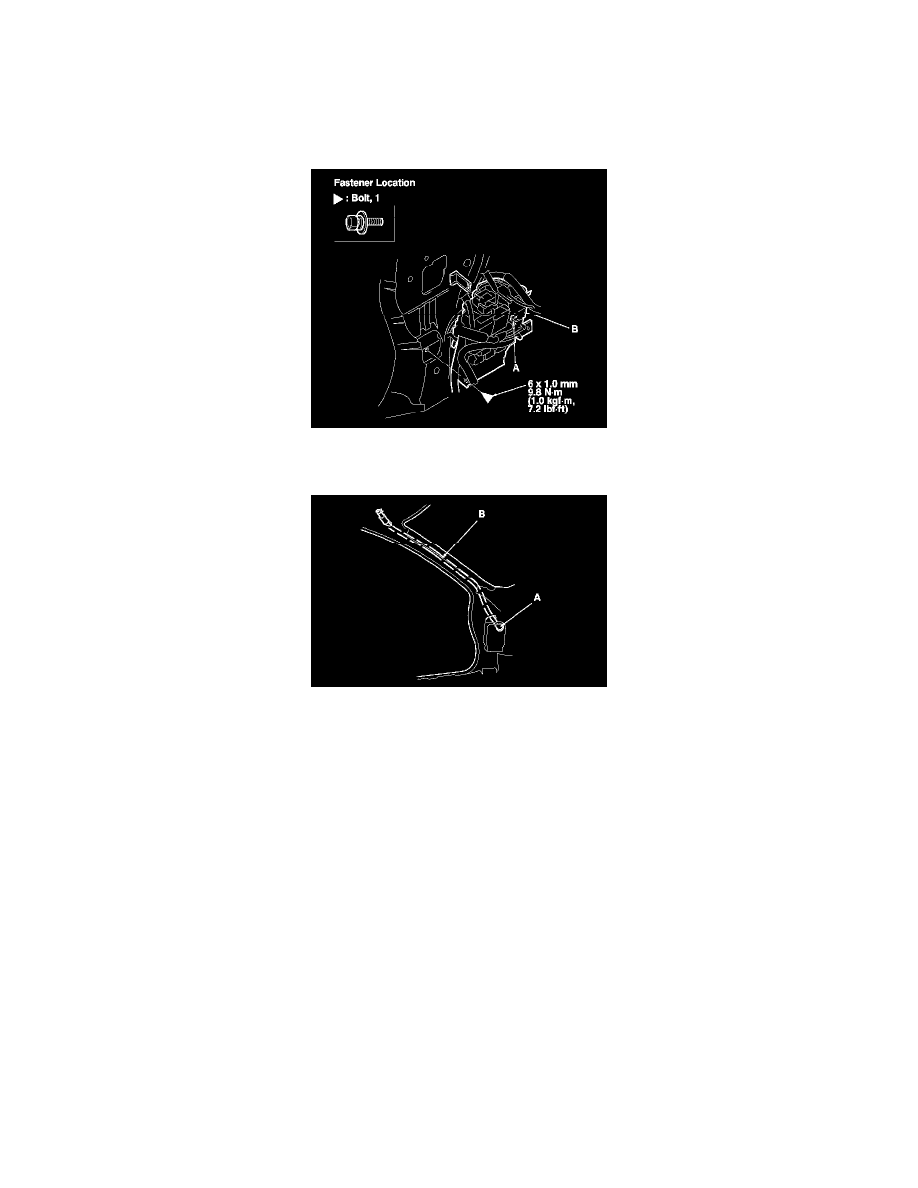
6. Driver's side: Remove the bolt, and release the hook (A), then move the fuse box (B) as needed.
7. To remove a front drain valve (A) from the body, tie a string to the top end of the drain tube, then pull the front drain tube (B) down out of the
A-pillar. Leave the string in the pillar to use when reinstalling the drain tube.
Rear Drain Tube
8. Remove these items:
-
Spare tire lid See: Doors, Hood and Trunk/Trunk / Liftgate/Trunk / Liftgate Interior Trim Panel/Service and Repair/Interior Trim
Removal/Installation - Trunk Area
-
Trunk front trim panel See: Doors, Hood and Trunk/Trunk / Liftgate/Trunk / Liftgate Interior Trim Panel/Service and Repair/Interior Trim
Removal/Installation - Trunk Area
-
Trunk rear trim panel See: Doors, Hood and Trunk/Trunk / Liftgate/Trunk / Liftgate Interior Trim Panel/Service and Repair/Interior Trim
Removal/Installation - Trunk Area
-
Trunk side trim panel See: Doors, Hood and Trunk/Trunk / Liftgate/Trunk / Liftgate Interior Trim Panel/Service and Repair/Interior Trim
Removal/Installation - Trunk Area
9. Tie a string to the top end of the rear drain tube (A), then pull the drain tube down out of the pillar. Leave the string in the pillar to use when
reinstalling the drain tube.