
RL V6-3.7L (2009)
Shift Solenoid: Testing and Inspection
A/T Shift Solenoid Valve Test, Replacement, and Shift Solenoid Wire Harness Replacement
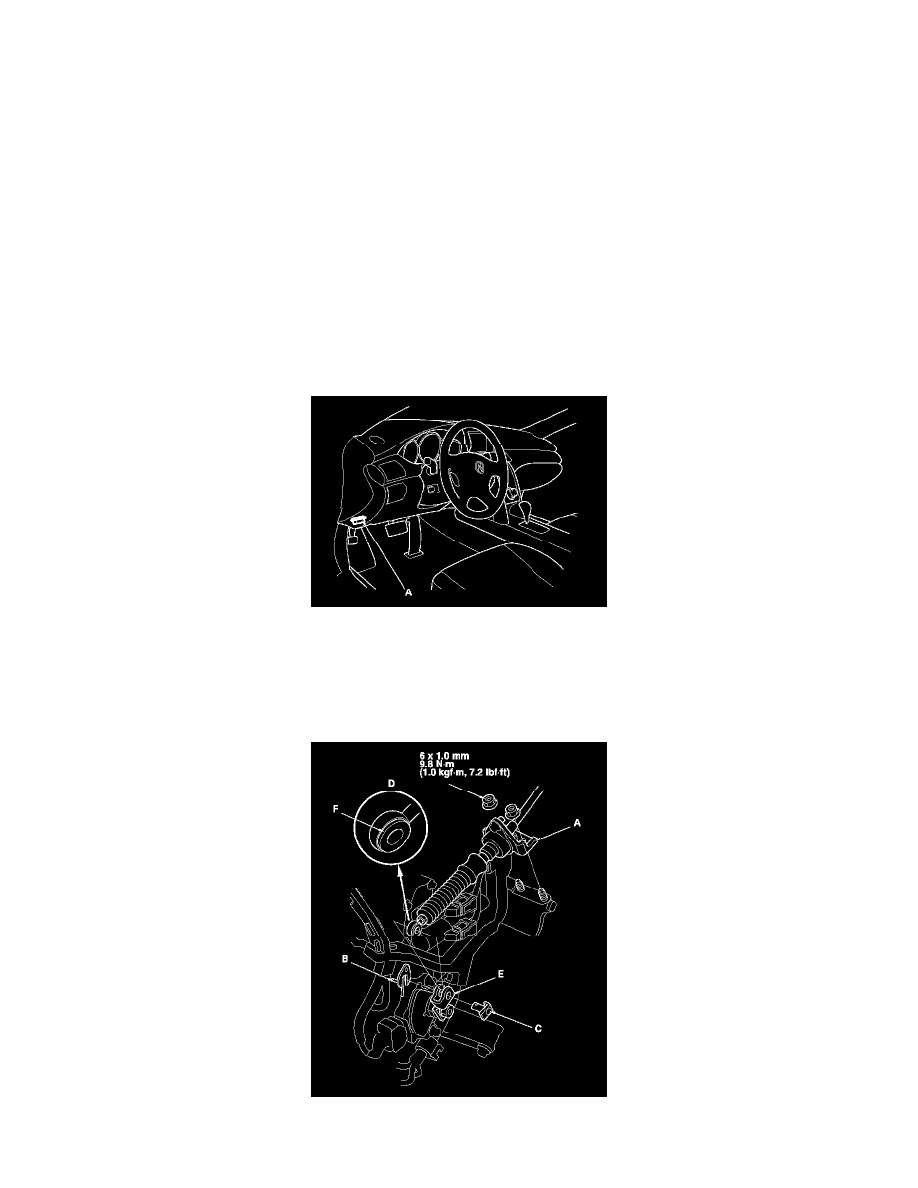
1. Connect the HDS to the DLC (A).
2. Select Shift Solenoid A, B, C, and D in the Miscellaneous Test Menu on the HDS.
NOTE: If the HDS does not communicate with the PCM, troubleshoot the DLC circuit. See: Powertrain Management/Computers and Control
Systems/Testing and Inspection/Component Tests and General Diagnostics/DLC Circuit Troubleshooting
3. Check that shift solenoid valves A, B, C, and D operate with the HDS. A clicking sound should be heard.
-
If a clicking sound is heard, the valves are OK. The test is complete, disconnect the HDS.
-
If no clicking sound is heard, go to step 4, and test the solenoid valves.
4. Do the battery removal procedure. See: Starting and Charging/Battery/Service and Repair/Removal and Replacement
5. Remove the air cleaner. See: Powertrain Management/Fuel Delivery and Air Induction/Throttle Body/Service and Repair/Procedures
6. Remove the battery base.
7. Remove the nuts securing the shift cable bracket (A).
8. Remove the spring clip/washer (B) and control pin (C), then separate the shift cable end (D) from the control lever (E).
9. Check the bushing (F) in the shift cable end for a proper fit and wear. If the bushing is loose or worn, replace the shift cable. See: Shift
Linkage/Shift Cable/Service and Repair
10. Disconnect the A/T clutch pressure control solenoid valve A connector (A), A/T clutch pressure control solenoid valve B connector (B), 4th clutch
transmission fluid pressure switch connector (C), shift solenoid harness connector (D), and input shaft (mainshaft) speed sensor connector (E).