
RL V6-3.7L (2009)
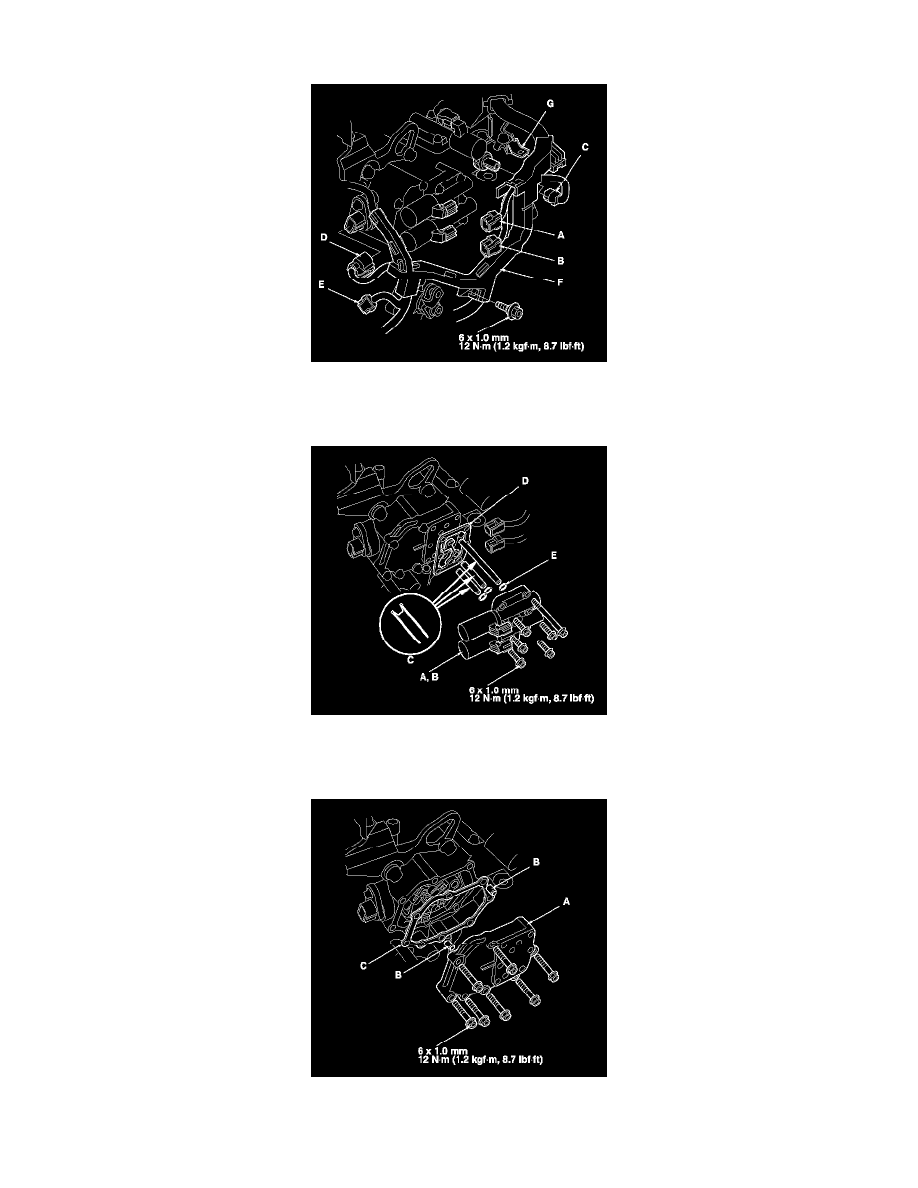
11. Remove the bolt securing the harness cover (F), and remove the harness cover from its bracket (G).
12. Remove the A/T clutch pressure control solenoid valves A and B, ATF pipes (C), and gasket (D).
13. Replace the gasket and O-rings (E) with new ones when installing the A/T clutch pressure control solenoid valves A and B.
14. Remove the solenoid valve cover (A), dowel pins (B), and gasket (C).
15. Replace the gasket with a new one when installing the solenoid valve cover.
16. Disconnect the connectors from shift solenoid valve A, shift solenoid valve B, shift solenoid valve C, and shift solenoid valve D.
17. Measure the resistance of each shift solenoid valve between the connector terminal and body ground.