
RSX L4-2.0L (2005)
6. Coat the valve with ATF, then drop it into its bore. It should drop to the bottom of the bore under its own weight. If not, repeat step 4, then retest.
If the valve still sticks, replace the valve body.
7. Remove the valve, and thoroughly clean it and the valve body with solvent. Dry all parts with compressed air, then reassemble using ATF as a
lubricant.
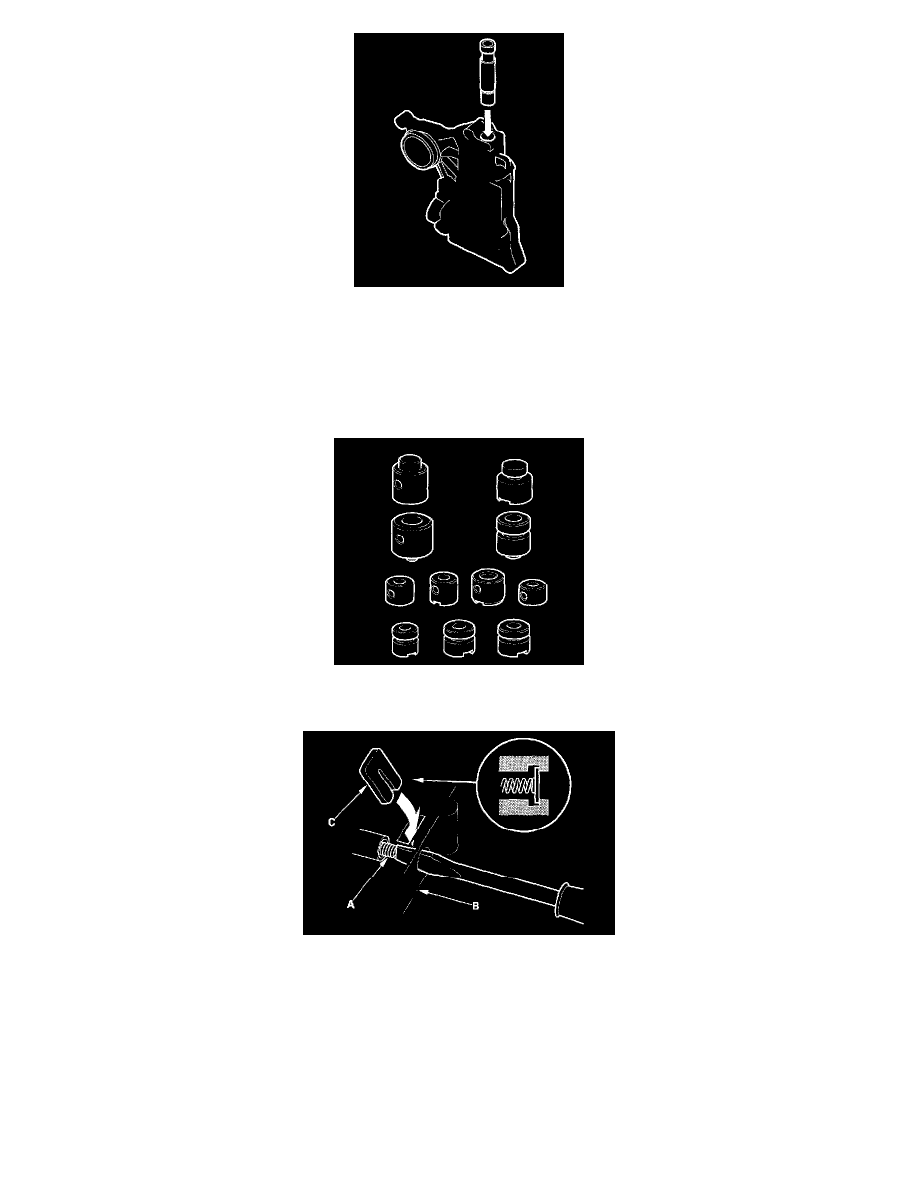
Valve Body Valve Installation
1. Coat all parts with ATF before assembly.
2. Install the valves and springs in the sequence shown for the main valve body, regulator valve body, and servo body. Refer to the valve cap
illustrations, and install each valve cap so the end shown facing up will be facing the outside of the valve body.
3. Install all the springs and seats. Insert the spring (A) in the valve, then install the valve in the valve body (B). Push the spring in with a
screwdriver, then install the spring seat (C).
Main Valve Body Disassembly, Inspection, and Reassembly
1. Clean all parts thoroughly in solvent or carburetor cleaner, and dry them with compressed air. Blow out all passages.
2. Do not use a magnet to remove the check balls, it may magnetize the balls.
3. Inspect the valve body for scoring and damage.
4. Check all valves for free movement. If any fail to slide freely, refer to valve body repair.