
SLX V6-3.2L SOHC (1996)
Throttle Body: Service and Repair
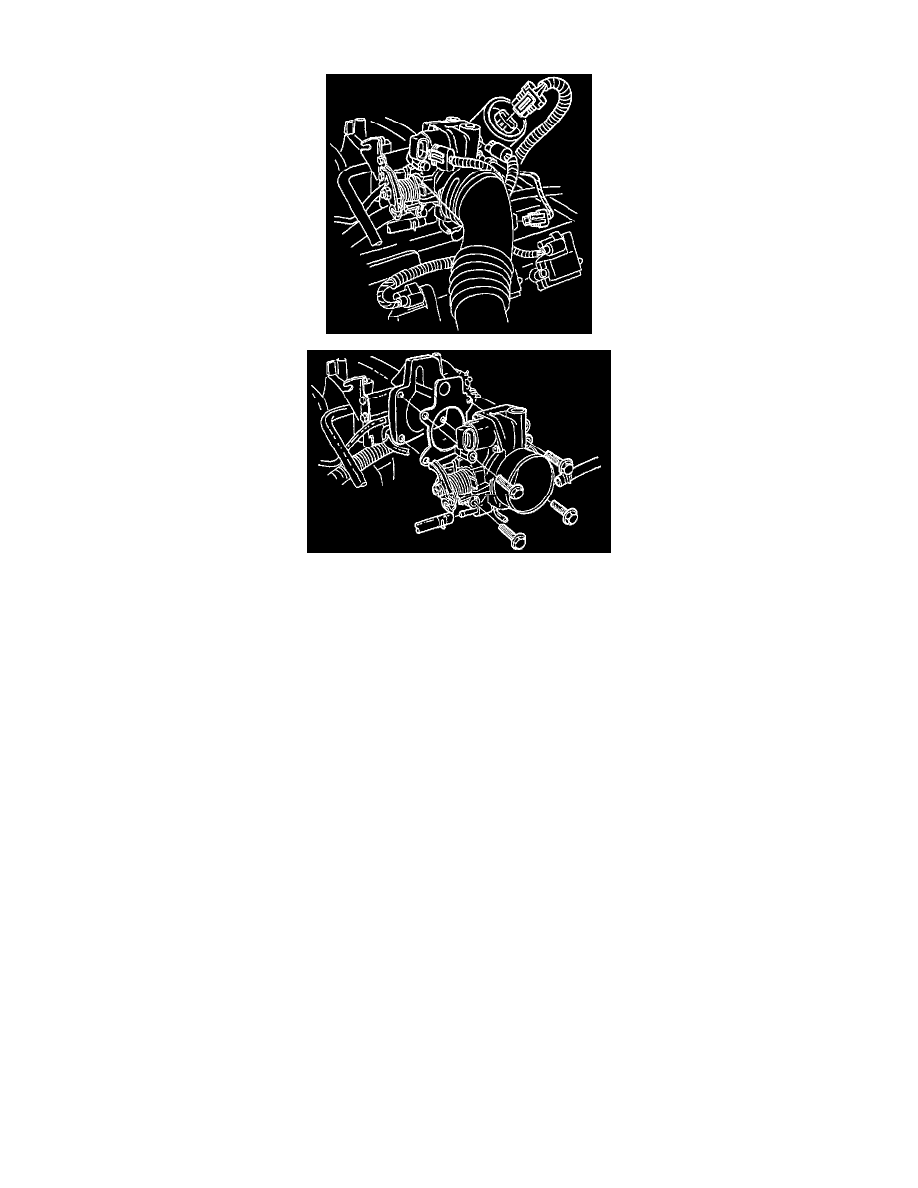
THROTTLE BODY (TB)
Removal Procedure
1. Disconnect the negative battery cable.
2. Drain the cooling system. Refer to Cooling System.
3. Remove the accelerator cable assembly. Refer to Accelerator Cable Assembly
4. Disconnect the electrical connectors:
^
Throttle position (TP) sensor.
^
Idle air control (IAC) solenoid.
^
Linear EGR valve (EGR). Refer to Linear EGR Valve.
^
Intake air temperature (IAT) sensor. Refer to Intake Air Temperature Sensor.
5. Disconnect the vacuum hose below the air horn.
6. Remove the intake air duct clamp.
7. Disconnect the intake air duct.
8. Disconnect the coolant lines from the throttle body.
9. Remove the bolts from the upper intake manifold.
10. Remove the throttle body from the upper intake manifold.
11. Remove the gasket from the upper intake manifold.
12. Remove the IAC. Refer to Idle Air Control (IAC) Solenoid.
13. Remove the TP sensor. Refer to Throttle Position (TP) Sensor.
Inspection Procedure
Notice: Do not use solvent of any type when you clean the gasket surfaces on the intake manifold and the throttle body assembly. The gasket
surfaces and the throttle body assembly may be damaged as a result.
^
If the throttle body gasket needs to be replaced, remove any gasket material that may be stuck to the mating surfaces of the manifold.
^
Do not leave any scratches in the aluminum casting.
Installation Procedure
1. Install the TP sensor. Refer to Throttle Position (TP) Sensor.
2. Install the IAC. Refer to Idle Air Control (IAC) Solenoid.
3. Install the gasket on the upper intake manifold.
4. Install the throttle body on the upper intake manifold.
5. Secure the gasket and the throttle body with the four bolts.