
SLX V6-3.2L SOHC (1996)
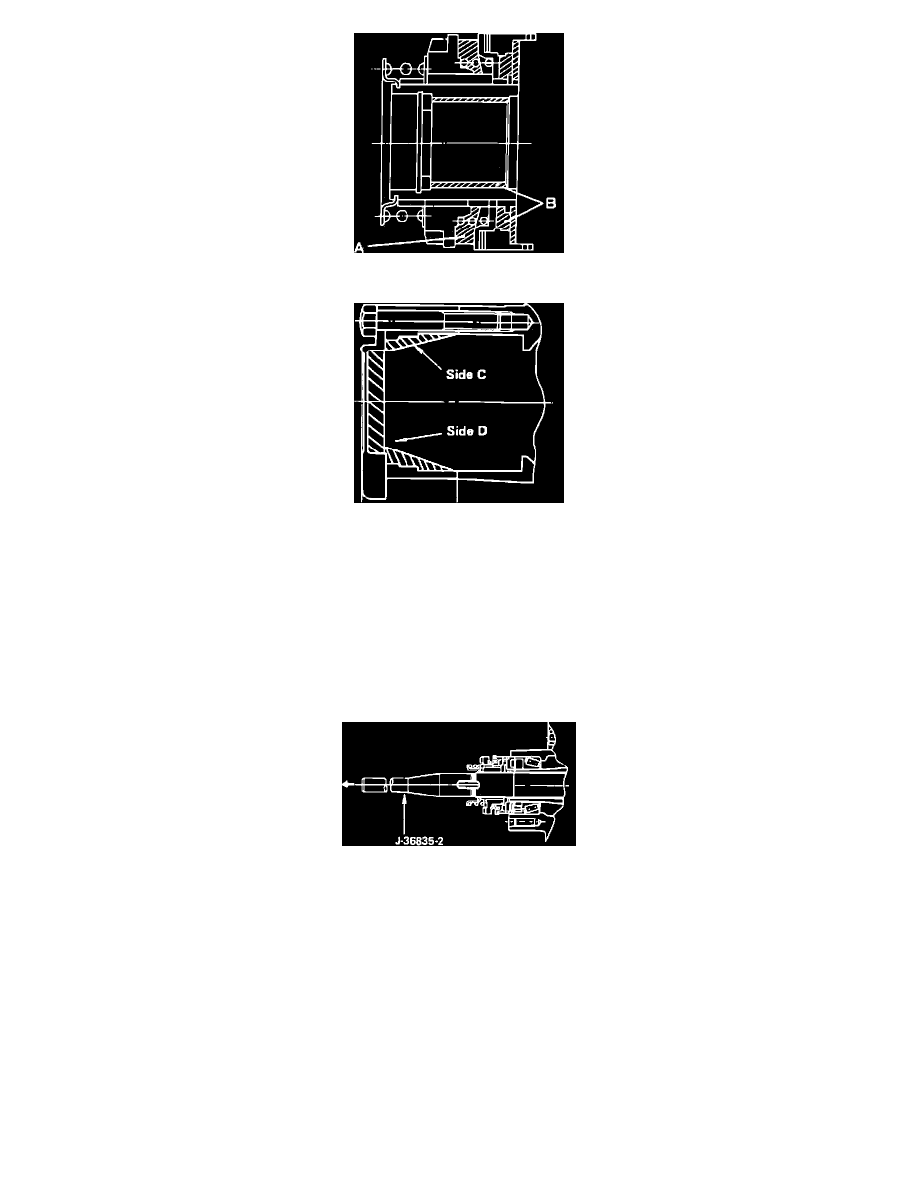
Fig. 19 Application of drive clutch assembly lubricant (Part 1 of 2)
Fig. 19 Application of drive clutch assembly lubricant (Part 2 of 2)
15. Apply multipurpose grease or bearing grease to portions of clutch assembly as shown Fig. 5, then align cut part of drive clutch assembly with
concave part of inner cam.
16. Engage cam teeth of drive clutch assembly to teeth of the inner cam by turning axle shaft.
17. Install snap ring and shims as follows:
a. Install extension tool No. J-36835-2, or equivalent, to axle, Fig. 6.
b. Install snap ring to snap ring tool.
c. Install driver tool No. J-36835-1, or equivalent.
d. Pull axle shaft out by pulling tool No. J-36835-2 and install snap ring to axle by pushing tool No. J-36835-1, then remove tool. Ensure snap
ring is fitted correctly.
Fig. 20 Installation of axle snap rings & shims
18. Install housing assembly, hub cap and retaining bolts and tighten to specification.