
TL L5-2451cc 2.5L SOHC G25A4 FI (1995)
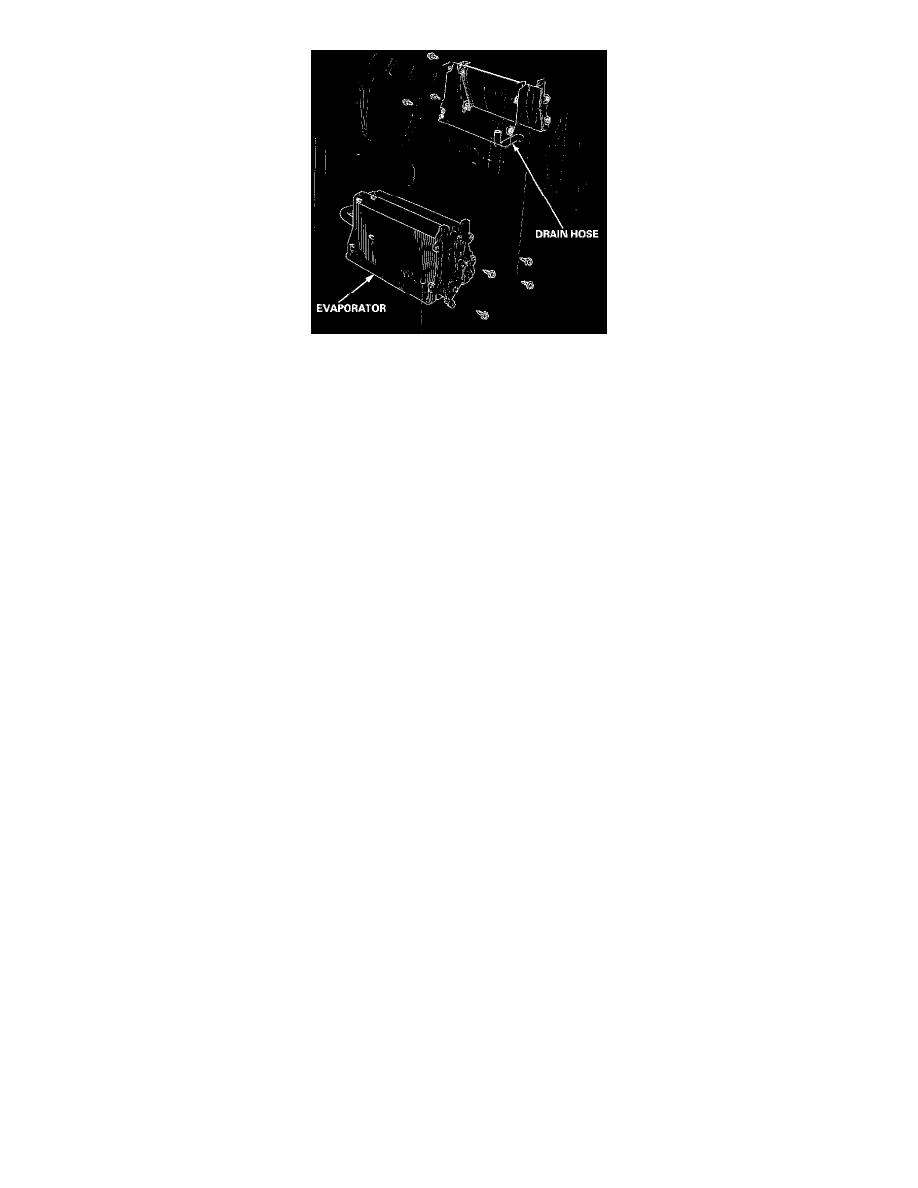
8. Disconnect the drain hose, and remove the seven self-tapping screws. Then pull the evaporator out of the front passengers side to remove it.
NOTE: Be careful not to damage the evaporator fins when removing the evaporator.
9. Install in the reverse order of removal. Make note of the following items.
^ If you're installing a new evaporator, add refrigerant oil (ND-OIL 8).
^ Replace the O-rings with new ones at each fitting, and apply a thin coat of refrigerant oil (ND-OIL 8) before installing them.
NOTE: Be sure to use the right O-rings for HFC134a (R-134a) to avoid leakage.
^ Be careful not to damage the evaporator fins when installing the evaporator.
^ Install the expansion valve capillary tube with the capillary tube in contact with the suction line directly, and wrap it with tape.
NOTE: Make sure there is no foreign matter stuck between the capillary tube and the suction line.
^ Make sure that there is no air leakage.
^ Charge the system, and test its performance.