
TL V6-3.5L (2007)
-
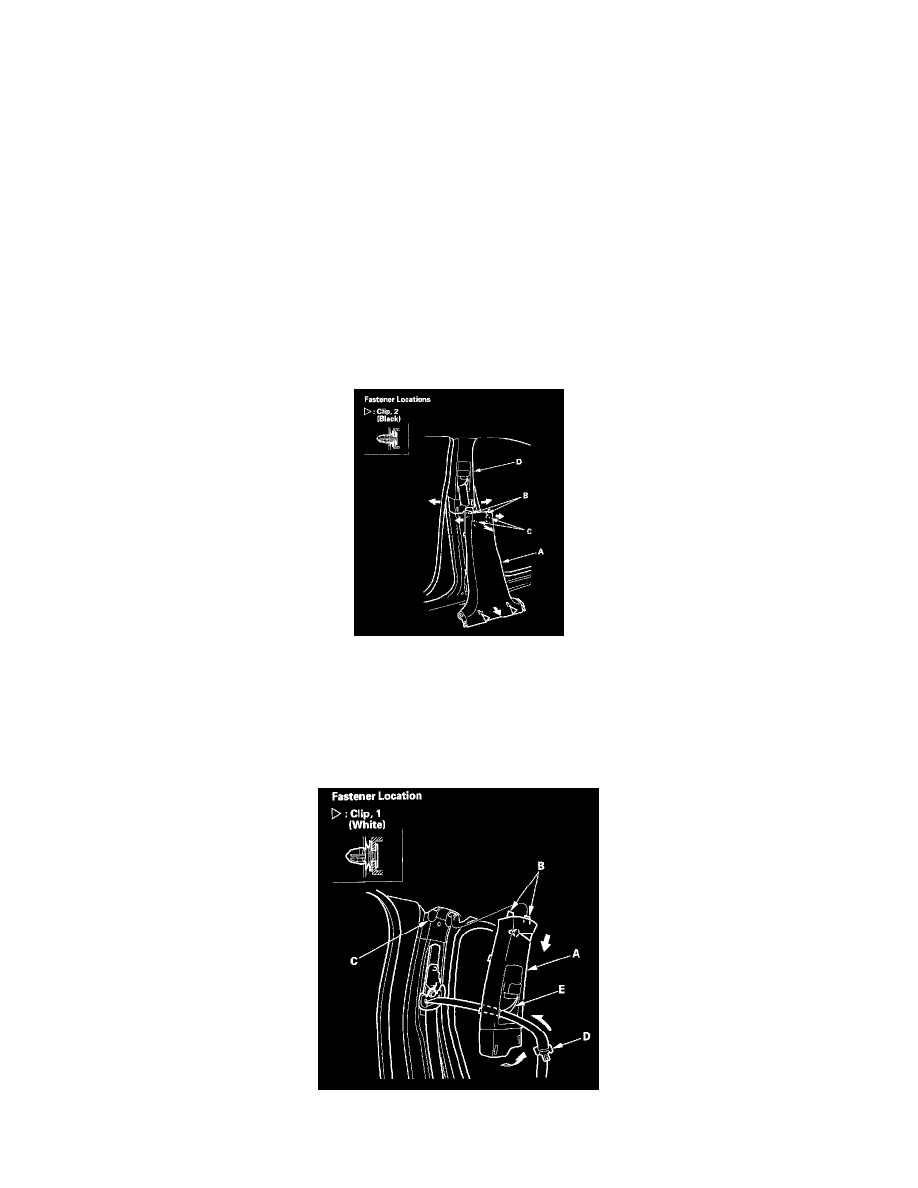
Any cracks, or press-whitenings in the grommet and clip seating surfaces (B)
-
Bent or broken grommet (C)
-
Damaged top of the A-pillar cap pin (D)
-
Make sure the top of the trim overlaps with the headliner correctly.
-
Push the clip portions into place securely.
B-pillar Upper/Lower Trim
NOTE:
-
Put on gloves to protect your hands.
-
Use the appropriate tool from the KTC trim tool set to avoid damage when removing components.
-
Take care not to bend or scratch the trim and panels.
1. Remove these items:
-
Kick panel
-
Front door sill trim
-
Rear door sill trim
-
Front door opening trim, as needed
-
Rear door opening trim, as needed
2. Remove the B-pillar lower trim (A).
1. Detach lower clips by pulling the bottom of the B-pillar lower trim back by hand.
2. While pulling both upper edges of the B-pillar lower trim sidewards, pull the top of the trim back by hand to release the hooks (B, C) from the
B-pillar upper trim (D), then remove the trim.
3. Driver's side: Remove front seat belt lower anchor bolt.
4. Passenger's side: Detach the front seat belt lower anchor.
5. Remove the B-pillar upper trim (A).
1. Detach the clip by pulling the bottom of the trim back.