
TL V6-3.5L (2007)
Pressure Regulating Solenoid: Testing and Inspection
A/T Clutch Pressure Control Solenoid Valve B Test
A/T Clutch Pressure Control Solenoid Valve B Test
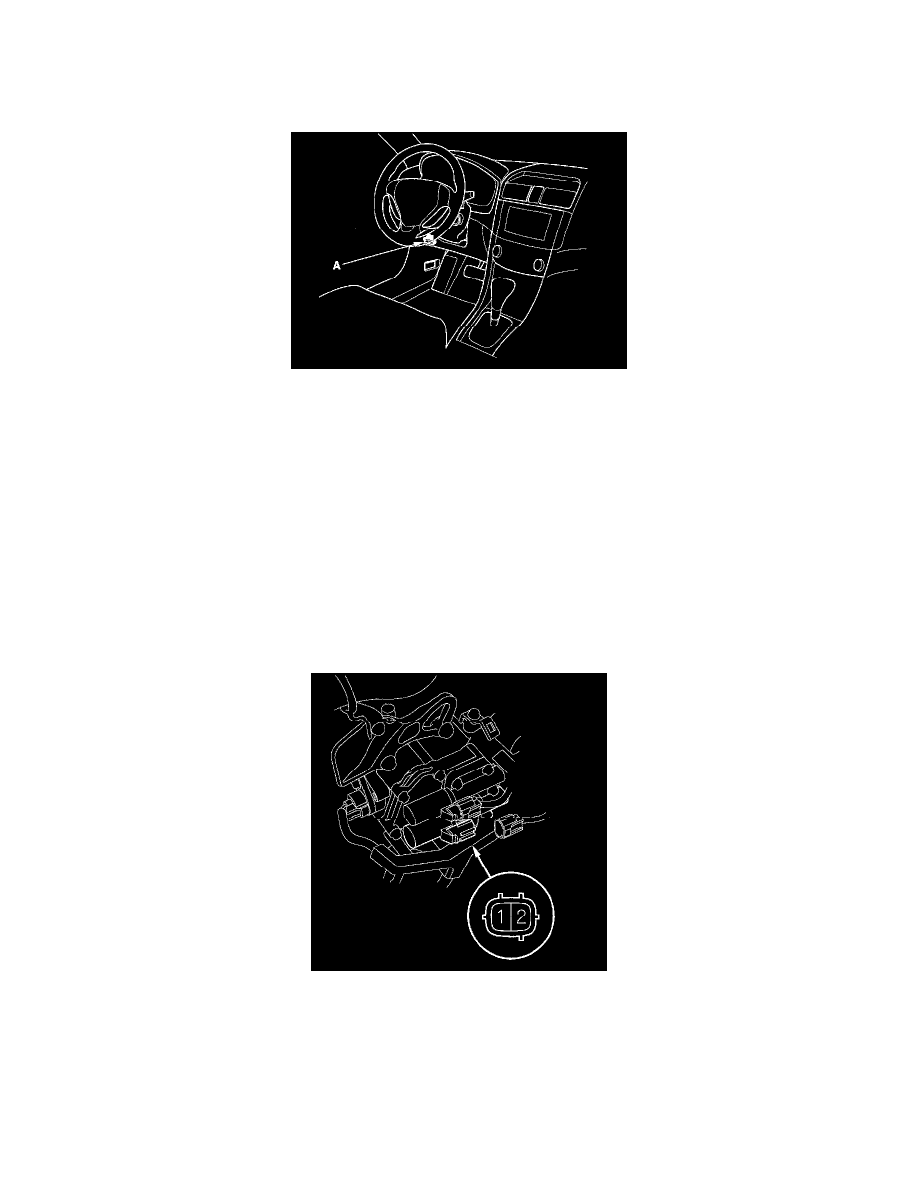
1. Connect the HDS to the DLC (A).
2. Choose Clutch Pressure Control (Linear) Solenoid B in Miscellaneous Test Menu on, the HDS.
NOTE: If the HDS does not communicate with the PCM, troubleshoot the DLC circuit.
3. Test A/T clutch pressure control solenoid valve B with the HDS.
^
If the valve tests OK, the test is complete. Disconnect the HDS.
^
If the valve does not test OK, follow the instructions on the HDS.
^
If the valve does not test OK, and the HDS does not determine the cause, go to step 4.
4. Make sure you have the anti-theft codes for the audio system and the navigation system (if equipped), then write down the audio presets.
5. Remove the battery trim and left upper fender cover.
6. Disconnect the negative terminal from the battery, then disconnect the positive terminal.
7. Remove the battery hold-down bracket, then remove the battery and battery tray.
8. Remove the intake air duct and air cleaner assembly.
9. Remove the battery base.
10. Disconnect the A/T clutch pressure control solenoid valve B connector.
11. Measure the resistance between A/T clutch pressure control solenoid valve B connector terminals No. 1 and No. 2.
Standard: 3-10 Ohms
^
If the resistance is out of standard, replace A/T clutch pressure control solenoid valve A.
^
If the resistance is within the standard, go to step 12.
12. Connect a jumper wire from the negative battery terminal to solenoid valve B connector terminal No. 2, and connect a jumper wire from positive
battery terminal to connector terminal No. 1.