
TL V6-3206cc 3.2L SOHC MFI (1998)
NOTE: Make sure that there is no interference between the fluid lines, the rear beam or any other parts.
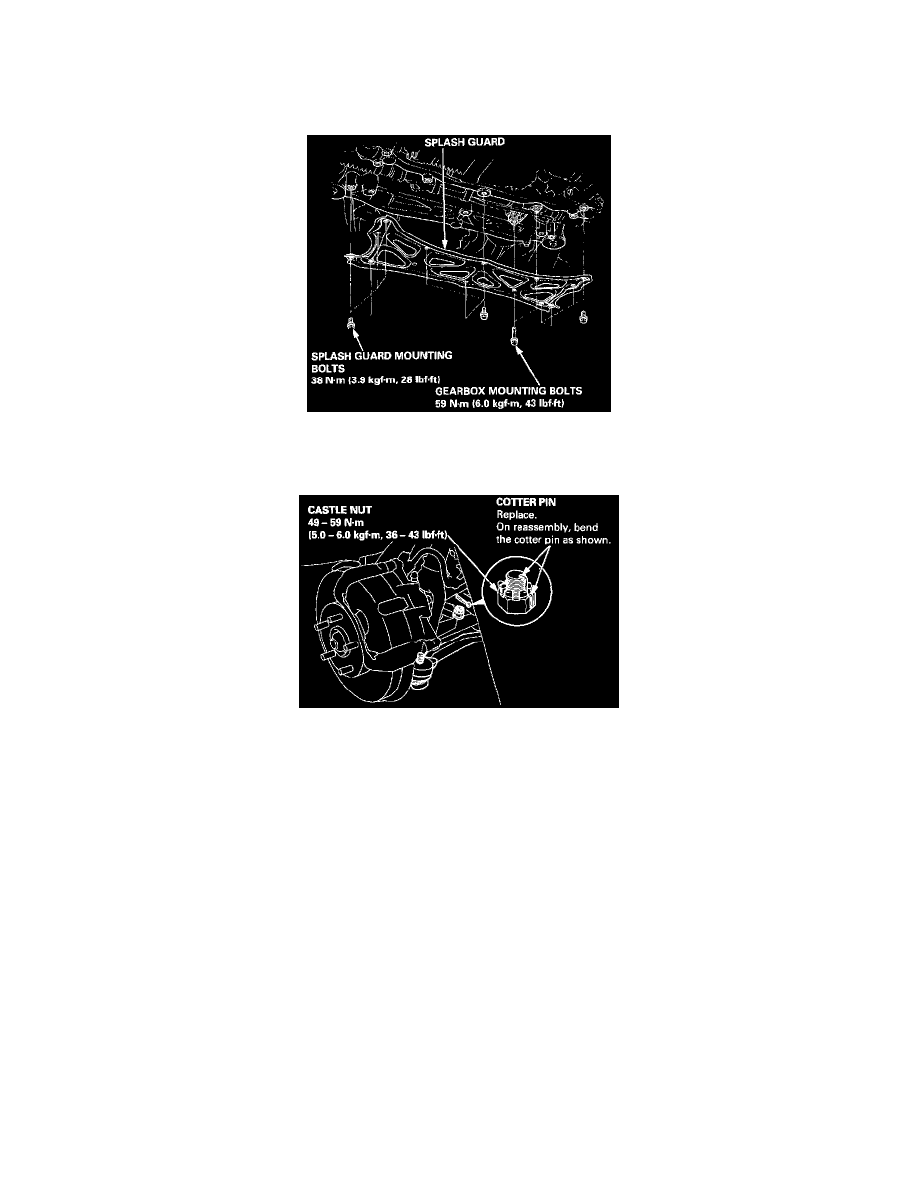
10. Tighten the two gearbox mounting bolts on the right side that were loosely installed in step 2.
11. Install the splash guard with the two gearbox mounting bolts on the left side.
12. Tighten the splash guard attaching bolts.
NOTE: Install the bolts loosely first, then tighten
13. Reconnect the tie-rod ends to the steering knuckles, tighten the castle nut to the specified torque, and install new cotter pins.
NOTE: Before connecting the tie-rod ends, check the ball joint pin tapered section and threads section for grease contamination, and wipe it if
necessary.
CAUTION: Torque the castle nut to the lower torque specification, then tighten it only far enough to align the slot with the pin hole. Do not align
the nut by loosening.
14. Install the front wheels.
15. Fill the system with power steering fluid, and bleed air from the system.
16. After installation, perform the following checks.
-
Start the engine, allow it to idle, and turn the steering wheel from lock-to-lock several times to warm up the fluid. Check the gearbox for leaks.
-
Adjust the front toe.
-
Check the steering wheel spoke angle. Adjust by turning the right and left tie-rods, if necessary.
NOTE: Turn the right and left tie-rods equally.