TL AWD V6-3.7L (2010)

Control Arm: Service and Repair
Front Lower Arm Removal/Installation
Front Lower Arm Removal/Installation
Special Tools Required
-
Ball Joint Thread Protector, 14 mm 07AAE-SJAA100
-
Ball Joint Remover, 28 mm 07MAC-SL0A202
Removal/Installation
1. Raise and support the vehicle See: Wheels and Tires/Vehicle Lifting/Service and Repair.
2. Remove the front wheel.
3. Remove the spindle nut See: Front Steering Knuckle/Service and Repair.
4. Remove the front splash shield See: Body and Frame/Splash Guard/Service and Repair/Front Splash Shield Replacement.
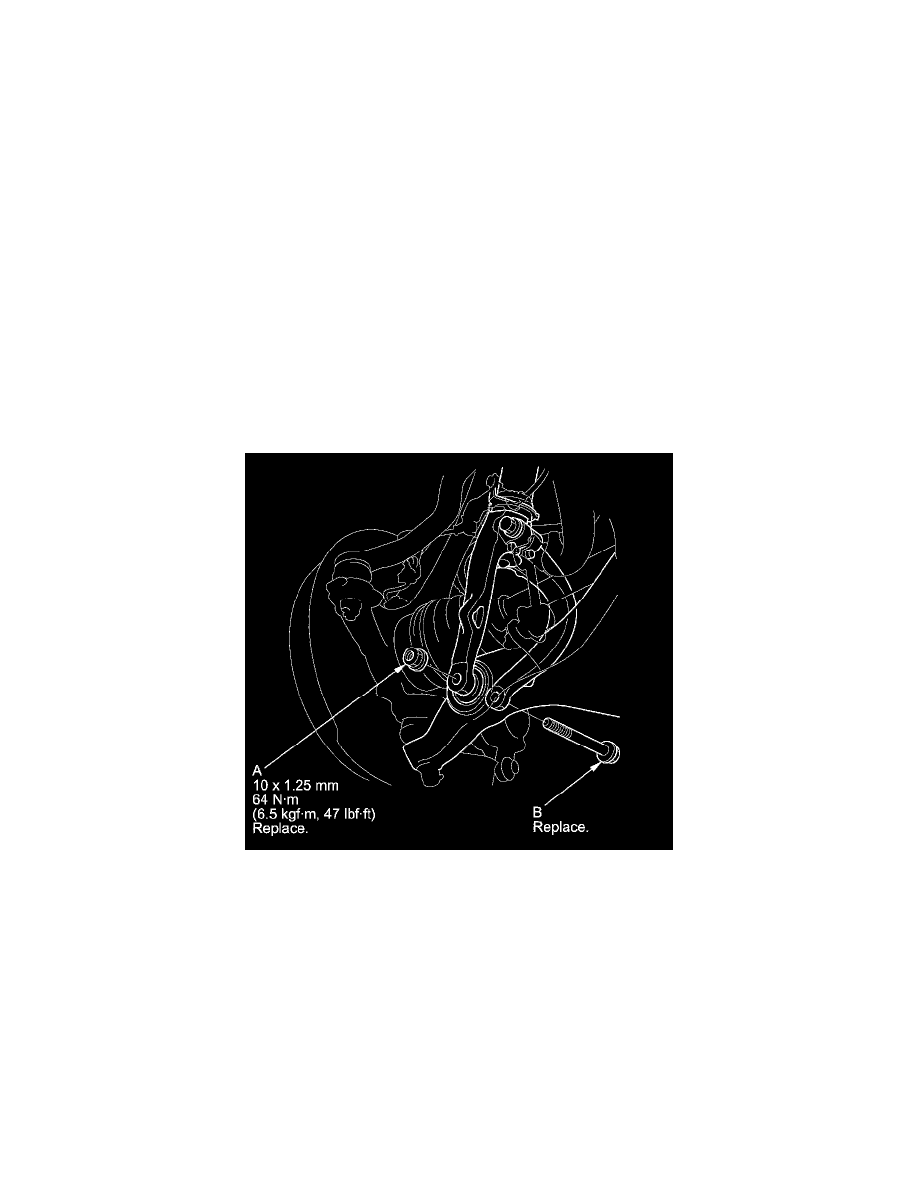
5. Remove the damper fork mounting nut (A) while holding the mounting bolt (B), then remove the mounting bolt.
NOTE: Use the new damper fork mounting bolt and the new mounting nut, and torque the nut while holding the bolt during reassembly.
6. Disconnect the stabilizer link from the lower arm See: Stabilizer Bar/Stabilizer Link/Service and Repair/Front Stabilizer Link
Removal/Installation.
7. Remove the cotter pin (A) from the knuckle ball joint, then remove the castle nut (B).
NOTE:
-
Use the new castle nut during reassembly.
-
During installation, insert the new cotter pin into the ball joint pin hole from the front to the rear of the vehicle, and bend its end as shown.
Check the ball joint pin hole direction before connecting the ball joint.
