
TL FWD V6-3.5L (2009)
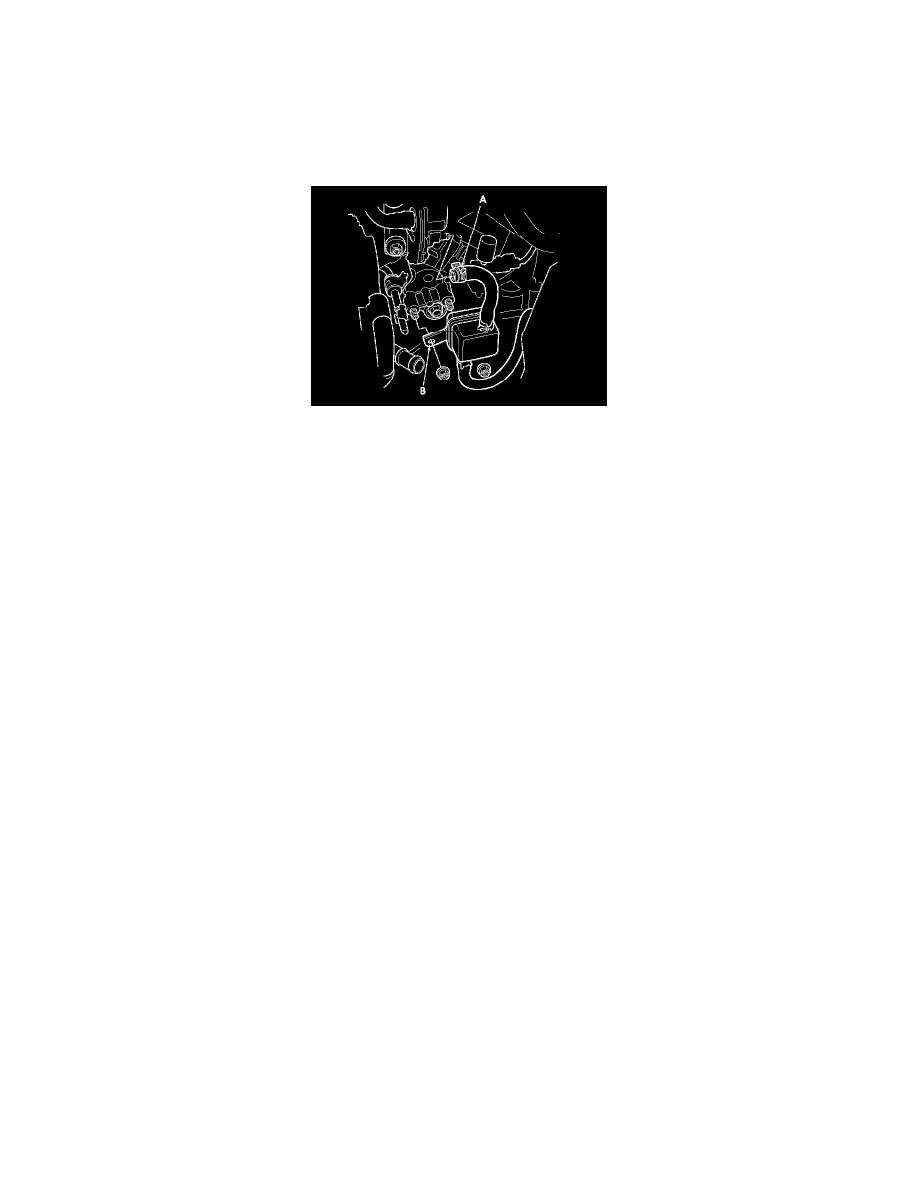
9. Disconnect the evaporative emission (EVAP) canister hose (A), then remove the EVAP canister joint (B).
10. Remove the timing belt. See: Timing Components/Timing Belt/Service and Repair/Timing Belt Removal
11. Remove the rear rocker arm assembly. See: Cylinder Head Assembly/Service and Repair/Overhaul/Rocker Arm Assembly Removal
12. Remove the rear camshaft pulley.
13. Remove the thrust cover (A), then remove the rear camshaft (B).
14. Install the rear camshaft in the reverse order of removal. Always use a new O-ring (C). Apply new engine oil to the journals and cam lobes.
15. Apply new engine oil to the threads of the camshaft pulley mounting bolt, then install the rear camshaft pulley. See: Cylinder Head
Assembly/Service and Repair/Overhaul/Camshaft, Rocker Arm Assembly, Camshaft Seal, and Pulley Installation
16. Install the rear rocker arm assembly, then tighten the mounting bolts. See: Cylinder Head Assembly/Service and Repair/Overhaul/Camshaft,
Rocker Arm Assembly, Camshaft Seal, and Pulley Installation
17. Install the timing belt. See: Timing Components/Timing Belt/Service and Repair/Timing Belt Installation
18. Adjust the valve clearance. See: Cylinder Head Assembly/Valve Clearance/Adjustments
19. Install the EVAP canister joint, then connect the EVAP canister hose.
20. Connect the heater hoses.
21. Connect the fuel feed hose, then install the quick-connect fitting cover. See: Cylinder Head Assembly/Service and Repair/Removal and
Replacement/Cylinder Head Installation
22. Install the air cleaner assembly. See: Tune-up and Engine Performance Checks/Air Cleaner Housing/Service and Repair
23. Install the under-hood fuse/relay box to the bracket.
24. Do the battery installation procedure. See: Starting and Charging/Battery/Service and Repair/Removal and Replacement
25. Inspect for fuel leaks. Turn the ignition switch to ON (II), or press the engine start/stop button to select the ON mode (do not operate the starter) so
the fuel pump runs for about 2 seconds and pressurizes the fuel line. Repeat this operation three times, then check for fuel leakage at any point in
the fuel line.
26. Fill the radiator with engine coolant, and bleed the air from the cooling system with the heater valve open. See: Cooling System/Coolant/Service
and Repair
27. Install the engine compartment covers. See: Access Cover/Service and Repair
28. Do the crankshaft position (CKP) pattern clear/CKP pattern learn procedure. See: Powertrain Management/Computers and Control
Systems/Testing and Inspection/Initial Inspection and Diagnostic Overview