TL FWD V6-3.5L (2009)

Impact Sensor: Service and Repair
Side Impact Sensor (Second) Replacement
Side Impact Sensor (Second) Replacement
Removal
1. Do the battery terminal disconnection procedure, See: Starting and Charging/Battery/Service and Repair/Procedures then wait at least 3 minutes
before starting work.
2. Remove the rear seat. See: Body and Frame/Seats/Service and Repair/Rear Seat Removal/Installation
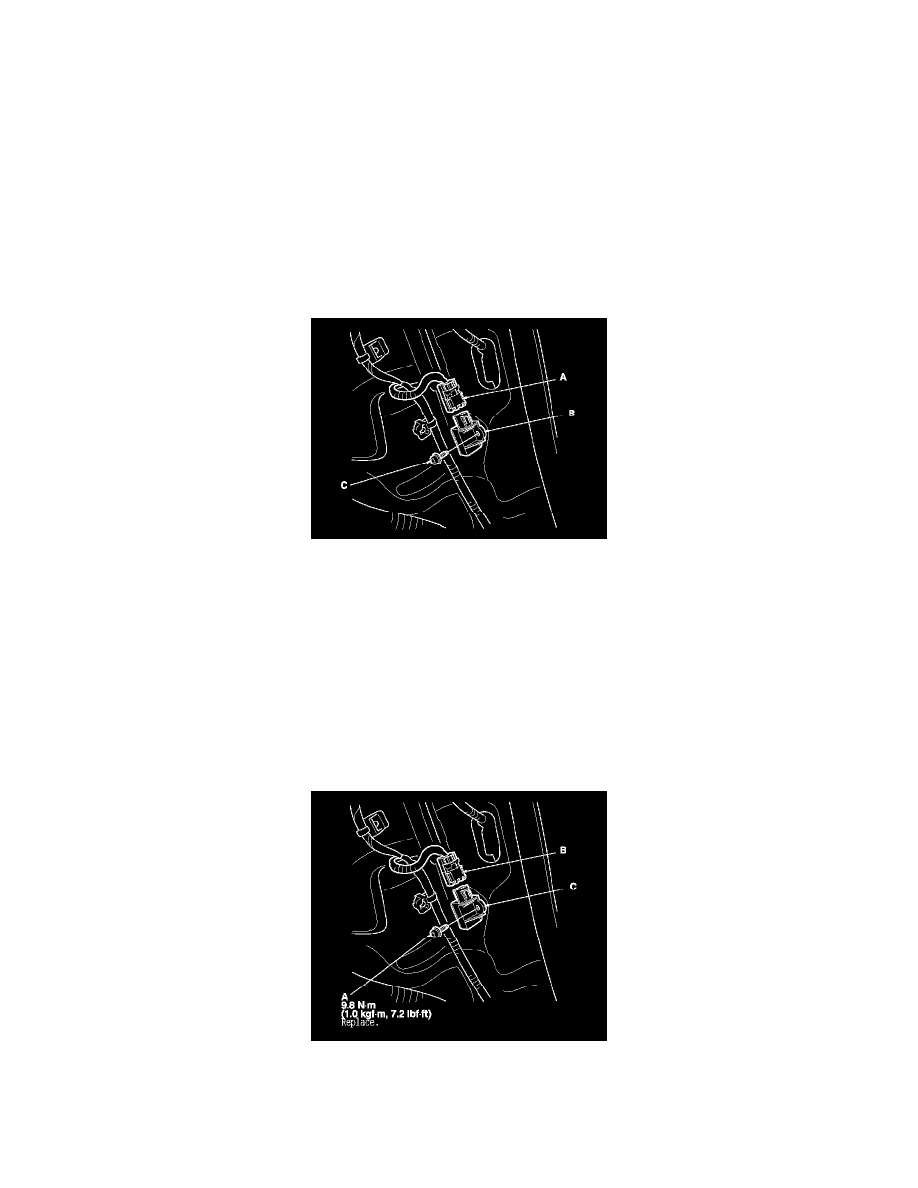
3. Disconnect the SRS floor wire harness 2P connector (A) from the side impact sensor (second) (B).
4. Remove the TORX bolt (C) using a TORX T30 bit, then remove the side impact sensor (second).
Installation
1. Install the side impact sensor (second) with a new TORX bolt (A) then connect the SRS floor wire harness 2P connector (B) to the side impact
sensor (second) (C).
2. Do the battery terminal reconnection procedure. See: Starting and Charging/Battery/Service and Repair/Procedures
3. Clear any DTCs. See: Testing and Inspection/Initial Inspection and Diagnostic Overview
4. Confirm proper SRS operation: Turn the ignition switch to ON (II), or press the engine start/stop button to select the ON mode; the SRS indicator
should come on for about 6 seconds and then go off.
5. Reinstall all removed parts.
