
TL FWD V6-3.5L (2009)
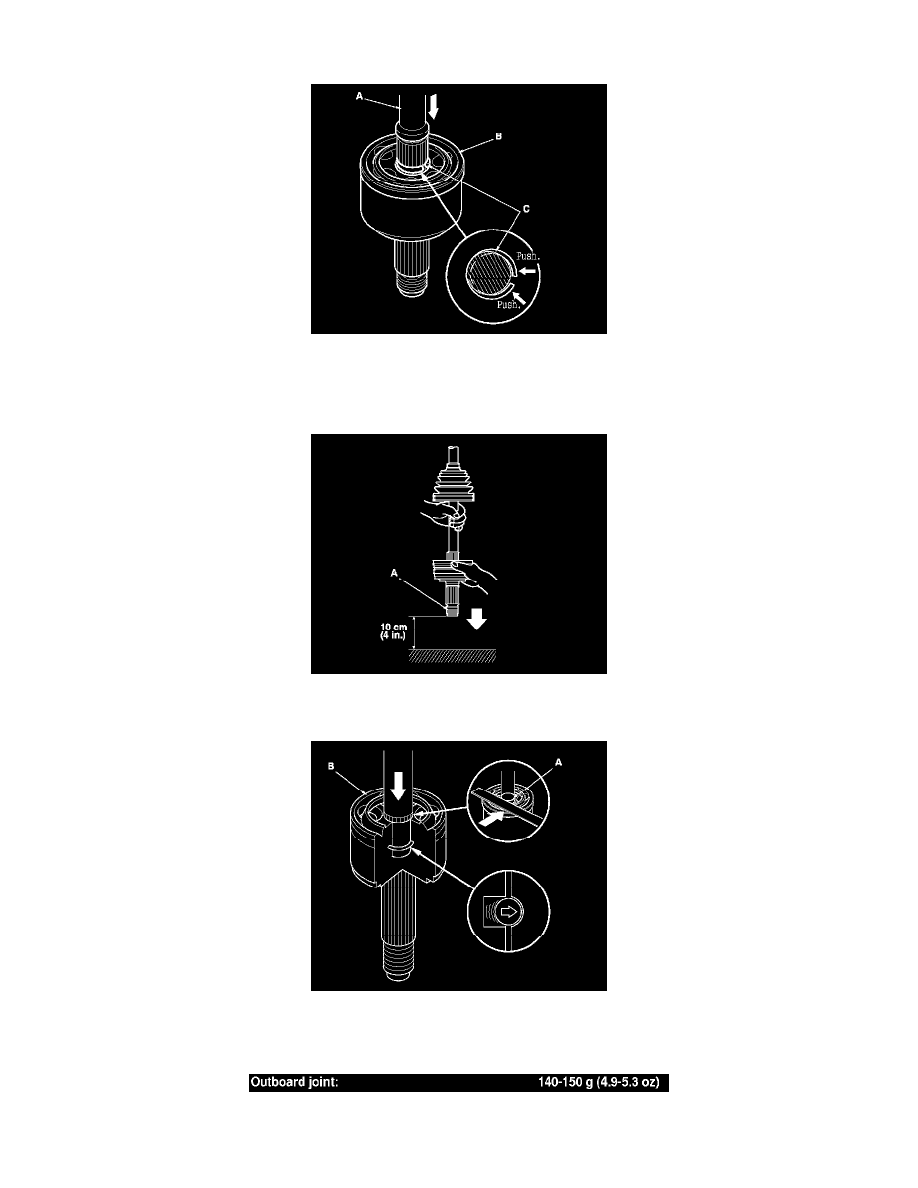
6. Insert the driveshaft (A) into the outboard joint (B) until the stop ring (C) is close to the joint.
7. To completely seat the outboard joint, pick up the driveshaft and the joint, and tap or hit the assembly onto a hard surface from a height of about
10 cm (4 in.).
NOTE: Do not use a hammer, as excessive force may damage the driveshaft. Be careful not to damage the threaded section (A) of the outboard
joint.
8. Check the alignment of the paint mark (A) you made with the outboard joint end (B).
To avoid driveshaft and vehicle damage, the shaft must be all the way into the outboard joint to ensure the stop ring is properly seated.
9. Pack the outboard joint (A) with the remaining joint grease included in the new joint boot set.
Total grease quantity