
Windshield: Service and Repair
- Make
- Acura (Honda)
- Model
- TL FWD
- Engine
- V6-3.5L
- Year
- 2009
- Section
- Windshield › Service and Repair
Windshield: Service and Repair
Windshield Replacement
NOTE:
-
Put on gloves to protect your hands.
-
Wear eye protection while cutting the glass adhesive with a piano wire.
-
Use seat covers to avoid damaging the seat.
-
Glass adhesive can be efficiently cut with a commercially available auto glass tool. See the tool manufacturer's instructions for details.
1. Remove these items:
-
Cowl cover See: Body and Frame/Cowl/Cowl Moulding / Trim/Service and Repair
-
Rearview mirror See: Body and Frame/Mirrors/Service and Repair/Rearview Mirror Replacement
-
Front door opening seal, as needed See: Body and Frame/Interior Moulding / Trim/Scuff Plate/Service and Repair/Interior Trim
Removal/Installation - Front Door Sill Area
-
A-pillar trim, both sides See: Body and Frame/Interior Moulding / Trim/Trim Panel/Service and Repair/Interior Trim Removal/Installation -
A-Pillar Trim
-
Roof moldings, both sides
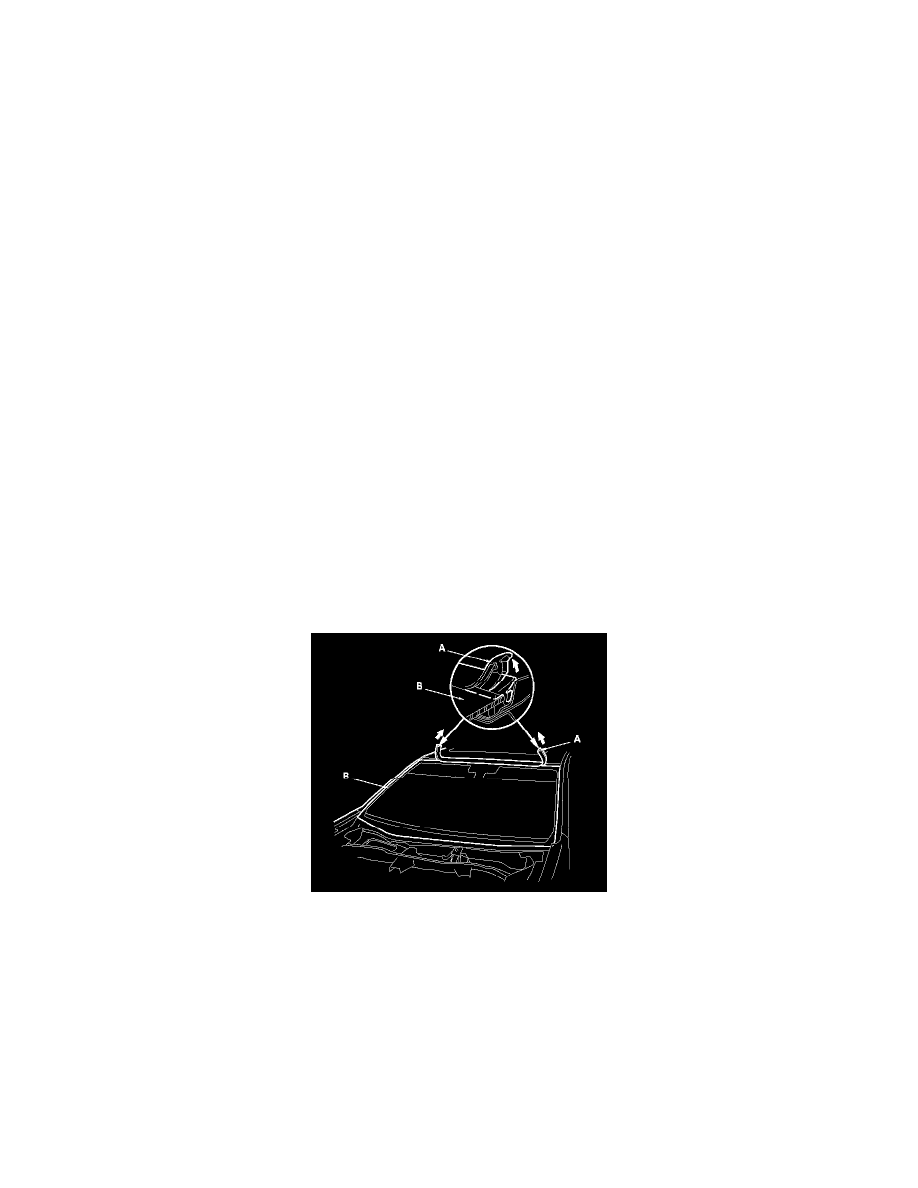
2. Remove the molding (A) from the upper edge of the windshield (B). If necessary, cut the molding with a utility knife.
3. Pull down the front portion of the headliner. See: Body and Frame/Interior Moulding / Trim/Headliner/Service and Repair Take care not to bend
the headliner excessively, or you may crease or break it.
4. Apply protective tape along the edge of the dashboard and body. Make a hole with an awl through the rubber dam and the adhesive from inside the
vehicle at a corner of the windshield. Push a piece of piano wire through the hole, and wrap each end around a piece of wood.
5. With a helper on the outside, pull the piano wire (A) back and forth in a sawing motion. Hold the piano wire as close to the windshield (B) as
possible to prevent damage to the body and dashboard. Carefully cut through the rubber dam and adhesive (C) around the entire windshield.
6. Carefully remove the windshield.
7. Scrape smooth the old adhesive, using a putty knife or similar tool, until there is a thickness of about 2 mm (0.08 in.) on the bonding surface
around the entire windshield opening flange:
-
Do not scrape down to the painted surface of the body; damaged paint will interfere with proper bonding.
-
Remove the rubber dams from the body.
8. Clean the body bonding surface with a shop towel dampened in isopropyl alcohol. After cleaning, keep oil, grease, and water from getting on the
clean surface.
Pinch or Ctrl + scroll to zoom. Double-tap to reset.
Parts & tools for this job For 2009 Acura TL 3.5L
- TOOLTrim removal tool kitSearch: trim removal tool kit
- PARTTouch-up paintSearch: Acura touch up paint
- PARTPanel clip assortmentSearch: Acura panel clips assortment
Links open Amazon search results in a new tab. As an Amazon Associate I earn from qualifying purchases.