
TSX L4-2.4L (2005)
Rear Shelf: Service and Repair
Trim Removal/Installation - Rear Shelf Area
Special Tools Required
KTC trim tool set SOJATP2014 *
* Available through the American Honda Tool and Equipment Program.
NOTE:
-
Put on gloves to protect your hands.
-
Take care not to bend or scratch the trim and panels.
-
Use the appropriate tool from the KTC trim tool set to avoid damage when prying components.
1. Remove these items:
-
Seat cushion and seat side bolster.
-
C-pillar trim.
-
Rear center seat belt center anchor bolt.
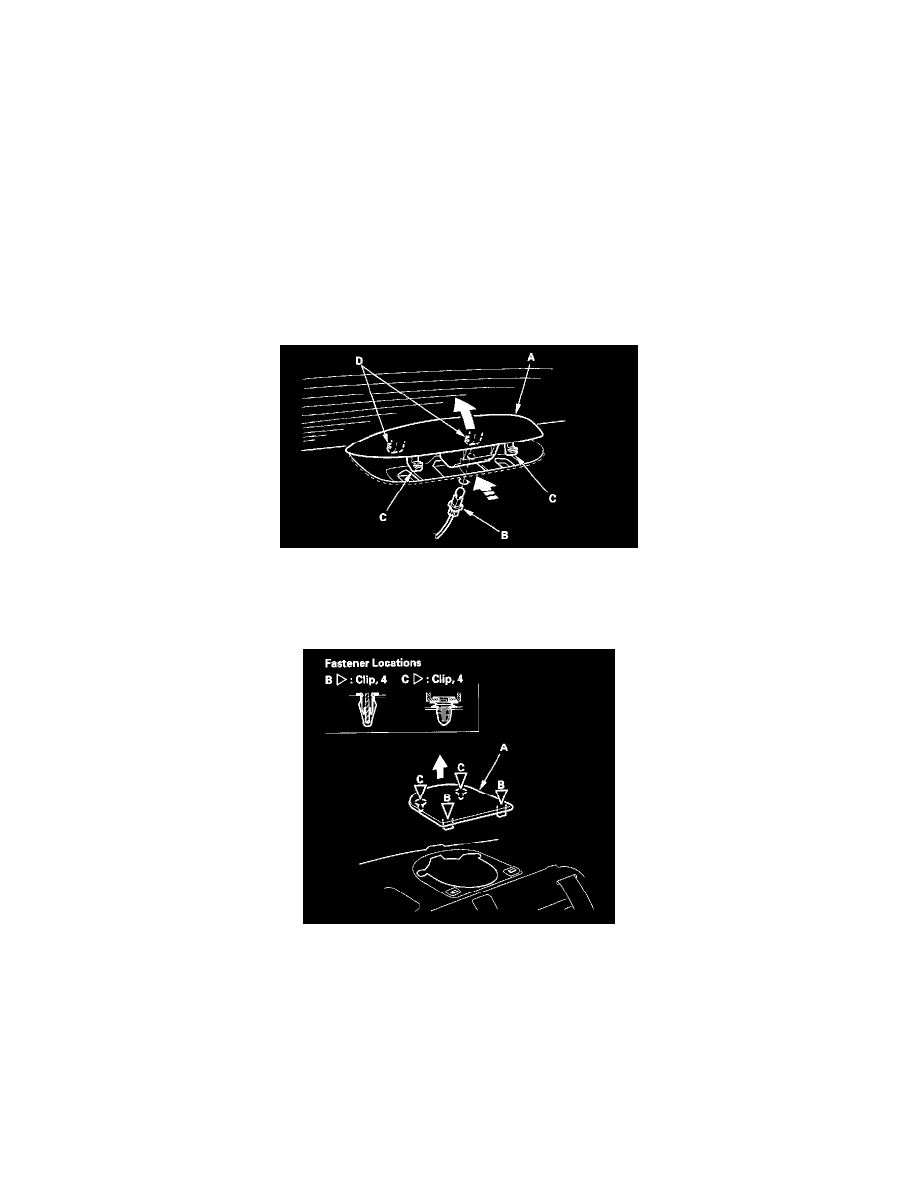
2. Remove the high-mount brake light (A).
1. From the trunk compartment, disconnect the high-mount brake light bulb socket (B).
2. Push the high-mount brake light towards the rear window, and gently pry up at the back to release the front hooks (C).
3. Release the rear hooks (D), then remove the high-mount brake light.
3. From both sides, pull the rear speaker grille (A) up to detach the clips (B, C), then remove the rear speaker grille.